Saturday, July 22, 2017

Bring On The Rain: Twister Mat Raincoat Upcycle

I wish it would rain! The skies keep rumbling with sounds of thunder, and clouds grow dark, but nothing happens. We want it to rain so Little Miss can play fun games outside in her new Twister mat raincoat.


Ever since I made my Twister Poncho a few years ago, she has been asking for her own. I resisted until now because my poncho was large enough to cover me and both kids easily. 


Everyone is getting bigger so it was time to make hers. I have been steadily collecting Twister games from resale stores when I come across them. They are available in retail stores, but you can't beat a resale price and opportunity to upcycle an item that may be one step from the landfill. I needed two for my adult poncho and two for hers, but one would have enough for her. I chose two because of design decisions I made. 

I used Simplicity 8305 for this project because it didn't require much modification to make it a raincoat. It is a combination of view A and C with modified the pockets.
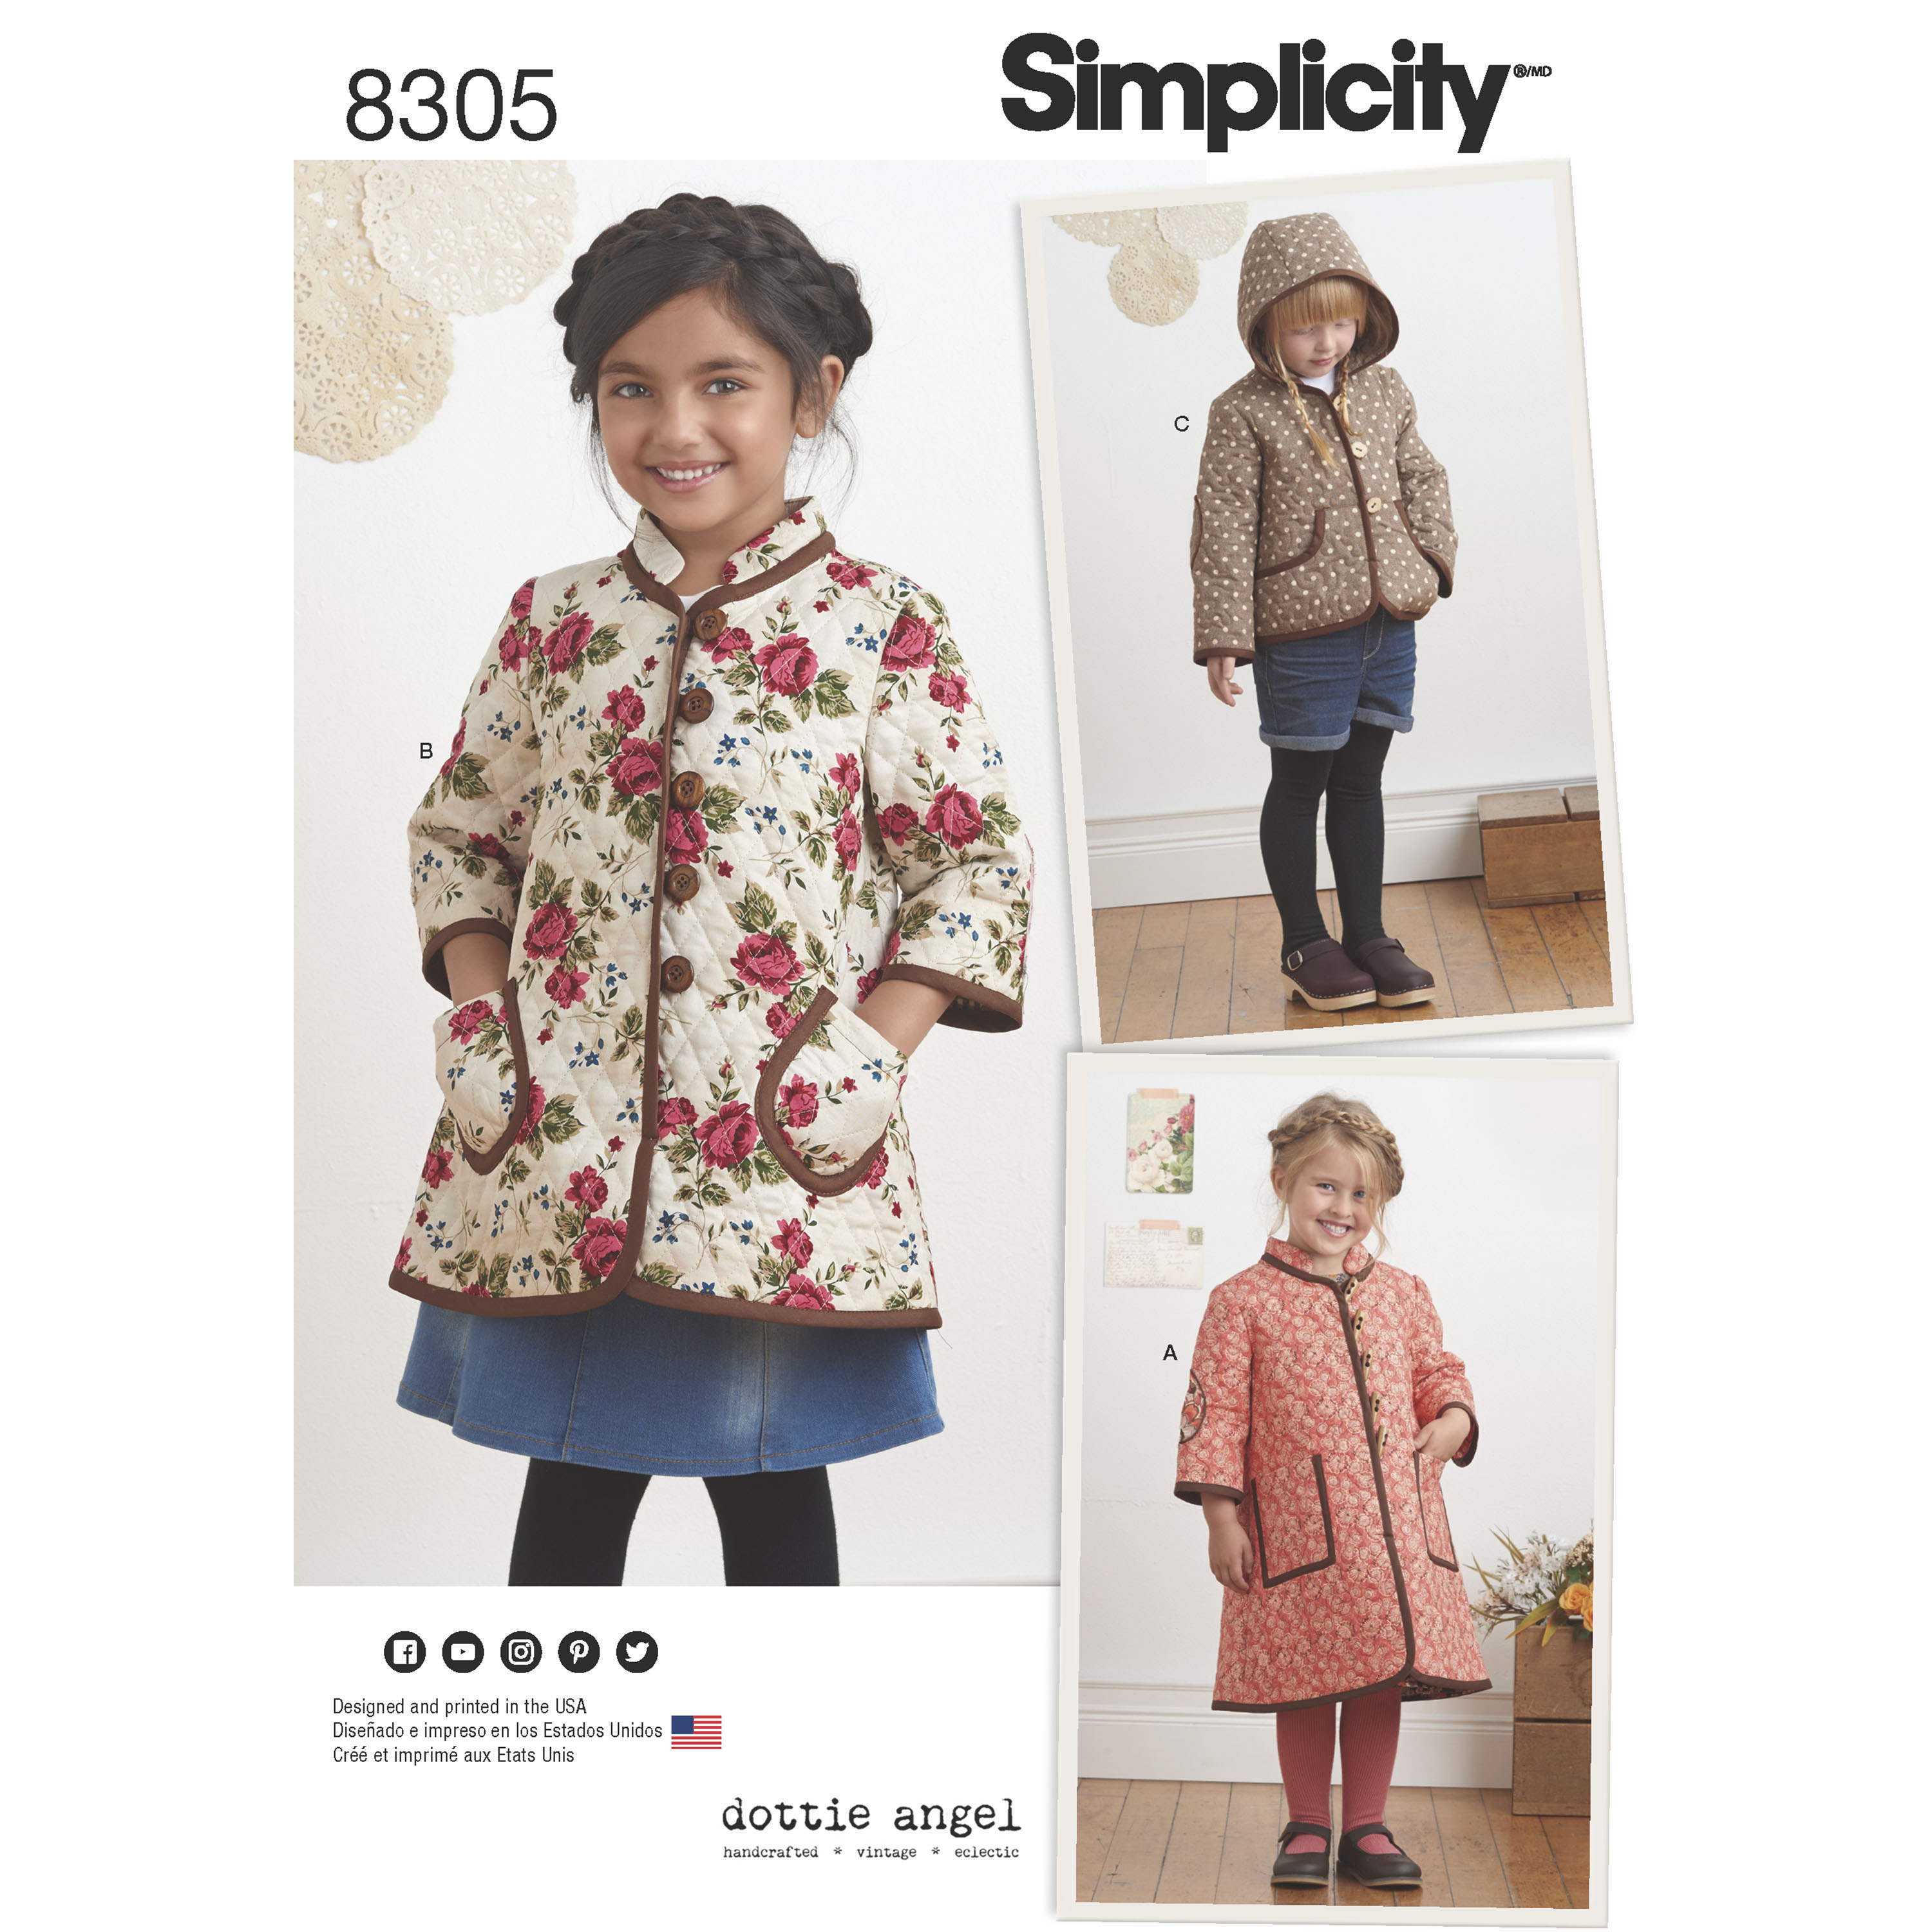
Image result for simplicity 8305

Working with the Twister mat requires a bit more focus and a few more tricks than working with fabric. You don't want to melt or tear the plastic. Ripping seams due to mistakes will result in many perforations in the seams so I had to take time. This was not a fast, complete in one sitting make. It took about 2 days of work to come together and we love the result. 

  • Toss it in the dryer on express cycle with a damp paper towel to get the wrinkles out before cutting. Check periodically to make sure it isn't too hot. 
  • When pressing during construction, press the lining side with a low iron
  • Underline the Twister fabric with lining fabric so they behave as one. I used four colors of thread and my serger for this. 
  • Use clips instead of pins to hold the fabrics together
  • Sew with jersey/ball point needles or any with a fine point


I learned  a lot from making the poncho for myself and customers. I took those lessons and added fun touches to this raincoat.


Little Miss is enjoying a summer of color with purple dyed hair. I took advantage of her love of color and added them every chance I had.

The first added color feature is multi-colored bias binding with rainbow color thread stitching


To make the multi-color binding:

  • Begin with purchased extra wide double fold bias tape
  • I cut 12-inch sections of all of the colors
  • Open the ends and pin, right sides together, raw edges even
  • Stitch the ends together
  • Press seams open
  • Refold along original foldlines and press


To that, I also added mismatched buttons and button loops


Alternately placed bias-trimmed pockets   
                                   

I really like the three-part hood of this pattern. It allowed me to showcase key aspects of the game mat.

A "Stockin' Feet Game"
                                                     

 "Twister"                                                                                                                                                                                                                                                                                                                 
                           
 "The Game That Ties You Up In Knots"
                                                                                                                                                                    

I am ridiculously thrilled with the lining fabric and how perfect it is for this project! I love the primary color hand prints on this fabric that I got at an estate sale. It is perfect for a Twister raincoat!

     
It is hurricane season in Texas, so I know the rains will come. In the meantime, a little plea to the sky cannot hurt right?

      
 Well, that didn't work. We will enjoy the sunny day anyway.


Happy Sewing,
Bianca

Friday, July 14, 2017

Ice Dyed Fabric Maxi Dress

If you are not new here, you know I love cotton jersey fabric and various embellishing techniques. You may not know that I am a planner in most areas of my life, but I am creatively impulsive. Last week on Instagram, Latifah Saafir posted about her excitement and anticipation of an ice dye project a friend was working on for her. I was immediately intrigued and after a quick google search, I discovered I had most of the supplies on hand to give it a try. 

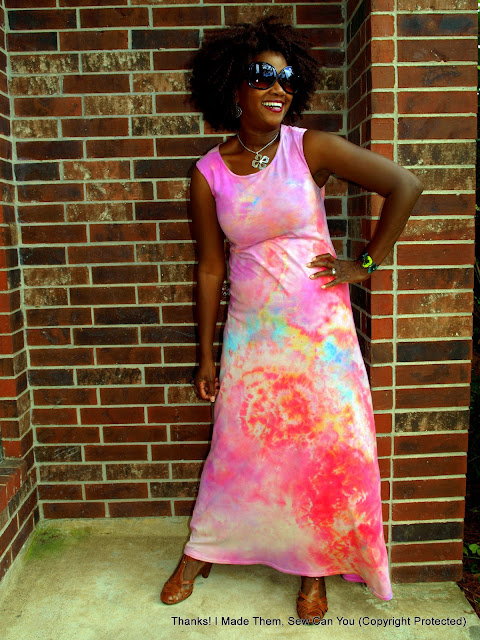
I think my first try (detailed later in the post), was a roaring success and I have used the resulting fabric to make a maxi dress using Butterick 6050.


The full front of this pattern is perfect for showing the range of colors achieved in the dyeing process.


Pink isn't a color I would normally reach for, but I was open to experimentation. Furthermore, I was using the dye I had on hand. :)  


The colors were more vibrant on some areas and muted in others. I used the softer colors on the back with the twist detail.


Working with lightweight knits can be tricky. To stabilize the neckline and armholes I hemmed in some Dritz  clear elastic  and finished it off with a twin needle. 


I didn't photo as I went along, so here is a quickie explanation on scrap fabric. The edges on the dress are serged, though not shown in this example. 


Cut a length of clear elastic one-inch longer than the fabric on each end of the seam(far left). Place the elastic on the wrong side, edge-to-edge, and sew a zig-zag stitch along the middle of the elastic without stretching it (middle). Fold wrong sides together, trim excess elastic and lightly press (far right). I then secured it with a twin needle on the right side of the fabric.

While the machine was set up, I hemmed the dress with the twin needle.


Now, let me tell you how I dyed the fabrics using the parfait method.

Supplies:
Tulip dye powder in  Turquoise, Red, Marroon, and Pink
Image result for tulip dye
Dollar store hamper to hold fabric, sand sifter toy to elevate fabric from melting ice, and oil drip pan to catch the water.

 Stacked

Fabric that has been pre-washed with no detergent or softener. I repurposed fabric from sheets.  It should be damp to allow for better dye flow. I used a peach colored cotton jersey from a previous mishap. 


a blue cotton jersey


 and a pale yellow one I used for this dress.

Ice: I used about 20 lbs. of ice. A 10 lb bag I bought and the rest from my fridge.

The parfait process:

Scrunch the first damp fabric (blue) and place it in the bottom of the prepared hamper then add a layer of ice to cover the fabric.


Sprinkle the dye powder on the ice


Lightly spritz the ice to get the powder to begin to flow and reduce the chance of clumps.

Add the next fabric layers and repeat with ice and dye.


I wrapped the hamper in more fabric to catch the overflow with the hope that it would be awesome with all the dye colors. It adsorbed the water, but the overflow dye was too watery to dye the fabric.


   Now the hard part, wait for the ice to melt.


After being in my 80+ degree garage overnight it melted this much


 End of day in 90+ degree Texas heat


When all the ice melted, I rinsed the fabric in my washing machine and dried it in my dryer. When it was all done, I was so excited about the results. In addition to the one I made the dress with, here is the blue one:


The colors are well blended and muted.

 With morning light


and the peach one:


The "texture" of the ice can be seen so well in the melting.


I embarked on this project rather impulsively using what I had on hand. Now that it is done, I can think about  what to do differently next time.

1. Use good fabric with a plan for what to make with it. Scrap is good for experimenting, but what if you have a good result? It is worth the gamble ruining good fabric over having a good result on fabric you couldn't use.

2. Use two dye colors, side by side in the dye layer for more color blending. I may try another dye brand to see if I get stronger colors.

3. I left the ice to melt without interfering with it. Next time, I will check the collection pan and empty it when full. The bottom fabric sat in the dye water possibly blending the dye more than I would like. The stacking of the fabric made the middle and bottom ice melt very slowly. Next time, I will remove the fabric when the ice melts on the top allowing more heat to the subsequent layer (or maybe not based on Denise's experience in the comments) .

4. I will wear gloves. I had them, but was working so quickly I didn't take the time to put them on. The dye washed away in a day.


I don't know what I will make with the other fabrics yet. Little Miss has her eye on both... we will see.

I am happy with the process and my final result. What do you think? Please let me know if you try it; I would love to see your results.


Happy sewing,
Bianca