Showing posts with label color block. Show all posts

Tuesday, February 1, 2022

The Good Night's Sleep Dress Vogue 1234


Oh, don't you just love an interesting pattern? I have had Vogue 1234 in my pattern stash for quite a while. 
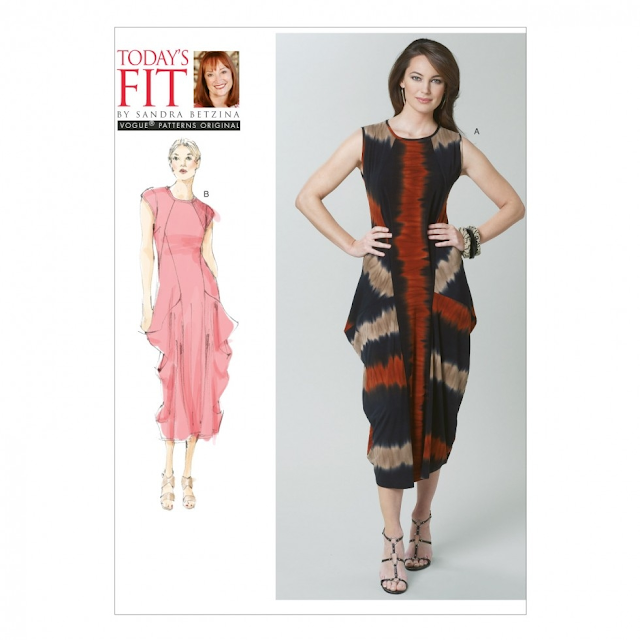
The global pandemic and the struggle to make useful, wearable pieces with limited places to wear them are in constant conflict for me. When I think about what to make lately, I am getting bored with the idea of making basics. I was looking for a challenge and this pattern is a good palate cleanser and a return to weird and wonderful making. How can you not love the angles and all the funky seamlines of this dress. 
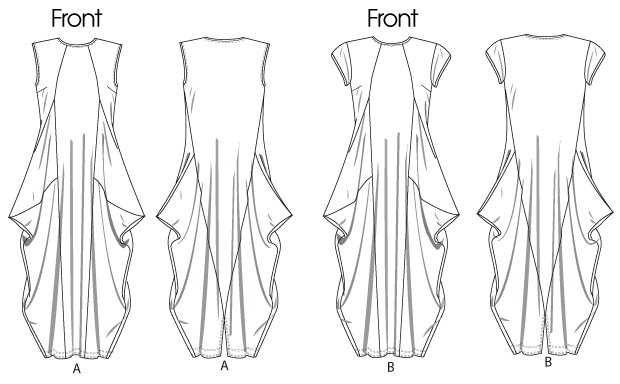


Once the decision was made, I spent a lot of time contemplating fabric choices and placement options. I have seen this dress made up on pattern review in solids, prints, and inspiring color-blocked options. For my first foray into this pattern, I chose to do a print and solid mix. I shopped Nature's Fabrics for two coordinating fabrics. I went with tan distressed dots for the print and black bamboo spandex jersey for the solid. I chose to highlight the print on the center front and back, the sleeves and the neckline.

I made size C based on my bust measurement. This pattern makes no accommodation for lengthening or shortening so I cut it as is. After cutting the pattern and the fabric out, I had planned to begin construction immediately. 

The pattern instructions are different from those of typical patterns. Due to the fabric shapes and construction details additional work is needed to mark the pattern so the pieces fit together correctly. It was a little frustrating for me to take the extra step of numbering the pieces as the designer wanted. Why didn't the pattern company preprint the numbers in advance? After adding the markings and reading the instructions, I knew I could not undertake making this late in the day as I had planned. With illustrations like this, I knew it needed a good night's sleep, a clear head and a full cup of coffee.

With a clear head and determined focus, I dove in. In the end, it was not as difficult as it initially appeared. It came together in an afternoon. The additional markings made all the difference, don't skip this step. 

The only thing that was a bit time consuming was the recommendation to wait until the garment was significantly constructed before using your serger to edge finish the seams. With typical knit garments, I usually do those steps simultaneously. This was a wise recommendation so you have fewer threads to unpick if you mismatch the placement. I made this mistake and unpicking a zigzag stretch stitch is no joke! I could not imagine having to unpick a serger seam.

I made no modifications to the pattern. The only change  was I used my cover-stitch machine to finish the hem and neckline.


I love the drapey goodness of this dress! It is so comfy and came out exactly as I hoped. 


The fun continues on the back.

I like this version and hope to make another this summer with color-blocking and decorative hand-stitching.


Many people commented about this pattern on my Instagram post. Many have it, but have hesitated to make it because of the intimidating looking instructions. I am here to say, it's different, not difficult; do it!


Happy sewing,
Bianca


Tuesday, February 19, 2019

Hand-Sewn Accents On An Early Spring Color-block Jersey Dress

I have confession, I felt a bit guilty about sharing this early Spring make.  I see my friends blanketed in snow, making Blackwood Cardigans and Toaster sweaters with no promise of the weather changing for the better. I wondered if it is impolite or bragging even, to bask in the sun with 60 degree temps? I considered waiting to share this until the national forecast improves.


Then my brain kicked in. None of these friends were complaining about the weather! They were not sulking in their cozy beautifully made clothes! They are not policing whether (hahaha!) I, or anyone, is making seasonally appropriate clothes! I totally projected my miserable Midwestern winters onto people! I would resent happy sunshiny clothes if I were freezing, but I can be petty when I am miserable. I am trusting that you reader, are more adult than I and will enjoy this dress regardless of your temperatures. 


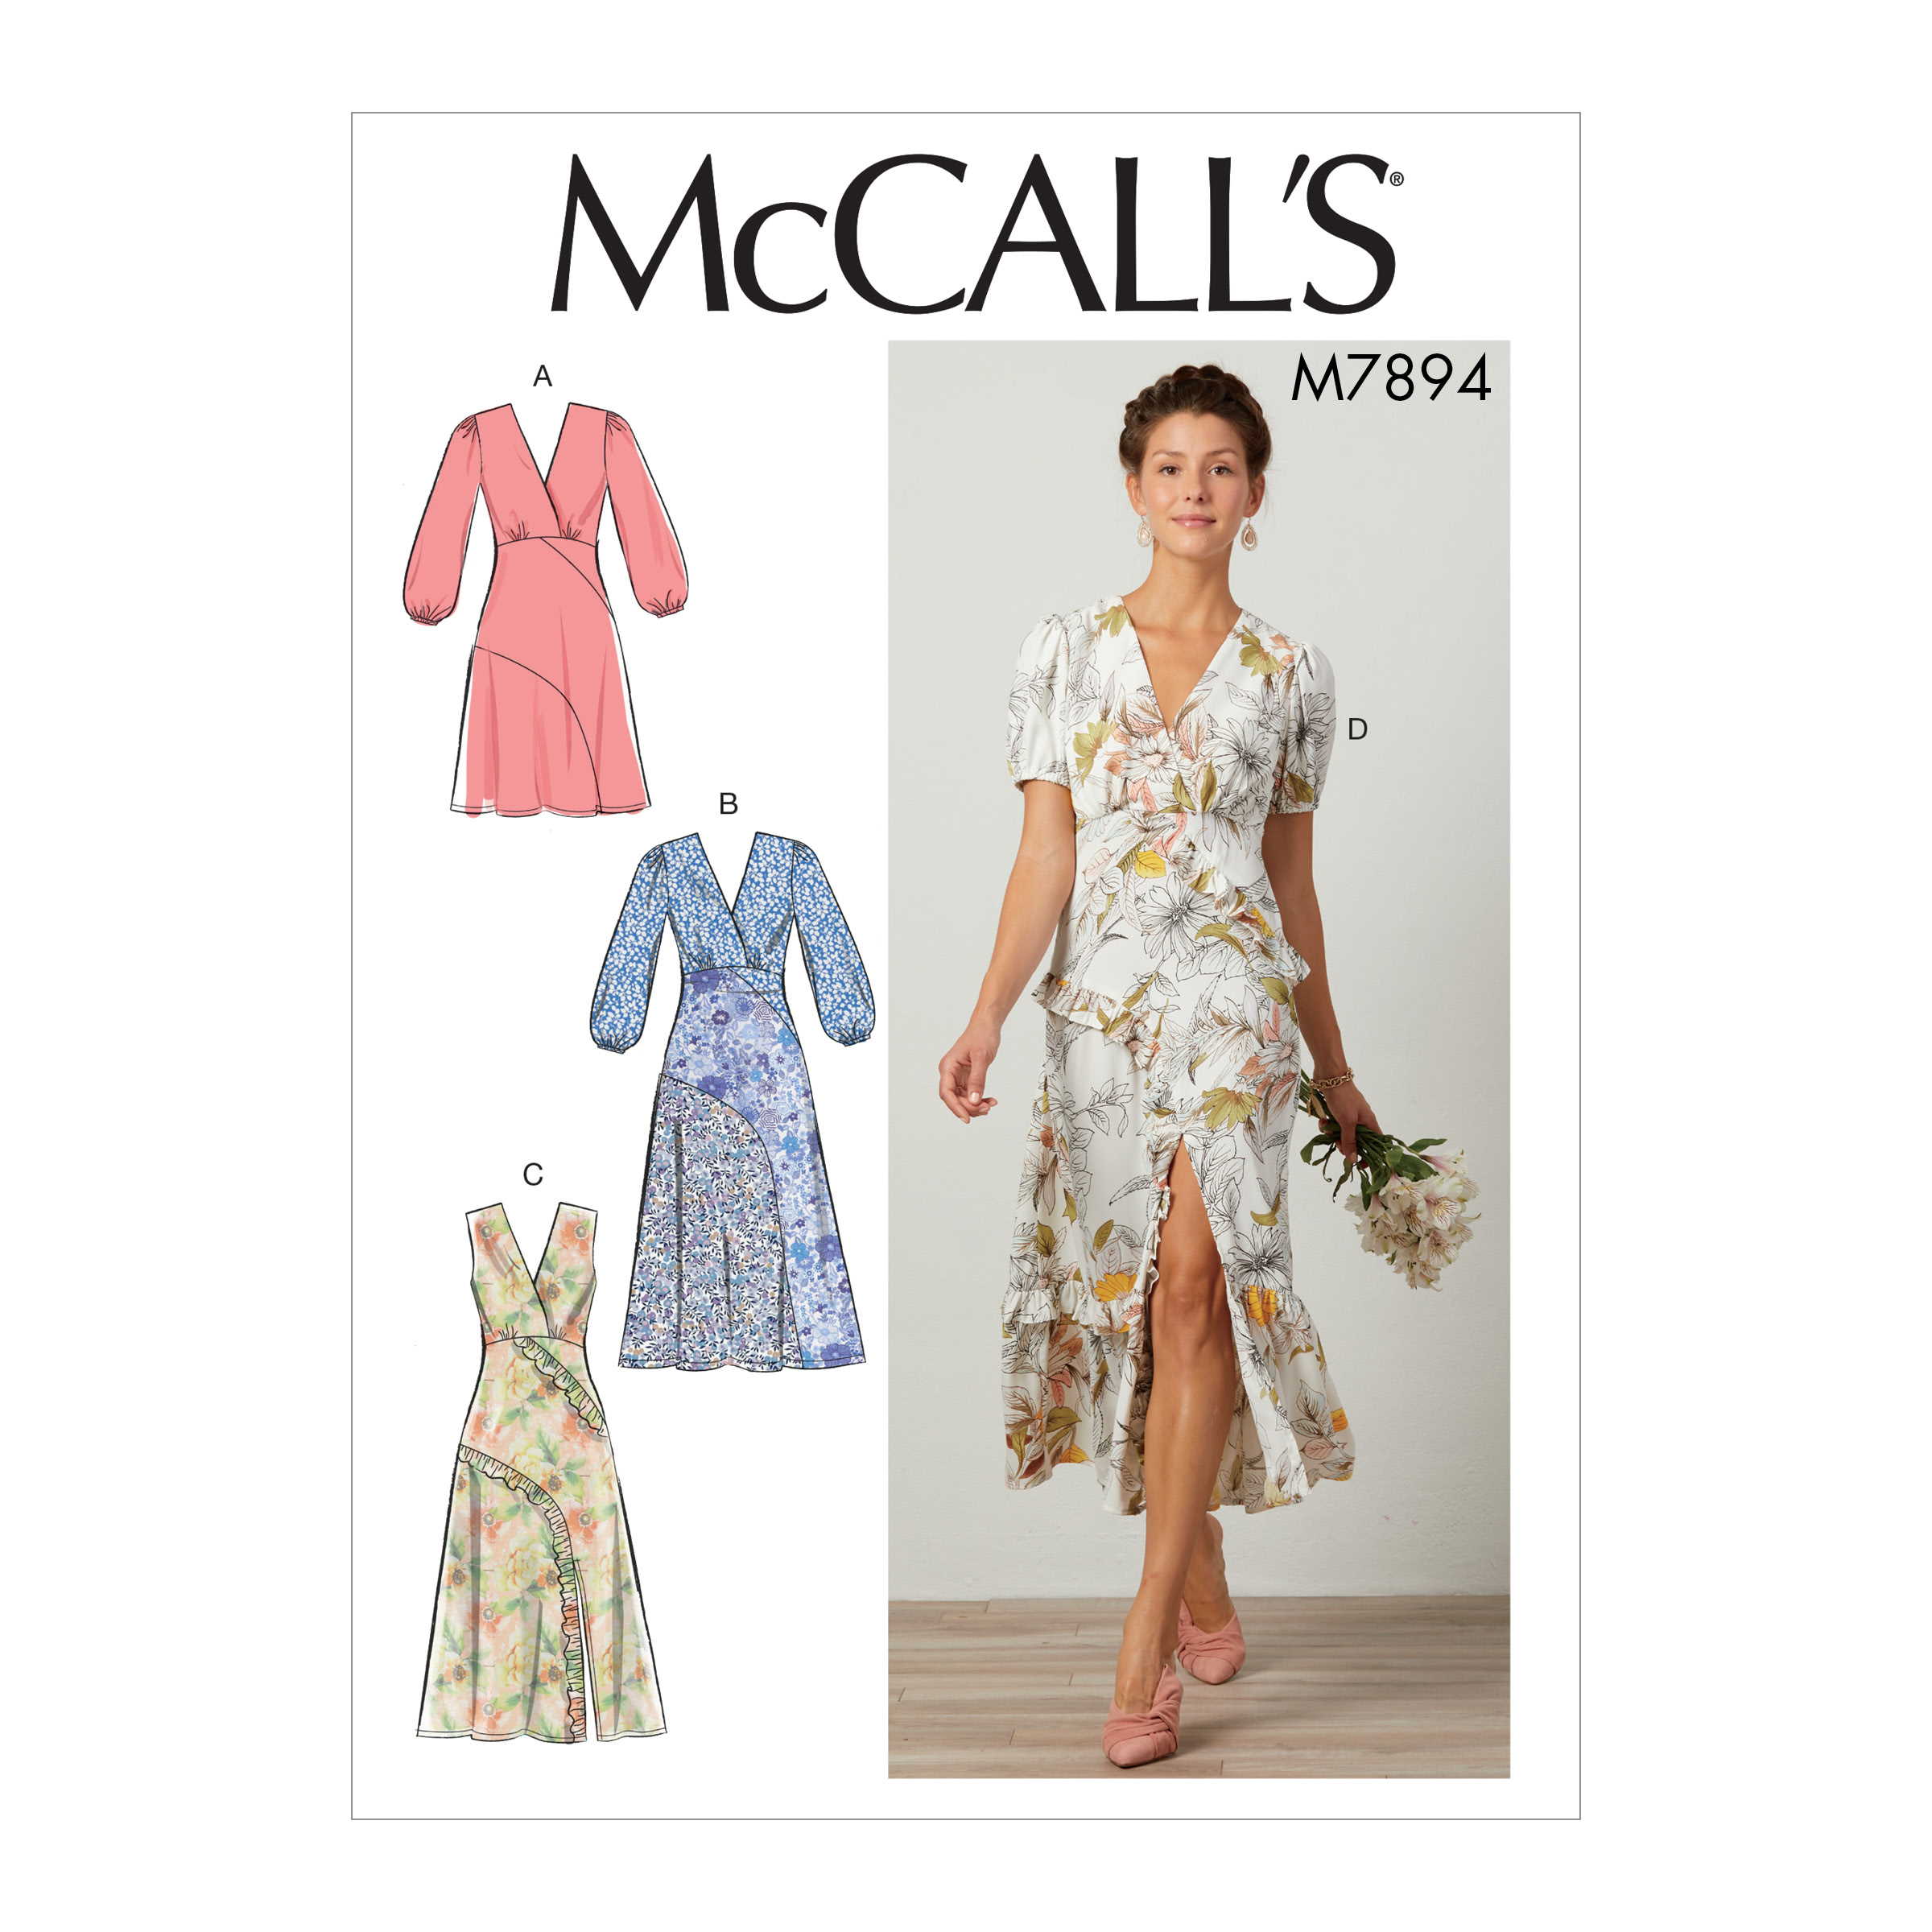
I bought the Mccalls 7894  pattern as soon as it was released! I fell in love with the seam lines and saw the potential for color-blocking and hand-sewing in organic cotton jersey.   
                             
I love the wide assortment of colors of jersey available at Nature's Fabric. I am working my way toward using all of them in time. Figuring out the combination of colors to use with this dress was the hardest part.

Laser-cut pattern weights available in my Etsy Store

In the end, I chose Coral (1 yard), Mustard (1.5 yard), Sea Blue (1.5 yards) and Off White (.5 yard).
         

The pattern is designed for woven fabrics and with a side invisible zipper. I wanted the style of A with the length of B. I made a few simple modifications to adjust it for sewing this jersey fabric.  I sized down to account for the stretch of the fabric and body skimming, but not clinging, ease. In the interest of time, I used my serger for the internal seams reserving hand-sewing for the visible seams. 


Here are the changes I made:
  1. Sew the bodice darts on lining back
  2. Stitch bodice lining front to back at shoulders, press seams open
  3. Using a wide zig-zag stitch, sew clear elastic to the wrong side of fabric along the length of front and back neckline  
  4. Stitch sides together from seam top to bottom ignoring zipper opening  
  5. Repeat steps 1,2 and 4 on bodice front 
  6. Continue construction for view A from step 5 to 22
  7. Sew skirt panels together, ignoring the zipper opening
  8. Using a wide zig-zag stitch, sew clear elastic to the wrong side of fabric along the waistline top 
  9. Continue sewing per pattern instructions
I love the look of hand-sewn stitches and with this color-blocking I could not resist adding them here. I folded the seams to one side and with button and craft thread and a hand-sewing needle, stitched them down. I used a double strand of button and craft thread because of its strength and weight.  I did not apply these stitches to the waistline or neckline because it would reduce the stretch.


Brace yourself, I am giving you a close booty shot next. Not a normal angle for me, but the lines of the blocking work really well in the back.


Because the jersey does not fray, I left it raw to curl in time.  


This turned out exactly as I expected. I am on the fence about how I feel about the sleeves, however. I have a baby face and I am often mistaken for much younger than I am. The gathered sleeve cap and elastic casing with these crayon colors feels a bit "sweet" to me. I may remove the casing  and let them flow loosely. What do you think?


This dress is very comfortable to wear, it is like wearing my favorite t-shirt with a twist. I am thrilled with this final color combination and see the potential for another, maybe in maxi length, on the horizon.


Happy Sewing,
Bianca


Tuesday, April 24, 2018

Old Fashioned and Futuristic At The Same Time? Vogue 1576

                                                                                                                                                                     
Have you ever seen a pattern that touches a special part of your brain, resonating? I always feel that way when I see a slightly weird, unusual or wonky pattern.


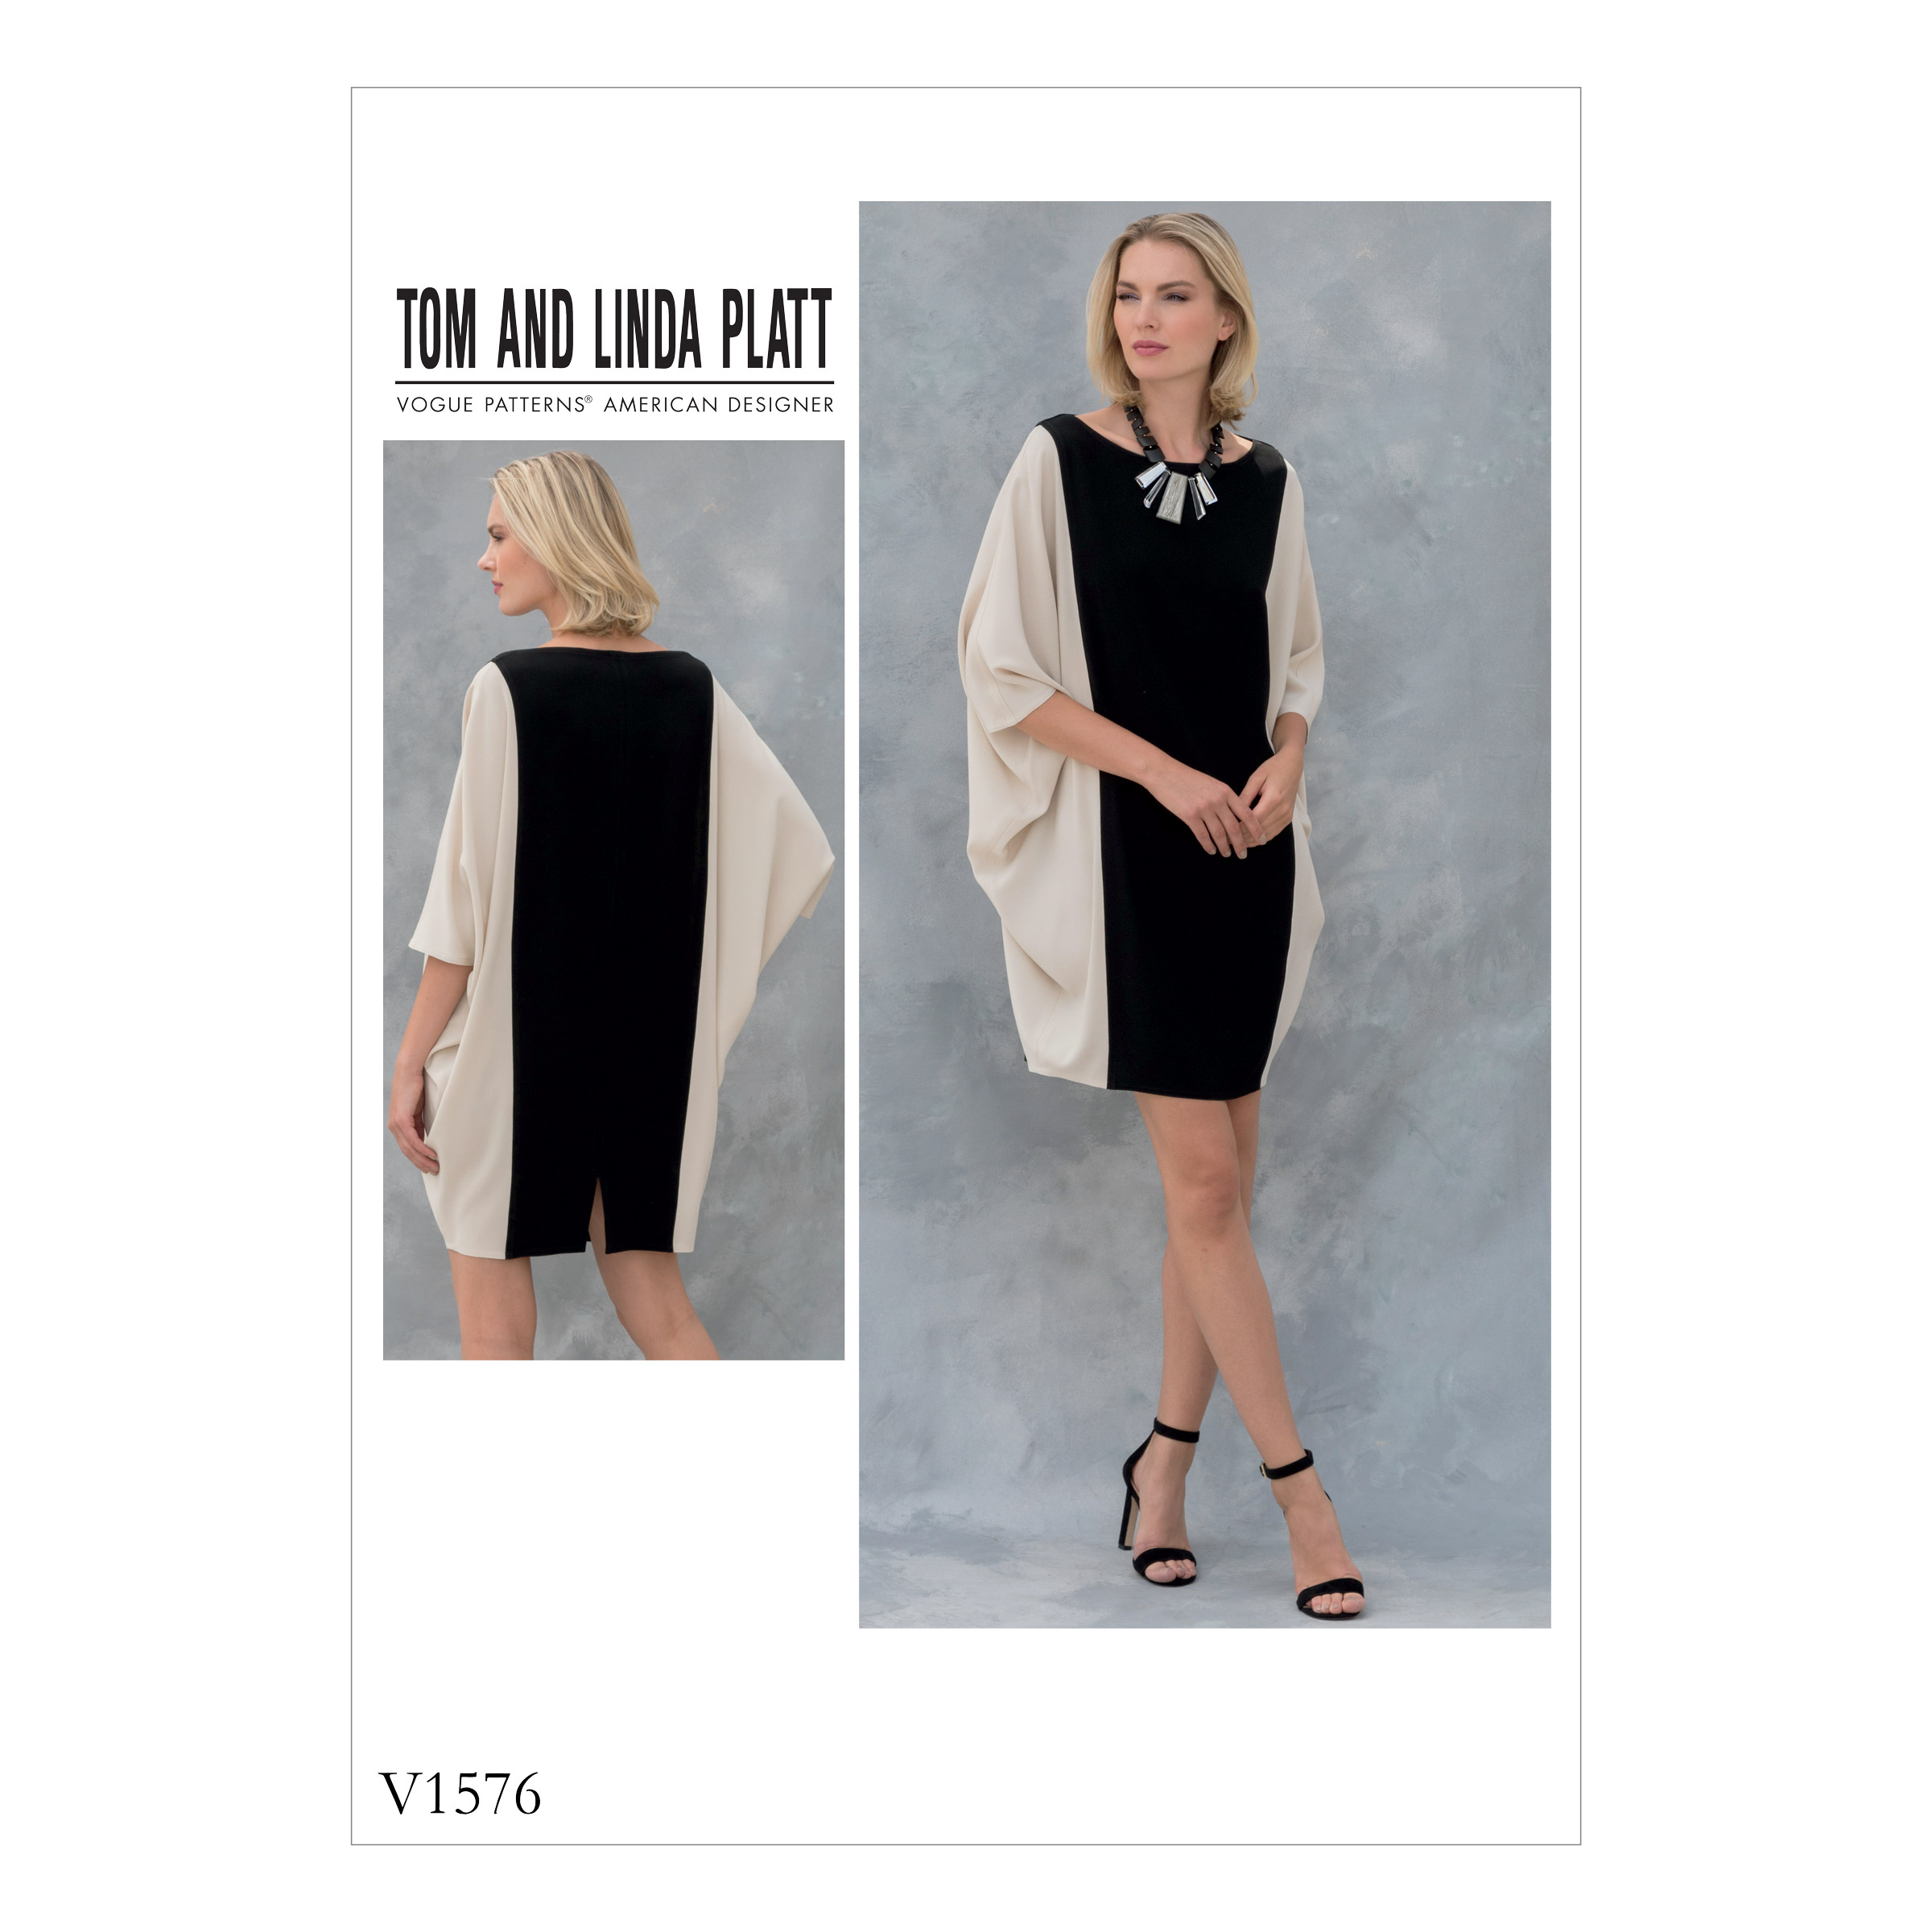
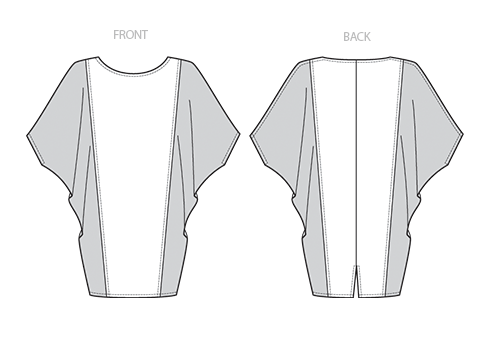
Vogue 1576 touched that bit of my brain the moment I saw it. I love the retro '80's feel of the sleeves with the mini length. I was a kid when this look was trending back then. I wasn't in charge of my clothing choices, so I never had the big sleeve clothes. Deciding to buy this pattern when it was released, felt like childishly cheeky rebellion.
Image result for vogue 1576Image result for vogue 1576
I love the color-blocking and seam lines of these fancy secret pajamas. Upon seeing it. I knew immediately it would be a candidate for a hand-sewing project. There are no finished garment measurements for the bust on this pattern. There is also no indication of ease. My rule of thumb on making these jersey projects is to cut based on the finished garment measurements of the bust. When that is not given, I cut my ready to wear size and tweak the seam allowance to decrease or increase where needed. 


I made a stencil featuring mod circles and semi-circles. I chose Black and Natural cotton jersey from Nature's Fabric. I airbrushed gold fabric paint on the top layer of the center panel. (If you do not have an airbrush, Tulip Color Shots, applied in thin coats works well.) 


Next, I put the top layer on the right side of the bottom layer and sewed them together using a running stitch. The button and craft thread is twisted off the spool. I smooth it out with my fingers before stitching. I like to use a sashiko needle because it allows me to load many stitches at a time. After finishing a shape, I tie the ends off with a double knot on the wrong side.


Once the embellishment is sewn on the center panel, I created the applique texture. I separated the top layer from the bottom layer and cut away all but about 1/4 inch outside the painted area.


For garment construction, I deviated from the pattern slightly. I sewed the internal seams on my machine (3.5 stitch length) and after, I topstitched them down by hand, felling them toward the sides. I began with sewing the side fronts to the center front, then stitching the center back, followed by sewing the front to back at the sides. 


The sleeves are hemmed with a simple edge turned under and topstitched. 


All the stitching is time-consuming, but very satisfying. I love the tone-on-tone look on the Natural fabric and the contrast on the Black. 


The dress hem is left raw and will curl slightly in time.


The neckline is finished with a simple bit of bias, folded and stitched to the right side then, flipped inside. The seam allowance is hand- stitched down to keep it from rolling and add interest. 


My husband is my biggest supporter, sometimes to a fault, failing to see issues because all he sees is me. He is usually immediately effusive with praise of all my creations. When I came downstairs to show this dress to him, he was speechless; absolutely dumbstruck! When he gathered his thoughts, he expressed his fascination with this one (and my legs). He felt it was old-fashioned and looked like it was from the future at the same time. He would not have pegged this as a style for me, yet he could see my style all over it. He likes it and is confused at once. I love that!


This pattern is not for everyone. At the time of my writing this post, there are no photos or reviews of anyone having made this. I hope this dress changes a mind or two and someone else makes it. It is comfy, kooky and I think classy. My hand-sewing took a relatively short  two weeks of intermittent stitching. If you want to give it a try, this stencil and my drops stencil are available in my Etsy store and the fabric is a good deal at Nature's Fabric.

I am curious to know your thoughts on this pattern and my interpretation of it. Please be kind! 


Happy sewing,
Bianca