Showing posts with label sewing in my time machine. Show all posts

Wednesday, April 17, 2019

Springtime Calls for Bold Florals, Sweet Stems and Versatile Dressing


Do you have a sewing task that you have avoided because of repeated failures? For me it has been sewing buttonholes. When I started sewing all those years ago, I wanted to make all the things! I had a good foundation in sewing and did not expect problems not of my own making. No matter how well prepared I was, I would have one or more failed buttonholes. It got to the point where I just decided it wasn't worth it to try and fail with them. I have a new sewing machine with digitally calibrated buttonholes. I figured it is time to tackle my fear.

Looking through the Riley Blake catalog at the Sweet Stems collection, I was inspired to make a floral shirt-dress. I was drawn to Sweet Stems Main Dark Blue and  Sweet Stems Dots Green. The beauty of these prints could surely get  me over my buttonhole aversion. 


I wanted a pattern to use both of my fabric choices and reached into my vintage pattern stash and found Mccalls 4992.

Image result for mccalls 4992 vintage

This maxi shirt-dress pattern with its back/shoulder yoke and waist tie was a perfect canvas for these fabrics. The construction was a breeze and the buttonhole anxiety was much ado about nothing! All of the buttonholes sewed effortlessly on my Bernina 535. After stitching, I added Fray Check to the front and back of the buttonhole, allowed it to dry, then cut them open with my buttonhole cutter. This gives a cleaner cut to the threads and prevents frays over time.


I wanted to bring in a bit more of the contrasting fabric to the front of the dress. I used a button cover kit to make my own fabric buttons. It was a quick and easy process and a fun addition to this dress.


I am working on making a wardrobe of interesting yet, everyday wearable pieces. I love that this dress can serve as a layering piece over my staple of jeans and a t-shirt.


I love the ample crescent shaped side pockets that eliminates the need for a handbag for quick trips to pick the kids up from school.


I added simple thread carriers to the side and center back seams. Though not functional when worn open, I like the look of the belt tied in back.


The contrasting fabric balances the bold floral by adding an unexpected interest.


When I need to be more than casual Mama, I love wearing it as intended buttoned-up and with its' twice wrap around belt tie. 


This is a slight departure from the dresses I normally make and I am liking it loads.

The belt pulls in the fullness in the back for a nice silhouette. 


I love this dress and how I feel triumphant in finally getting past my problems with buttonholes. 


What sewing related task do you avoid because of fear or failure? It took a machine upgrade to get me through it. What do you think will get you past yours?

Happy Sewing,
Bianca


Saturday, August 19, 2017

Falling in Love With Caftans

You guys! You will have to stop me from making my new love, caftans. I know you may be thinking I am nuts for loving these shapeless frocks, but I do.


Photos taken by my 8 year old :) 
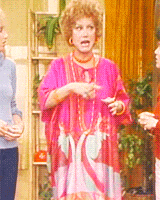
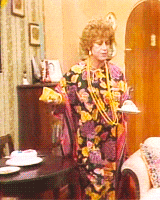
For better or worse, I grew up watching Mrs. Roper on Three's Company. Her Bohemian  clothes, along with her attitude subconsciously imprinted on my fashion sense.

Image result for mrs. roper caftan Image result for mrs. roper caftan Image result for mrs. roper caftanImage result for mrs. roper caftan


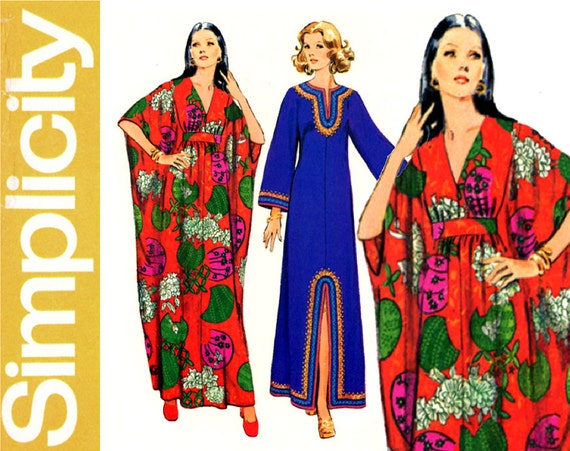
I own many caftan patterns and discovered that I had 2 Simplicity 5315 in my stash and knew it was time to get one made.

                                  Image result for simplicity 5315


This pattern requires almost 4 yards of 60-inch fabric. I had 4-yards of a fun black and white stripe fabric in my stash. It is a rayon/lyrca jersey that I bought from Fabric Mart a year ago. 


The fabric has a combination of wide and thin stripes across its width. I played with the placement using the thin ones on the upper bodice, wide ones on the skirt and a cut of black for the midriff.  
  

The back of the dress required no manipulation of the print of the fabric.


I really enjoy sewing older patterns because I learn so much. Before sewing this up, I was curious about how the armhole would be finished.


I had concerns that the weight of my knit would make the opening flimsy, but it turned out great!  


Many caftans are voluminous AND shapeless. This one has some built in shaping that makes it more appealing. The midriff can be adjusted inside with seam binding ties that wraps and is secured around the body.


That feature along with deep V-neck makes this one a winner.


I think if Mrs. Roper wore this caftan, she wouldn't have had to work so hard to get some loving from Mr. Roper.


I will be making more caftans for sure. I am not sure if it will be from this pattern or if I will try the others in my stash. If you look closely at the photo above, you will see a line at my knee. After two knee surgeries last year, one on each knee, I am wearing braces daily. It has been very discouraging to live with chronic pain and feel out of control with my body. I have not been able to get in minimal daily step requirements or do cardio exercise for most of the year. Daily frustrations, weight gain and pain forced me to be a stronger advocate for my health. I demanded more from my doctor and my new braces are part of  my new treatment plan. They are unattractive but helping my physical and mental health. 

I love that I sew. I can make clothes to suit my physical needs and provide a creative outlet. My future sewing will include more maxi length dresses, tunics and caftans. Lucky for me, injury or not, that's what I like.

Side note: Be sure to sign in to my interview on That Sewing Blab on Tuesday. See the previous post for all the details.

Happy Sewing,
Bianca

Saturday, September 12, 2015

Improve Boring Wovens with Reverse Applique


Waiting, waiting, waiting! So we are waiting to find out who advances and who
has won the first round of the PR Sewing Bee. While I have a few “must sew” 
commissions that I am working on, I needed a creative break and decided to 
try a reverse applique process on woven fabrics using an out of print Muu-Muu 
pattern. 

               S8793

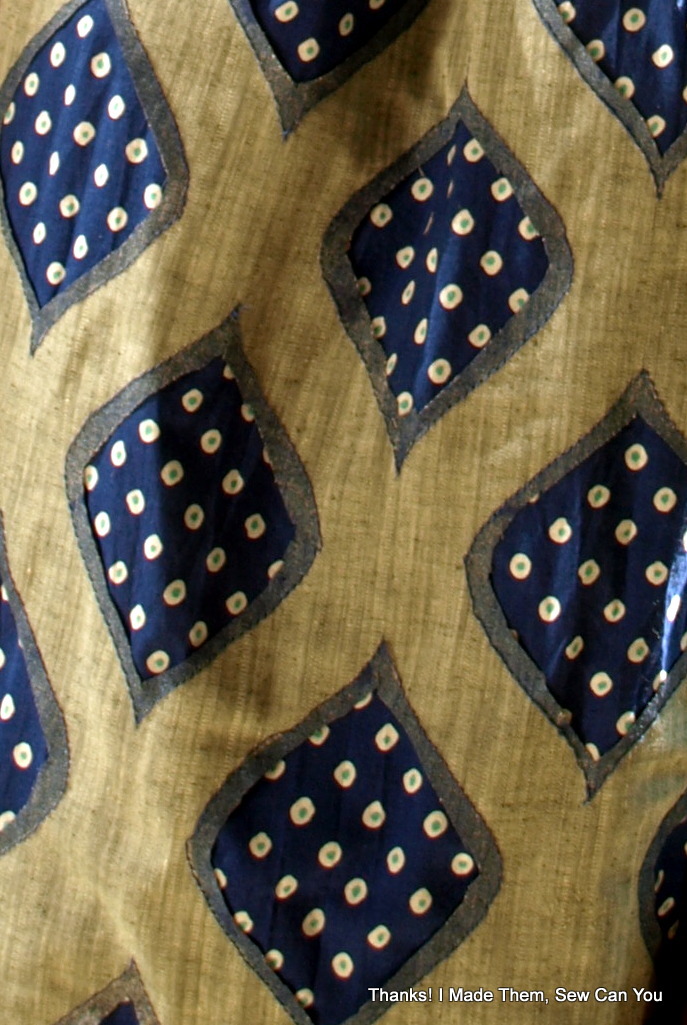
I “made” my fabric to transform my fabric. I used a boring grey (I am from the Bahamas and this is how we spell it) colored cotton for the exterior of the dress.  I stenciled a design on the top fabric using blue metallic fabric paint. 

Once dry, I basted the cut fabric pieces together, wrong side of solid to the
right side of the print. I machine stitched around the shapes using cobalt blue
topstitch thread and an open toe foot.

I toyed with adding accents of white embroidery floss around some shapes. Given the style of the pattern, I decided it did not improve the overall look I was going for.
I am very excited with this result.


Such a pity to have to remove the middle painted areas. It is my fault for being lazy and not airbrushing, I used a pump spray with a less precise nozzle. 
Let it dry before removing the stencil.
                 

Once all stitched, I cut away the middles leaving a little of the painted fabric along the edge. This revealed the blue, white and green Lissette print fabric beneath.

Cutting with extreme caution.


Reverse Applique Dress in Woven Fabrics.
    
I really like the fun of this neckline.
I sort of stitched it up per the pattern instructions. It had a lot of ease and was a bit more paper baggy than I liked. I took an inch from the sides and added back darts to adjust the fit. I reversed the opening to the back so as to not interrupt the pattern on the front. I made a ridiculously long tie for the back. I sometimes get dressed alone find a long tie easier to work with.


I left the back plain for contrast and speed.


Did I add pop to the drab grey or what?
Close up of shapes.


I had such fun making this! I was not sure how it would all work. I am thrilled with it! This was a test for future sewing exploits. I am still tweaking the process and have not washed it yet and am curious and excited to see what happens. I plan to make test other shapes, patterns and variations.  As I do more with it, and use different fabrics, I will keep you posted.

Happy Sewing,
Bianca  

Sunday, April 19, 2015

Hand Sewn Details on DVF Vogue 1663.

I like an underdog. I like to root for the long shot, the geek, the less than popular one. We all know the quintessential DVF wrap dress and are familiar with the popular Vogue 1549 pattern. I made the dress for myself last year. This time around, I have sewn up an underdog DVF dress pattern from my stash. 


Vogue 1663
I love a good maxi dress and even better if it has pockets. This dress is a semi-fitted and slightly flared, pullover dress. It can be worn three inches below mid-knee or evening/maxi length.  It has a pointed collar, cutaway armholes, front button and self-loop closing and pockets in side seams. It has a self-tie belt holding in fullness at waistline. The pattern calls for topstitching, but I chose to extend it with all over hand sewing. 
This is not a multi-sized pattern but lucky for me, my copy is a size 10 requiring no modifications. For fabric, I  used an interlock knit that is buttery soft. I found it at a Value Village resale store. It had been hacked up by the previous owner, but I saw the potential in what was left. 

The instructions are great on this simple dress and it came together very fast.

I love a flowy maxi dress. This dress is shapeless and drapey without the belt and fun in that "Mrs. Roper's" from "Three's Company" way. 


With the belt synched, it has less of a boho feel. 


Back
Pockets in a knit can be tricky considering the weight of the contents. These pockets are great. The pocket extension on the pattern factors that in well. I can put my cell phone and keys in them without bulk or distortion. 

My favorite thing about the pattern are the seam lines, the collar, and front opening. They were a perfect canvas for hand-sewn topstitching. I had not done hand-sewing in a long time and I missed it (thanks Helen for reminding me)

Hand- sewn top-stitching details on dress worn by  My Custom Dress form.

Front details

Hand-sewing along side seams. 
I machine sewed the majority of the internal seams and used button and craft thread to add hand-sewn details to the seams. I stitched the approximately 20 feet of seams all down by hand. It was not as bad as it sounds and worth it. I cut the skirt at the hemline and left it with a raw edge. 

If you get your hand on this out of print pattern, I say grab it and give this unsung pattern a go. 

Happy Sewing,
Bianca

Thursday, March 12, 2015

Twister Rain Poncho Using Simplicity 6630

I'm sure it's a great game, but I have never played Twister. I was recently given the game by a friend who was decluttering. I opened the box, saw the fun polka dots and felt the feel of the plastic. I immediately knew my non-playing Twister streak would continue; it just screamed protective rain gear! The plastic would be a perfect and the fun colors would brighten my spirits on a cloudy rainy day.

A single play mat is sufficient yardage to make a raincoat or small poncho depending on the pattern layout and design taste. I really wanted to maximize the "Twister" text and to be certain I had more than enough "fabric",  I sought out a second mat and got to work.


I have many good candidates in my pattern stash for this project. I was anxious to get started so I decided on my Simplicity 6630 reversible poncho pattern. I know it works and it was already cut. 

I made a few changes to the original design. Here are the construction elements:
  • I choose a tone on tone cotton fabric for the lining. After cutting the Twister fabric out I serged the individual pieces to the matching lining pieces. With right sides together, I  stitched all but the top together then turned and pressed the lining side with a medium heat setting. In doing this, I finished the edges and added weight to the poncho.
  • Omitted the center back seam.
  • Installed a separating zipper to the front
  • Secured the sides with black heavy duty snaps
  • Added a pocket on the right side, camouflaging it somewhat in a green polka dot. 
  • Positioned the hood to accommodate the word Twister only partially maintaining the back seam of the hood. 
  • Lined the hood with the Twister fabric so it is visible when flipped down.
  • Topstitched the outer edge of the entire garment securing the lining to the plastic. 
The interior seams were mostly sewn on my serger with a basic four-thread seam. The machine sewing was done using a ball point needle to minimize damage to the plastic. When possible, I stitched with the lining fabric on the bottom to prevent feeding issues with the plastic. I was able to use my general purpose foot with no problem.  
Open

Pocket

Side Snap
Zipped

Back
 
I ran a few errands wearing this today. If you are shy, do not make this; it is an attention grabber! Delighted people stopped me everywhere I went paying me compliments. I walked past a comic book store and heard a guy yell in a booming voice, "Awesome! A Twister Poncho! I want one!"    


***Update*** I am making another using the modern McCalls 6209. I will share the changes I made when I am done. 

Stay dry and Happy Sewing,
Bianca