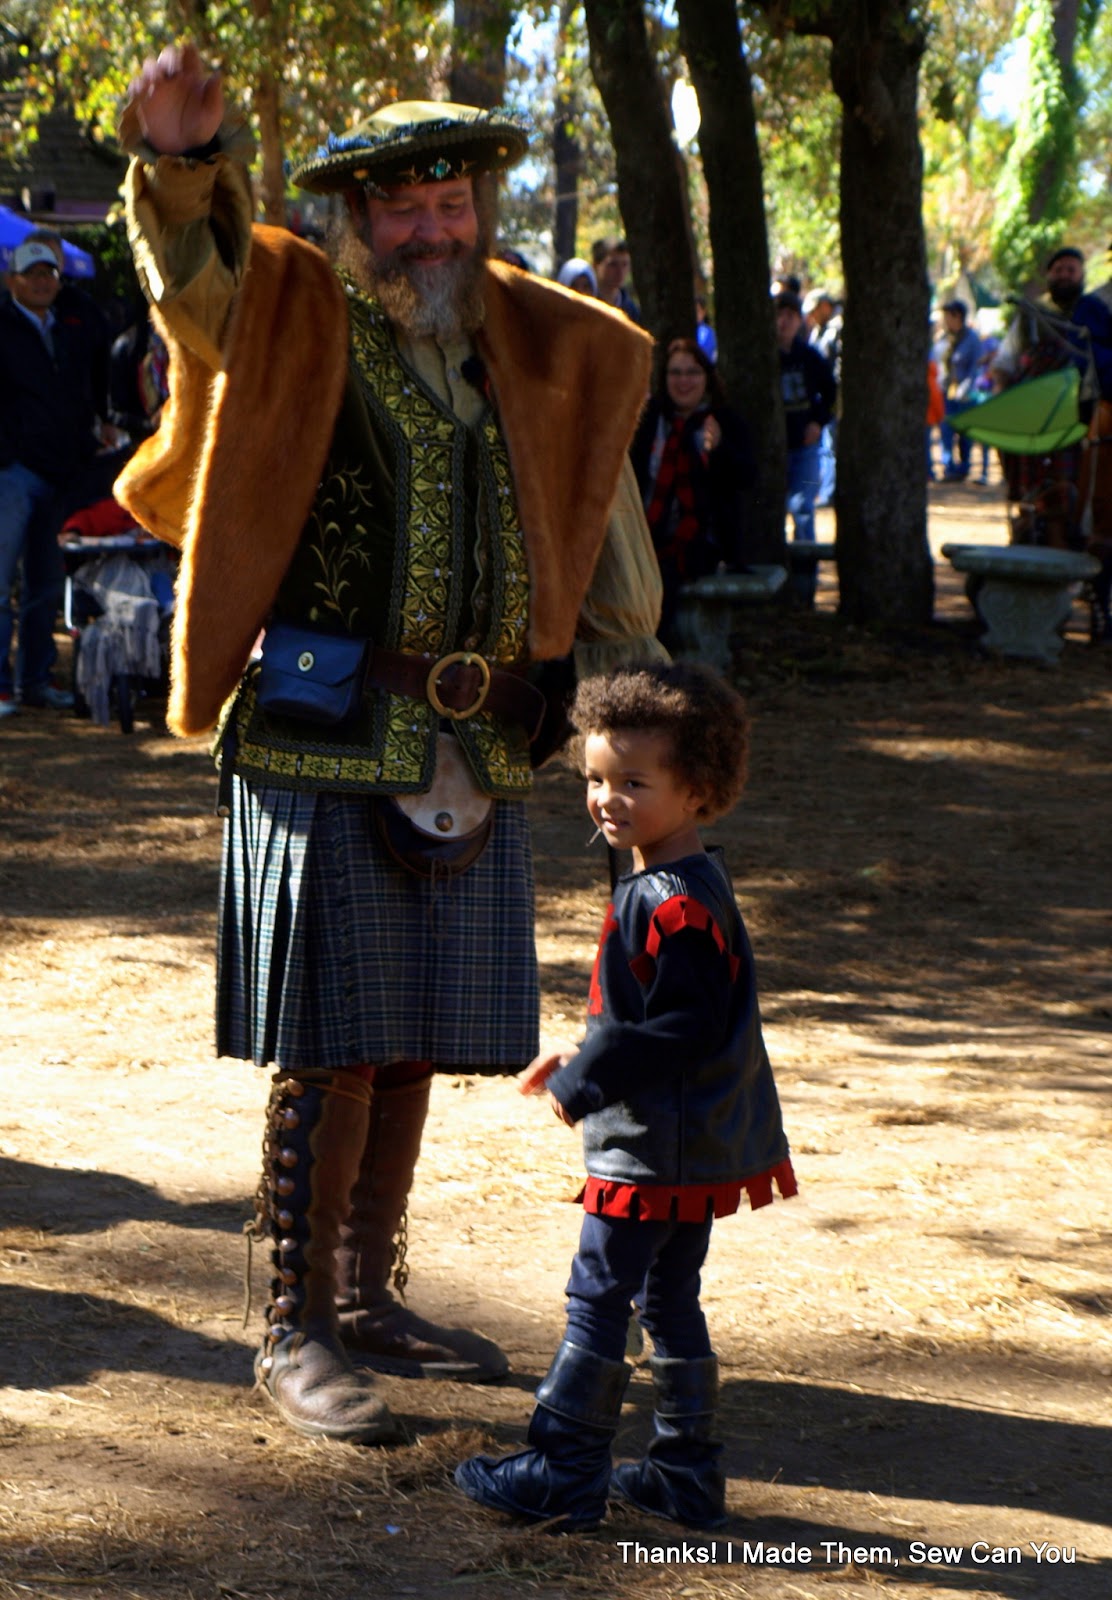
Happy Birthday to our Little Man! This darling little guy is 4 and celerated royally! For his birthday, our family took a trip to the Texas Renaissance Festival and we were accompanied by a brave knight!
Our decision to go was impromptu, but we decided to dress the part. I was pressed for time so I decided to make a costume for little man and build everyone else's from what we had on hand. Little Miss had a princess dress, so she was set. I considered this fairy costume for myself, but after checking the weather (40 degrees), I decided to refashion costumes for Hubby and me.
I knew Little Man's needed the most work, so i got started on it using Simplicity 5520.
For fabric I repurposed the leather from 2 well worn jackets that I purchased from a resale store for $.25 each! The black leather was intact, but had seen a lot of use. I wanted the costume to look like he was a veteran swordsman who had won many battles, so it was perfect!
I cut the pattern as directed using the black as the base and the red suede as accents. The crest was secured with an adhesive designed for leather use.
I decided to make a few changes to the pattern to suit my needs. That is why we sew right? I omitted the attached sleeves in favor of a fleece top to be worn underneath. I chose to finish the sleeve opening with bias tape. I am sewing this on my industrial machine, but you can use a home machine using a teflon foot and leather needle.
The pattern called for a hook and eye closure. It would have been impossible for me to attempt to sew through two layers of leather by hand. I chose instead to insert an elastic strip to the back top neck to allow for easy on and off wear. If you go this way, be sure to make sure it has enough stretch to get over your child's head.
Next, I worked on the helmet using a metallic silver knitI discovered in my stash! I was pretty certain he would not wear this for very long, if at all. He wants a huge Afro, so his hair is big. He also does not like his ears covered. He insisted he liked it , so I made it.
I tapered the front a bit lower than called for in the pattern. He hates anything touching his face and this was the only solution I could come up with. I also omitted the velcro closure in favor of elastic. Can you tell how thrilled he is with this?
In this project, I wanted to preserve as much of the original jacket as possible. For the boot covers, I decided to take advantage of the existing cuffs in the sleeves of the jacket. I turned the sleeve inside out and placed the pattern on top. Lining included, I cut the boot cover out. If you notice, the back of the cover (right side of the picture) is against the fold of the sleeve. I kept that in place and did not cut it open. This gave me one less thing to sew. The only part I sewed was the left side from the top by the clip to the point of the toe. The base was left open for the shoe. Because I kept the lining, I basted it to leather once the front seam was stitched.
I used wide elastic to secure the cover to the shoe and again finished the edge with bias tape.
They pulled up over his leggings and covered his shoes comfortably.
Every brave knight needs a shield. Lucky me, I found this shield in my local Goodwill. I removed the crest and applied my own. I reduced the pattern by about 25% on my copier and cut and the red suede for the applique. I secured it with the leather adhesive.
He was ready to do battle! Within a few minutes of entering the festival, he was invited to help with a show; he was a good sport!
For the Hubs, I made a self-drafted flannel tunic with grommets and leather ties that he paired with a loose fitting poet shirt and linen pants. Little Miss wore a princess dress she received as a gift.
For my outfit, I refashioned a peasant costume using a tiered skirt that I dyed navy blue from the original white. I paired it with a peasant top and a jersey shrug that I made using Mccall's 6845. For outfit cohesion, I also dyed the shrug.
I added a bit of flair to my costume with this jeweled face tattoo.
I think the sparkle of this drew the attention of the performer of the Ded Bob show! He pulled me onstage to participate in an irreverent comedy show.
Hubs, did not get any still shots during the performance. He was busy recording video that will never be seen outside of our bloodline :). Here we are after the show. I think the Littles really enjoyed seeing me be silly, getting boinked in the head and getting laughs.
The weekend was packed with lots of fun and new experiences for us all. Little Man is happy with his costume and I am happy with it too. If we are lucky, he will only grow up (not out) this year, so he gets more use from this.
Happy Sewing,
Bianca