Tuesday, April 24, 2018

Old Fashioned and Futuristic At The Same Time? Vogue 1576

                                                                                                                                                                     
Have you ever seen a pattern that touches a special part of your brain, resonating? I always feel that way when I see a slightly weird, unusual or wonky pattern.


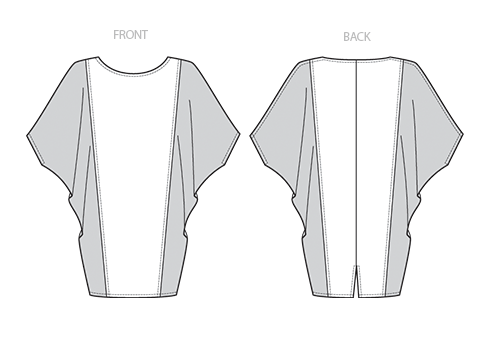
Vogue 1576 touched that bit of my brain the moment I saw it. I love the retro '80's feel of the sleeves with the mini length. I was a kid when this look was trending back then. I wasn't in charge of my clothing choices, so I never had the big sleeve clothes. Deciding to buy this pattern when it was released, felt like childishly cheeky rebellion.
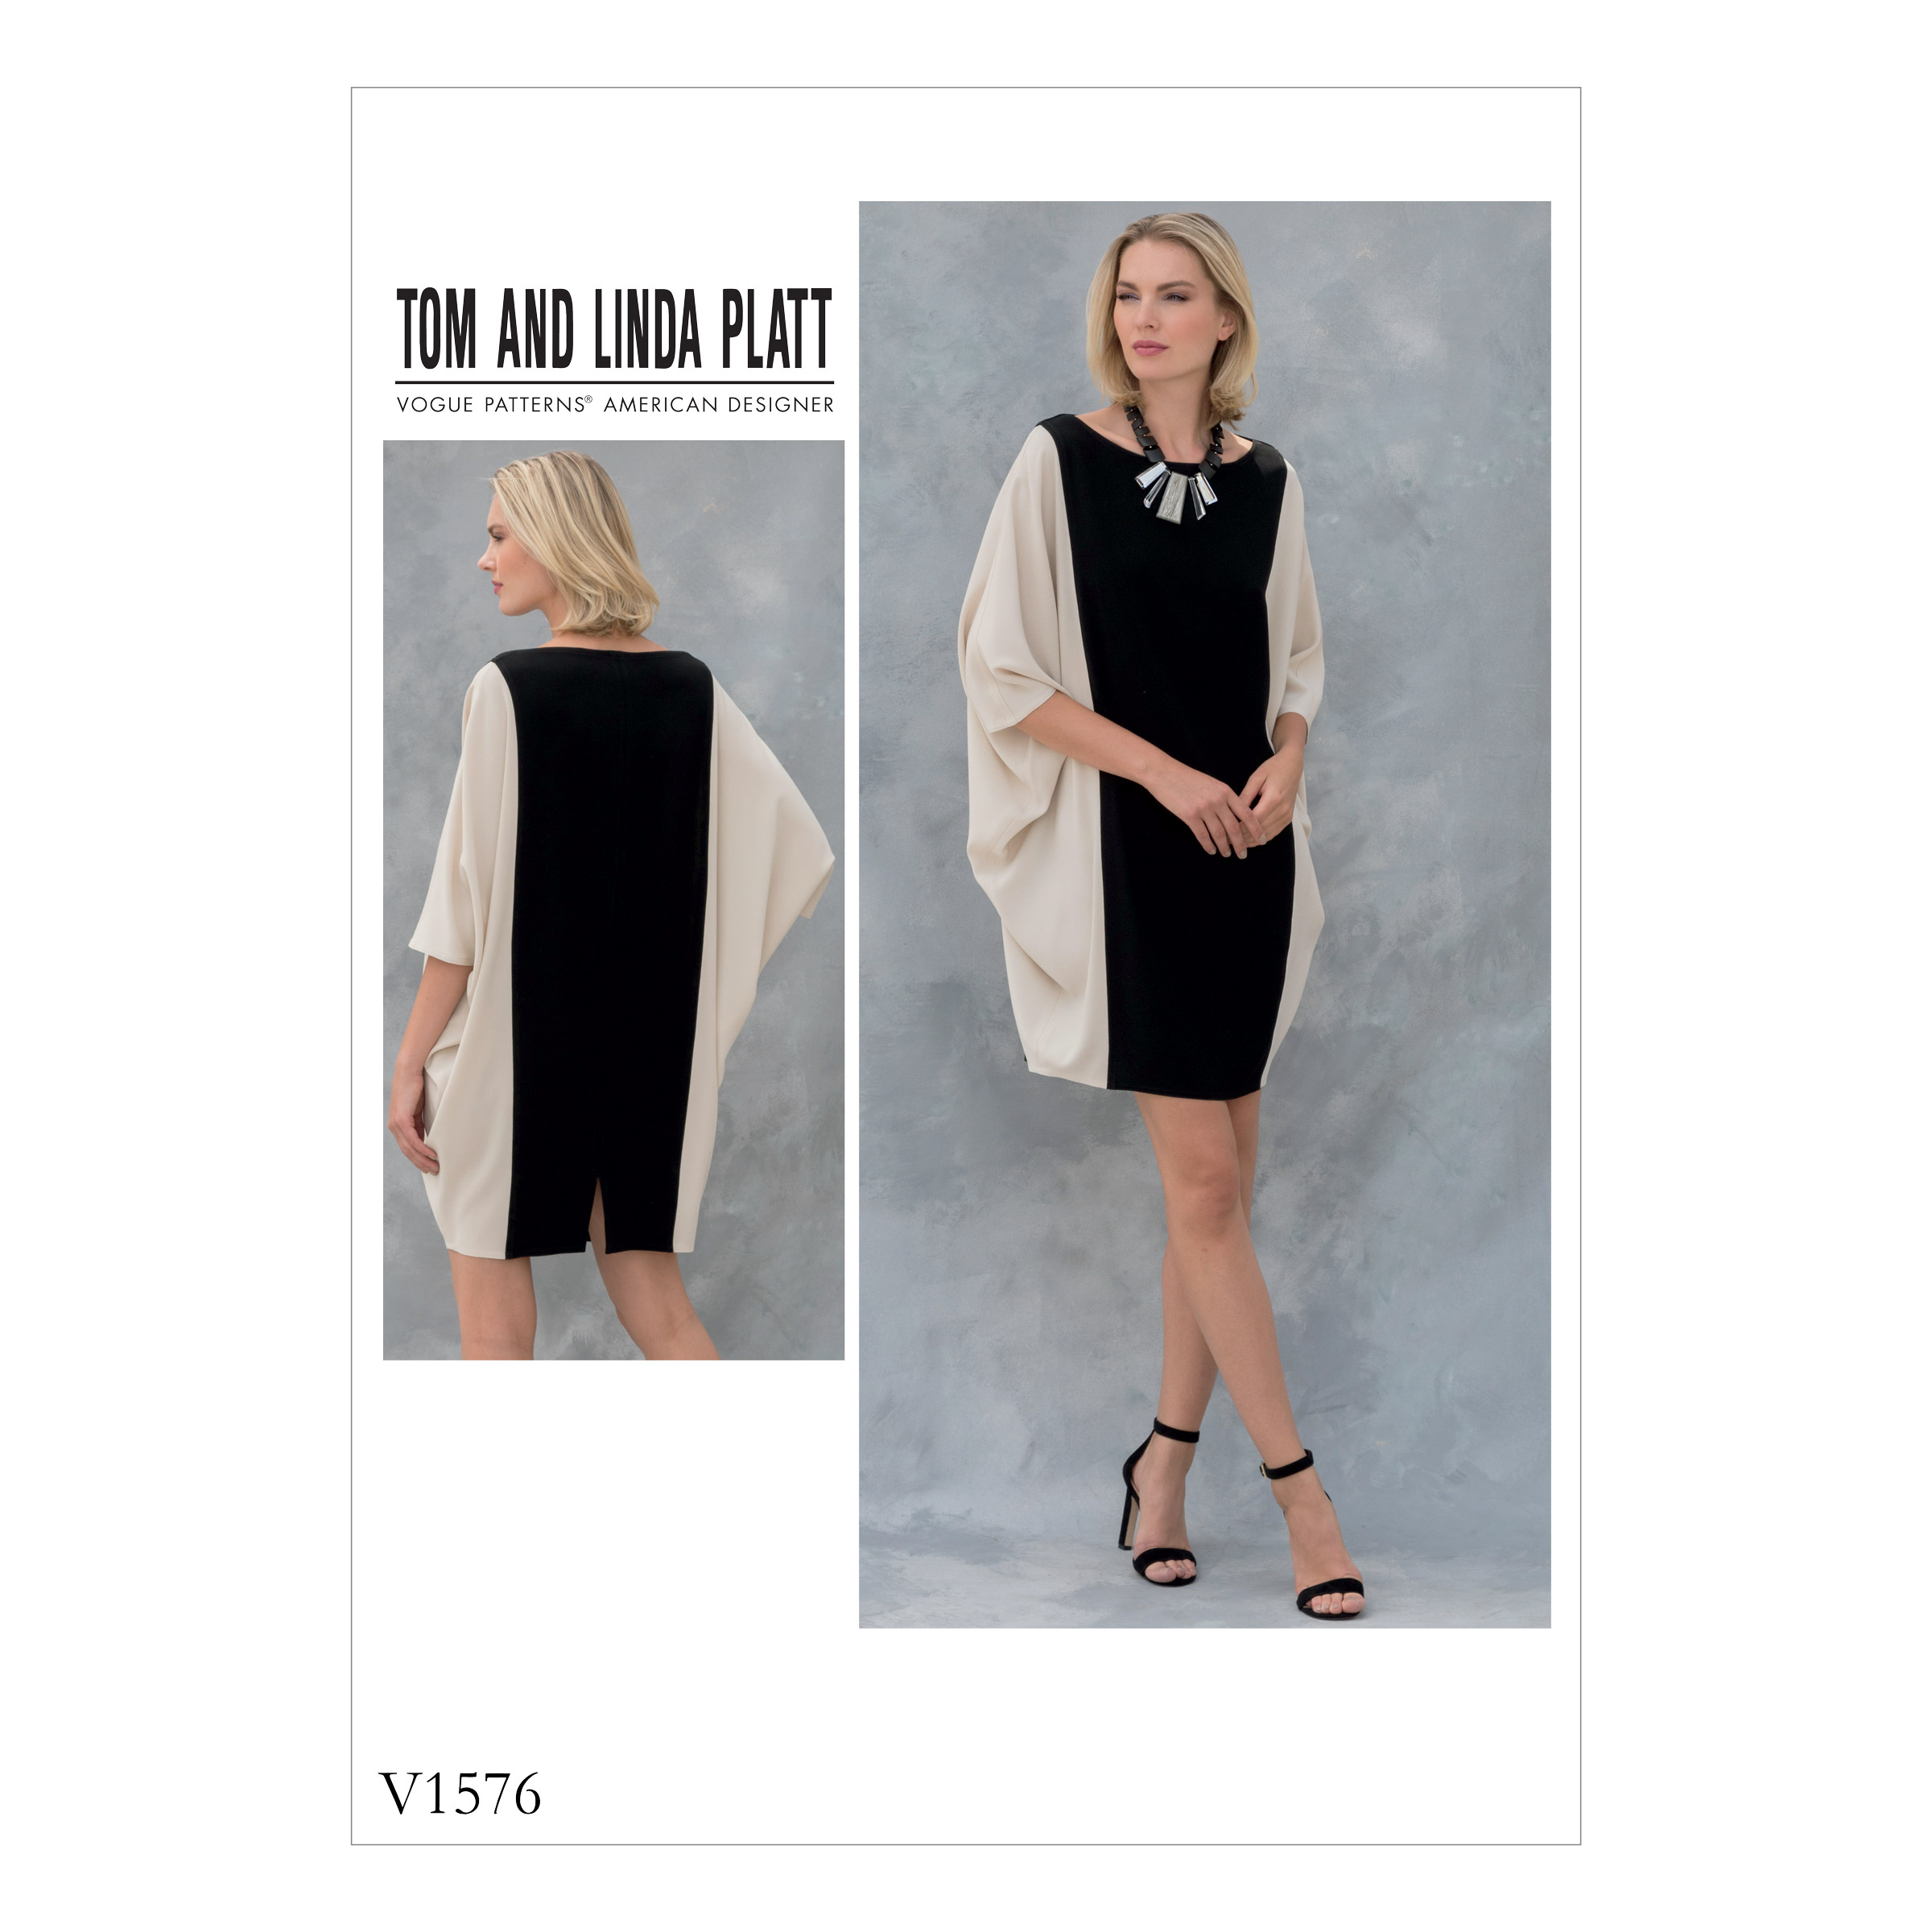
Image result for vogue 1576Image result for vogue 1576
I love the color-blocking and seam lines of these fancy secret pajamas. Upon seeing it. I knew immediately it would be a candidate for a hand-sewing project. There are no finished garment measurements for the bust on this pattern. There is also no indication of ease. My rule of thumb on making these jersey projects is to cut based on the finished garment measurements of the bust. When that is not given, I cut my ready to wear size and tweak the seam allowance to decrease or increase where needed. 


I made a stencil featuring mod circles and semi-circles. I chose Black and Natural cotton jersey from Nature's Fabric. I airbrushed gold fabric paint on the top layer of the center panel. (If you do not have an airbrush, Tulip Color Shots, applied in thin coats works well.) 


Next, I put the top layer on the right side of the bottom layer and sewed them together using a running stitch. The button and craft thread is twisted off the spool. I smooth it out with my fingers before stitching. I like to use a sashiko needle because it allows me to load many stitches at a time. After finishing a shape, I tie the ends off with a double knot on the wrong side.


Once the embellishment is sewn on the center panel, I created the applique texture. I separated the top layer from the bottom layer and cut away all but about 1/4 inch outside the painted area.


For garment construction, I deviated from the pattern slightly. I sewed the internal seams on my machine (3.5 stitch length) and after, I topstitched them down by hand, felling them toward the sides. I began with sewing the side fronts to the center front, then stitching the center back, followed by sewing the front to back at the sides. 


The sleeves are hemmed with a simple edge turned under and topstitched. 


All the stitching is time-consuming, but very satisfying. I love the tone-on-tone look on the Natural fabric and the contrast on the Black. 


The dress hem is left raw and will curl slightly in time.


The neckline is finished with a simple bit of bias, folded and stitched to the right side then, flipped inside. The seam allowance is hand- stitched down to keep it from rolling and add interest. 


My husband is my biggest supporter, sometimes to a fault, failing to see issues because all he sees is me. He is usually immediately effusive with praise of all my creations. When I came downstairs to show this dress to him, he was speechless; absolutely dumbstruck! When he gathered his thoughts, he expressed his fascination with this one (and my legs). He felt it was old-fashioned and looked like it was from the future at the same time. He would not have pegged this as a style for me, yet he could see my style all over it. He likes it and is confused at once. I love that!


This pattern is not for everyone. At the time of my writing this post, there are no photos or reviews of anyone having made this. I hope this dress changes a mind or two and someone else makes it. It is comfy, kooky and I think classy. My hand-sewing took a relatively short  two weeks of intermittent stitching. If you want to give it a try, this stencil and my drops stencil are available in my Etsy store and the fabric is a good deal at Nature's Fabric.

I am curious to know your thoughts on this pattern and my interpretation of it. Please be kind! 


Happy sewing,
Bianca


Wednesday, March 14, 2018

Hand-Dyed Shibori Spring Jacket Using Vogue 1493


Spring is upon us. In Texas, it is that temperamental place where layering is necessary because the day may begin in the 40's and end in the 80's. I have gotten used to wearing jeans and a t-shirt with a lightweight topper to add style and pop to such an uninspired base layer.  


I won several patterns during the Fabric Mart Challenge last year. It was about the same time I saw Meg at Mccalls make up Vogue 1493. I loved her grey version so much I added this to my list. 


Funny thing, by the time the pattern arrived, I had forgotten the inspiration and was certain I had made a typo when sending the pattern numbers on! Did I really want to make this? 
                                                                                                                                                                                                  Image result for vogue 1493
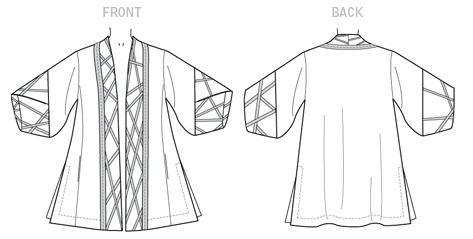
The pattern cover, as made, is not my style. When I checked the line drawings, I as was reminded of what I liked about it. 

                 Image result for vogue 1493
My knee surgery has limited my sewing output, but not my creative energy. The recuperation period gave me some time to dedicate to Itajime Shibori. I took an Indigo hand-dyeing class last summer and learned the basics on small cuts of fabrics. I had a blast and I really wanted to try it on a large scale for garments.

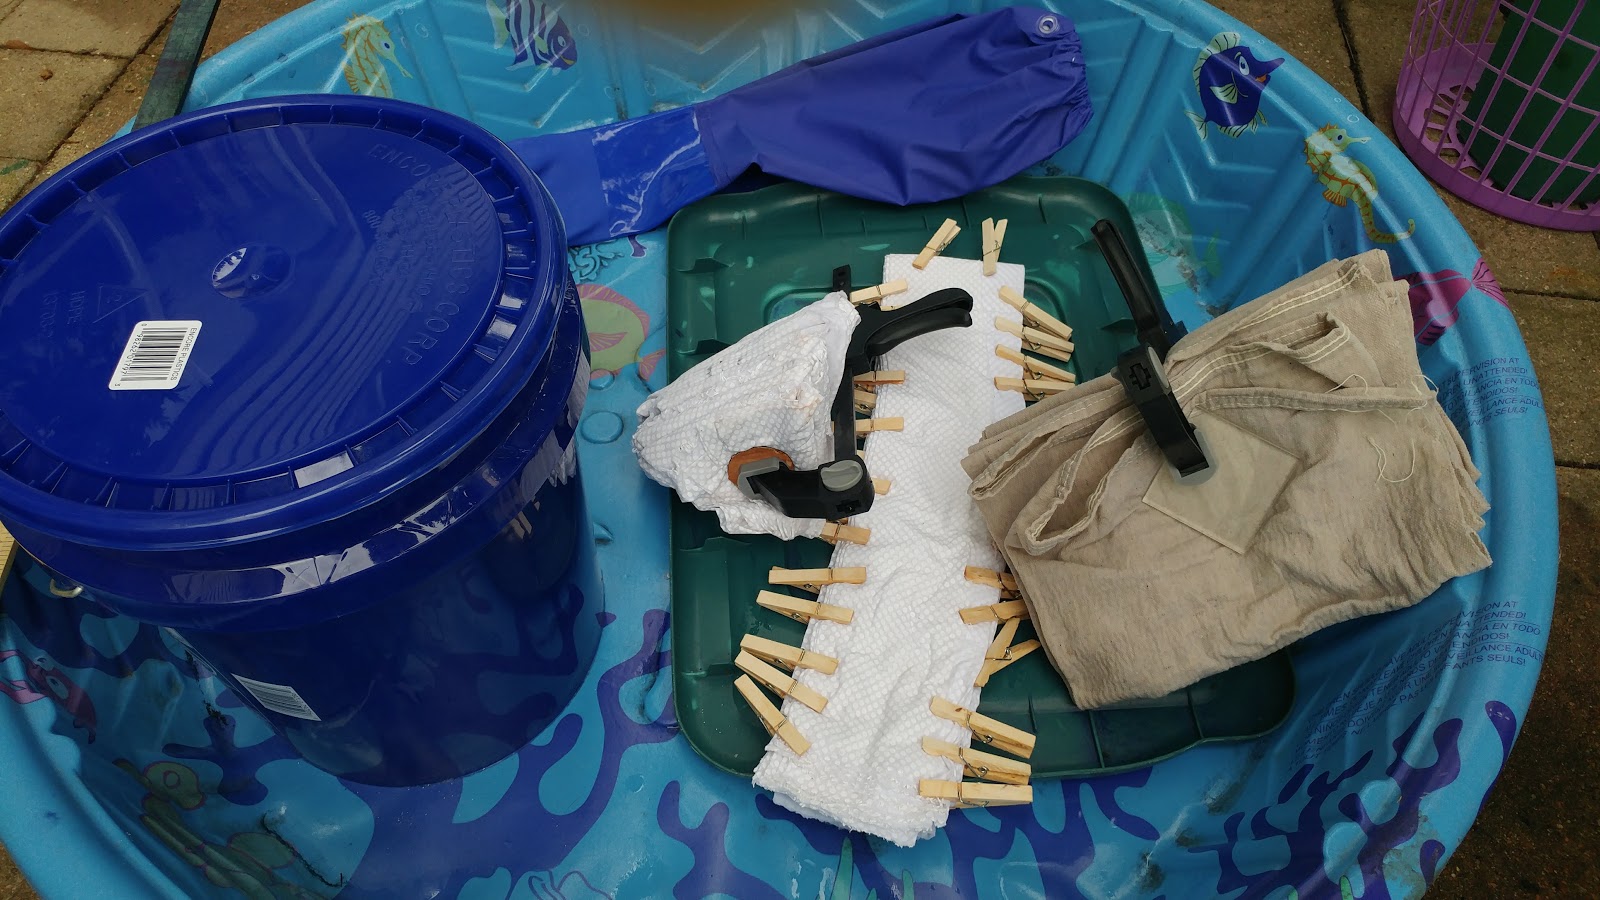
I bought an all-inclusive kit, prepared the dye bath and got to work. For fabric, I used a 10oz. canvas drop cloth from Amazon. Yes, a drop cloth! Being home bound, I was shopping my stash and this was what was available. I pre-washed it with soda ash to prepare it for receiving the dye. While damp, I folded and clamped the fabric with resist boards to prevent the dye from penetrating unwanted areas. 


I dipped and exposed the fabric in the dye bath to get the desired color. It took several hours of dipping, manipulation, air exposure and re-dipping, but I am happy with the result.
   

I deliberated between dyeing the fabric versus the finished garment. I am glad I went this way. It allowed the pigments to be evenly disbursed throughout the fabric and allowed me to play with print placement of the yardage. 


I really love the overlapping sleeve details on this number!


The weight and texture of the canvas holds the shape really well.


The pattern as made per instructions, is categorized as advanced. Without the bias and flower appliques, I would lower the skill level to intermediate. The only tricky part is the sleeve construction. It is different, but not difficult and worth it.


I also love that this jacket has side seam pockets. That makes this one a real winner for me.

 
The seams of this unlined jacket are finished with bias tape. It is the perfect treatment for the canvas fabric which has a tendency to fray. 


I have reached for this everyday since making it. It is comfy, artsy and just what I hoped when I started planning. 


I dyed a lot of fabric with my kit. I am still planning what to make with them. I hope the other projects I make will be this awesome.

Happy Sewing,
Bianca

Monday, February 26, 2018

First Coffee, Later Cocktails!


Hello Friends! I am back from a temporary sewing break. After a two-year struggle with knee injuries and multiple operations, I recently had another and hopefully my last. I was at my peak fitness and health when I had my first injury and both have been on the decline since. It has been a discouraging season and this recovery, the most difficult. Post-op, I have been in a knee brace, on crutches, and using a walker for the limited movements I am allowed. Weight and movement restrictions along with pain management, have limited my sewing during this time. 

In anticipation of this surgery and my limitations, I prepared a few hand sewing projects to work on while my right knee is immobilized. This preparation has saved my sanity many days over the past 6 weeks. Last year, I received an invitation to participate in the Day and Night Dress Challenge hosted by Elizabeth Made This. I was happy to take part and loved the dresses I made then.

When Elizabeth extended the invitation for the challenge this year, I did not hesitate to accept it. This year, we are tasked with making a dress suitable for a coffee date with friends and another for cocktails. When I accepted the invitation, I wasn't sure how I would make it work with my restrictions, but I knew I wanted to try. 

I really enjoy slow-stitched and hand-sewn projects. After investing much time and money in books and classes, I decided to no longer support, and buy from Alabama Chanin. Since then, I have been looking for a new supplier of organic cotton jersey fabric and stencils. In my new role as the Nature’s Fabric brand ambassador, I feel in love with the  wide range of regular and organic cotton jersey fabrics available. I was excited to try them out and knew a slow-stitch project in this down time would be perfect. 

Here is my coffee date dress.


I love the lines of Butterick 6241. I chose this pattern because the center panel was a perfect canvas for an embellished accent. The lines of the sleeves, bust, center back seam and pockets were perfect for top-stitch highlighting. I thought the zipper and collar would distract, so I omitted them.

                Image result for butterick 6241Image result for butterick 6241

I used "Graphite" jersey for the exterior of the dress and "Sun" for the background color. I love this color combination and happiness of the yellow. This organic cotton jersey is great! The colors are strong and the weight has nice drape without being clingy. The combination of the two layers is firm without being rigid.

                                                               
I have been learning to use a laser cutter and making my own stencils! I used it to paint the motif using a light grey fabric paint before sewing the layers together with white button and craft thread.


 Once all sewn, I removed the middles to reveal the color beneath.


I love the large pockets and accents of the top-stitching on the flat-felled seams.  


Despite the hand-sewing, it sewed up faster than I expected and is very comfortable to wear. The fabric is a dream to sew and I loved how this dress turned out. I was so pleased with it, I made another! 


This "Heather" grey and "Graphite" version is sewn with an applique technique with the same stencil and white fabric paint.


With this technique, after stitching, the outside of the shapes are cut out leaving about  1/4 inch of the fabric beyond the paint. When washed, the raw edges will curl adding to the texture of the shapes.


The neckline is finished with a folded bias band that is top-stitched down. The sleeves and hem are left raw and will roll when washed.


How fun are these over-sized pockets? They are perfect to hold the many things I "have" to take with me as I move from room to room on crutches.


This dress is heavy in my rotation. As I make more stencils, I will be making many more. If you would like to make an embellished garment like these dresses, it is surprisingly easy. You can buy a laser cut stencil in my Etsy store. It includes a PDF with the step-by-step instructions for the applique and reverse applique techniques. Now until March 3, use code COFFEE20 to save 20% on all of my Etsy stock.

For my cocktail dress, I really wanted to make a fun and flirty dress in African Wax fabric (because WAKANDA FOREVER!). Given my physical limitations, I went with a simple dress that required little machine sewing.   


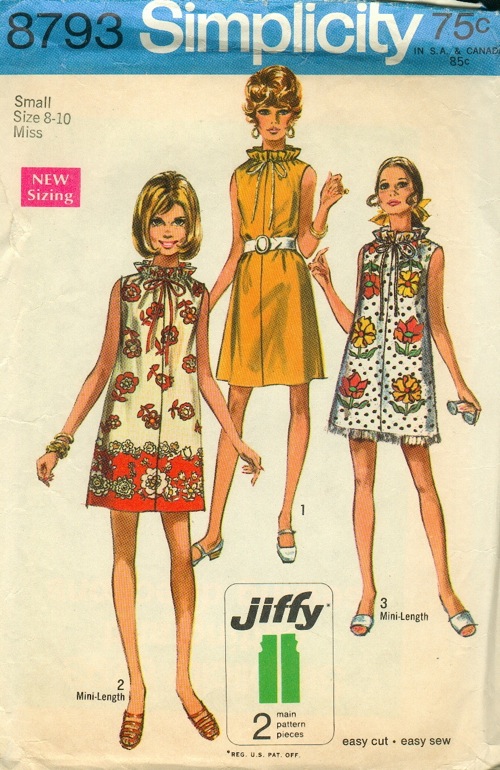
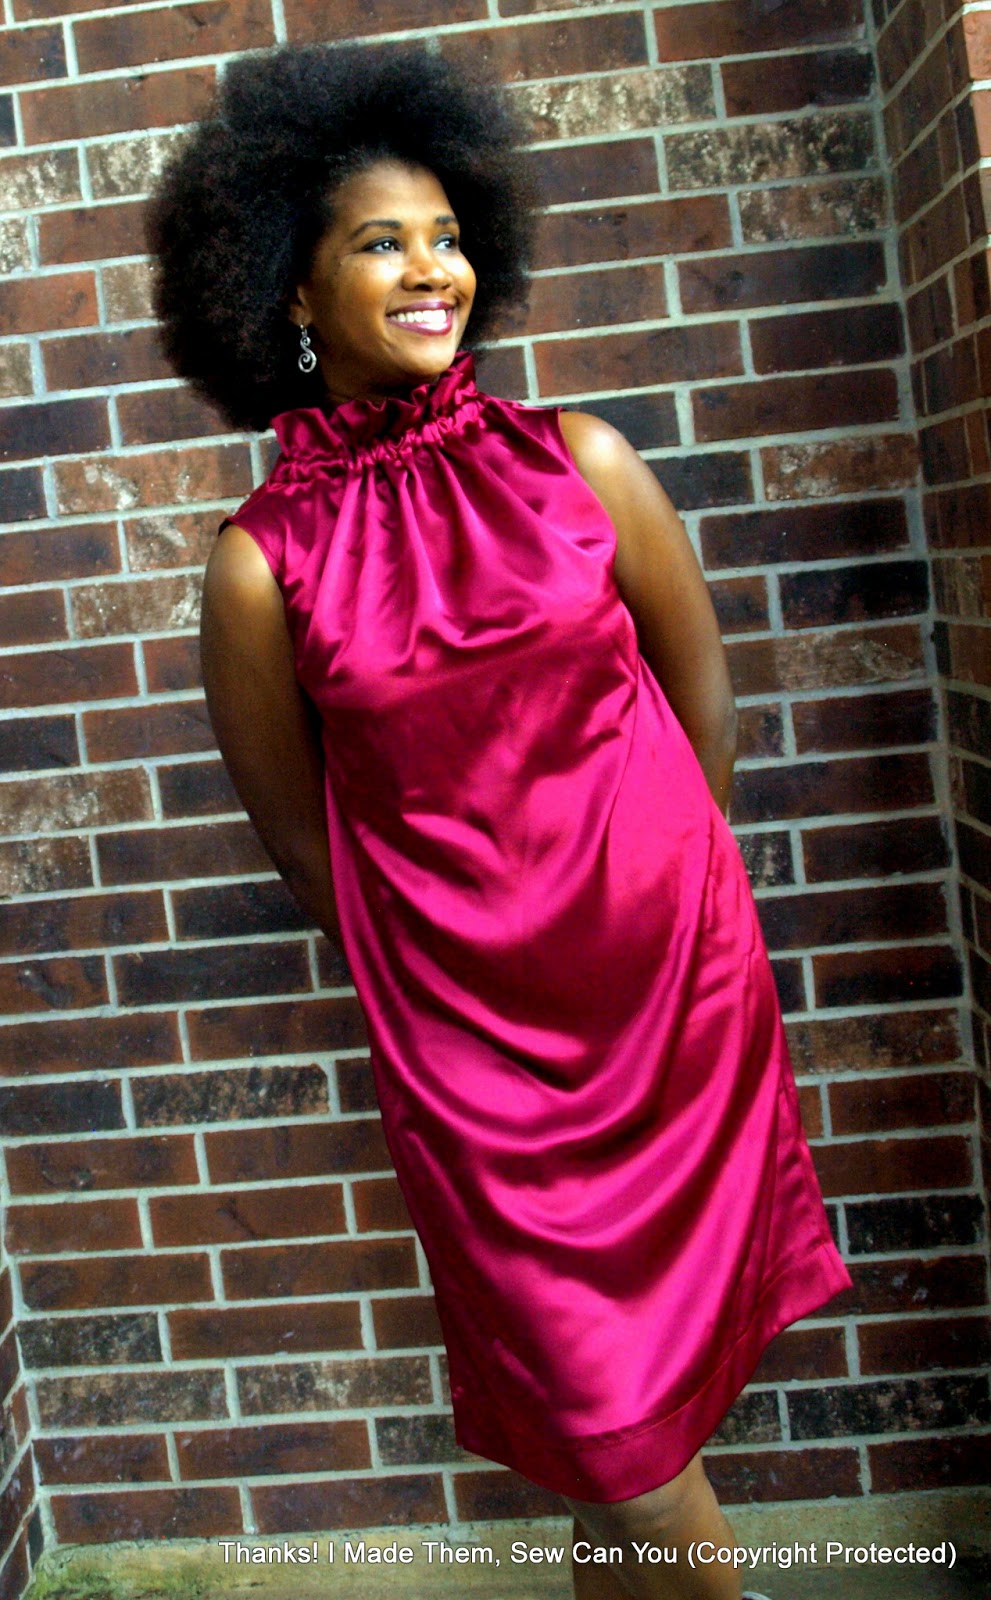
I love the paper bag neckline of this Jiffy Vintage Simplicity 8793 pattern. 

             Image result for Jiffy Vintage Simplicity 8793
It has as basic silhouette, but some drama at the neckline. I paired it with a cranberry colored satin that picks up the light just right.I did not want the tie or seam in the front, so I  made a minor change to the pattern. I cut the front on the fold and left an opening for the drawstring in the back. 


I made a contrast tie with an African Ankara fabric (because WAKANDA FOREVER!)


If I have the rare impulse to be subtle...


 I also made a tie with the same cranberry satin.


Please ignore my wrinkles. It's hard to iron propped on crutches.

Not only has this challenge given me a chance to make three new dresses, it has done so much for my mental state while laid up. As I stitched, I was reminded of the therapeutic benefits of making. I have been inspired by the dresses made by the other bloggers/vloggers participating in this challenge. Be sure to visit Elizabeth Made This to see them all. The community part of the challenge begins soon and there are many prizes to be had. One of my High-Functioning Sewciopath t-shirts will be given to a lucky participant. I hope you join the fun.

I want to thank those of you that sent me well-wishes through social media and  physical cards. It was a virtual hug that boosted my spirits more than you can ever know! I appreciate you so much!


Happy Sewing, 
Bianca
(Someone please hand me my walker; the photos are done!)