Showing posts with label leather strap. Show all posts

Monday, June 1, 2015

Coffee Bean Sacks Repurposed into Handbags.

Every year I like to participate in one or two craft fairs. My inventory varies based on what I feel like making what materials I have on hand. It is usually whatever suits my fancy. I recently acquired some coffee bean sacks and have a source for more. They are a combination of burlap, jute, straw, plastic fiber combinations. Some have really bold graphic designs others more subtle imagery. I decided to recycle these sacks into handbags.


Have you worked with burlap? It is tricky. You have to deal with the twisting grain, the fraying fibers, and at times the transparency of the loose weave of the material. I hesitate to give away all my secrets, however, I will tell you this, stabilize stabilize, stabilize! You must choose the stabilizer to suit your needs and purpose of your end product. I used heavier weight stabilizer for the totes,


and a lightweight for my hobo bags with softer shapes.
The adhesive on the interfacing takes a great deal of heat and pressure to bound to the sack. A press cloth is a must. It is important to press (up and down motion) rather than iron (back and forth) the material.


For the handles, I repurposed leather belts. I have a sewing machine that cuts through leather like a hot knife through butter! This combination of textures and fabrics work well together.


The bags have an interior magnetic snap and slide pockets.

After showing them to friends, they insisted I add these bags to my Etsy store for sale prior to my craft fairs. You can have a look at them and purchase there are if you like. I am also happy take custom orders if there's something you'd like that you don't see available. Use code thanks10 at checkout for 10%off.

Each bag is different. The orientation of the images varies based on what is usable and free of imperfections. The handles are chosen based on what I have sourced in my shopping outings. The fabric for the lining is chosen based on the treasures of my stash. I begin each piece with a vague idea of what I want to do, but I don't now until the end.  I am working with different patterns and tweaking design options so I'm excited to see what I come up with next :-).

Happy Sewing,
Bianca

Tuesday, February 11, 2014

Amy Butler Beautiful Belle Handbag Sew-Along Week 2

It is week two of the  Amy Butler Beautiful Belle Handbag Sew-Along. When I begun this sew-along, I thought I would have a hard time pacing myself and would have made my bags by now. (I have been busy with some custom orders: a lace jacket and a custom embroidery order.) It took me a few days to narrow down my exterior fabric choices, but when I did, I was able to move to this weeks' task of adding marking and interfacing to pattern pieces. 


My bag fabrics
Amy Butler bags are usually advanced lessons in interfacing and stabilizers. This pattern however, requires only medium-weight interfacing and a little bit of Shape flex to give it its' structure.


Interfaced interior fabrics


Interfacing and stabilizer area along the bottom.
I have decided to use leather for my handles on both bags. There is an awesome thrift store in town that has progressively declining prices on all of their items. On Wednesdays, everything in the store is $.25! This store is the definition of chaos on a Wednesday and when I go, I must go with a plan. No kids, knowledge of what I want, comfortable shoes and a willingness to "throw elbows" if needed ;p. I went in one day with a plan to source leather and boy did luck out! 

Half of my haul! There is some animal print in there!

The other half: with some blue suede and silver leather in there!
I thought this bag was a good candidate for leather handles and I shopped my stash for a good match. For the chevron print fabric, I decided on tan suede from a skirt (sorry no before pic) .
Suede handles
 For the floral print bag, I choose this pink suede jacket.
Pink Suede Jacket

Sleeve removed
I cut the handles on this one longer.
Ready to sew!
I have a heavy duty sewing machine and leather needles. I am confident (hopeful and prayerful) that my machine will be able to take on this task. I have been publicly coveting an industrial sewing machine like the one Hillary at Entropy Always Wins  just bought. Since I am no longer saving for a Chanin Studio week (I longer support this company), an industrial machine is closer on the horizon than I thought!  

I will share how my Singer does on the handles when I begin bag construction.

Happy Sewing,
Bianca

Saturday, May 18, 2013

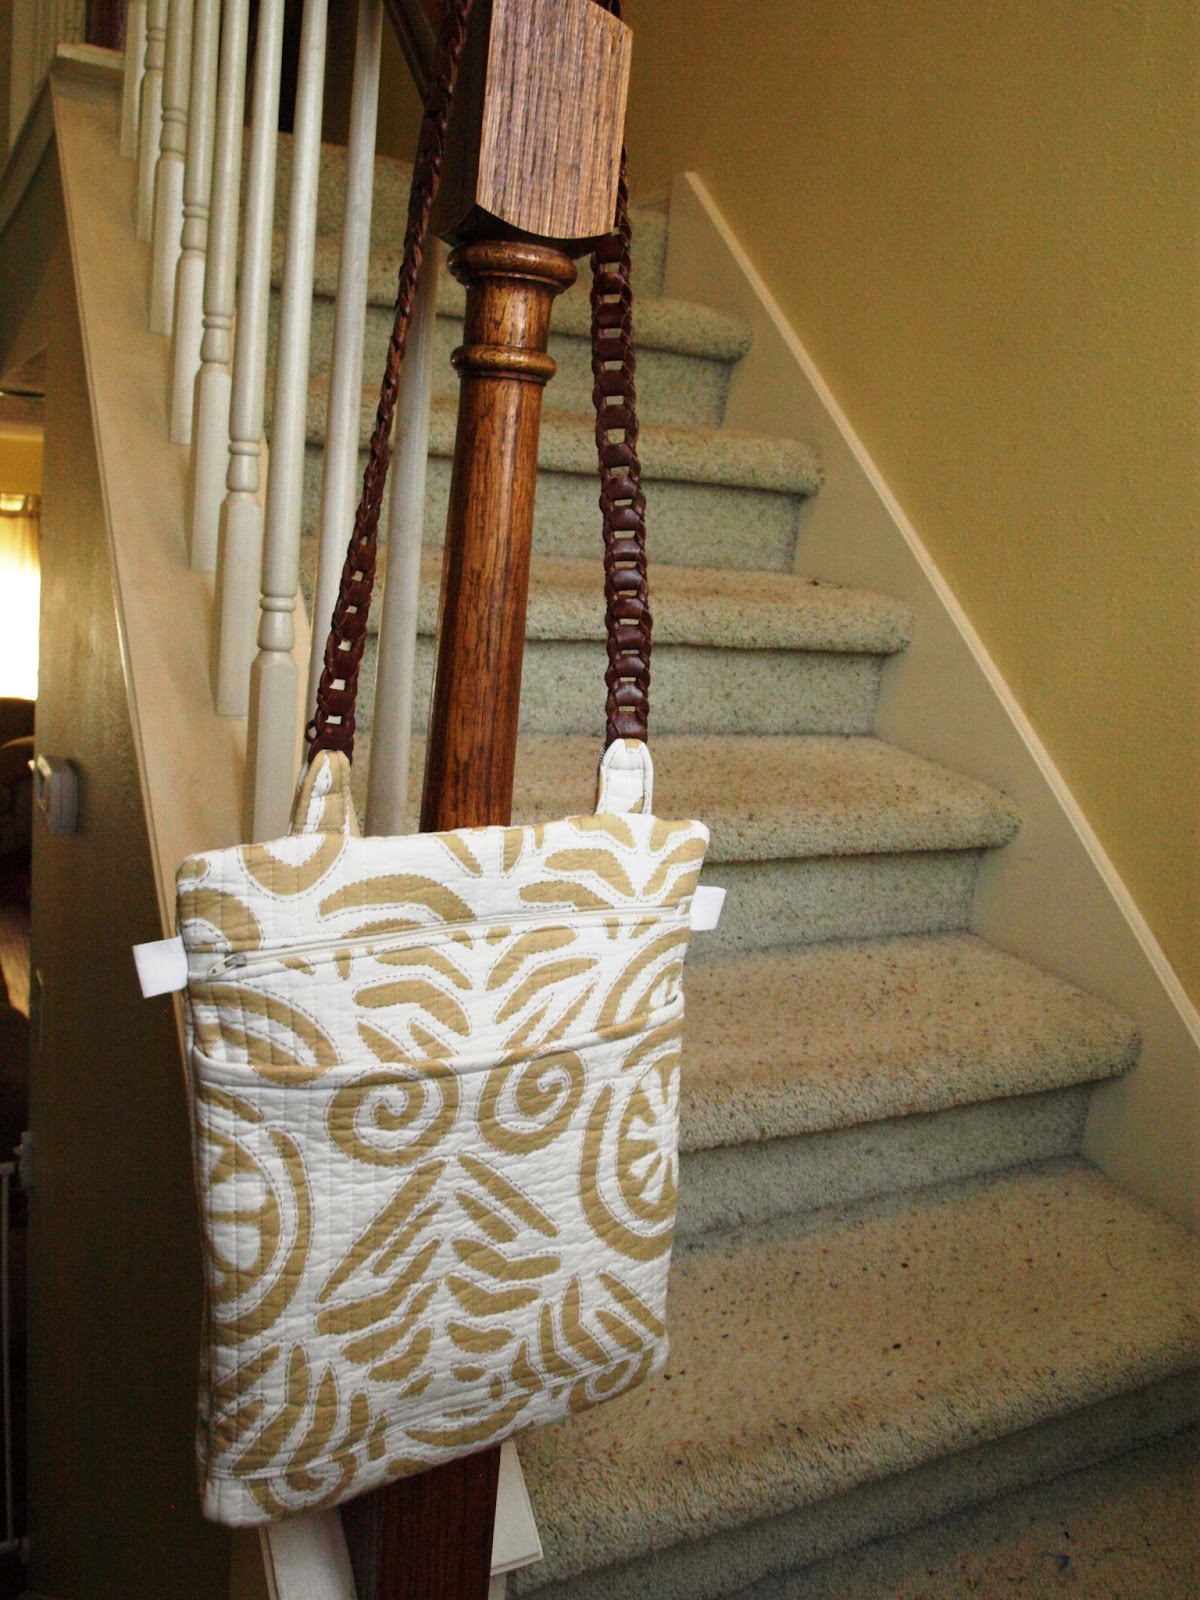
Quilted Bag with leather strap

I love love love handbags! I love handbags, like some women love shoes. I wouldn't say I am a hoarder, but I have more than my hubby would say is reasonable.  I love making them and have a stash of patterns and many books from which to choose. I haven't made a bag for myself however, in over a year! Hubby gifted me a fantastic Louis Vuitton Neverfull bag last year, so I haven't felt the need to scratch a handbag itch since then.

One of the projects my students complete during our round of lessons is a bag. I have a go to bag pattern that I have used in the past, but recently, we chose a new one. McCalls 6668  Cell Phone/Computer Sleeve and Bag by Nancy Zieman is the one. This pattern features four options of bags to be made with double-sided quilted fabric. The cute little bags in this pattern got me excited again about making bags for myself!

Double-sided quilted fabric is not particularly inexpensive at about $20 per yard. I have bought it in the past and will do so again, but for a new pattern for a lesson, I wasn't willing to do so. I wanted to test it before going to the expense. I found this sweet deal at Marshall's. It is a set of  2 quilted pillow shams in a color pallet I like. The clearance price is $12, but I got it for $2 with a $10 reward coupon!


The shams had enough fabric to accommodate the bag in View C that the students and I made.


Print detail

 The pattern required making a strap from the quilted fabric, but the color tones just screamed brown leather accents to me. I had a leather belt in my stash that I bought at a thrift store I just knew I could use as a substitute.  I removed the buckle and simply threaded the lower tab into one of the loops on either end. I folded it down and then secured it to the tab.


Here is the completed bag!


The strap is long enough to be a crossbody bag!


I love the look of the strap! It really classes it up! I like the details of the pattern too! The zipper ends were a pain to figure out initially and seemed unnecessary considering the zipper fit as is, but I love them. The zipper pull tabs are elements that could be omitted, but are really handy.


Here is my review of this pattern.


 Pattern Description:

CELL PHONE/COMPUTER SLEEVES AND BAGS: Cell Phone Sleeve A: 31/2"W. x 5"L.. Computer Sleeve B: 9"W. x 14"L.. A,B have contrast binding. Crossover Bag C: 12"W. x 131/2"L.. Saddle Bag D: two 12"W. x 131/2"L.. Measurements are approximate and exclude straps.
Designed for Double-Sided Pre-quilted Fabrics.
SUGGESTED FABRICS: Double-Sided Pre-quilted Fabrics. Contrast A,B: Cotton/Cotton Blends.

Pattern Sizing:
One Size

Did it look like the photo/drawing on the pattern envelope once you were done sewing with it?
Yes, with the exception of the leather shoulder strap I added.

Were the instructions easy to follow?
Yes. The zipper tabs installation was a bit tricky, but not terrible.

What did you particularly like or dislike about the pattern?
I used this pattern in a lesson and liked how satisfied my students were with their results. The bag is very roomy and current. I disliked that sewing through the layers at points was very difficult on older machines. My student broke needles when sewing over the strap tabs. I suggest staggering the thickness so it is not as thick in that area.

Fabric Used:
I used a quilted pillow sham

Pattern alterations or any design changes you made:
I substituted a leather belt for the fabric strap called for in the pattern.

Would you sew it again? Would you recommend it to others?
I would definitely recommend this and I will make it again.

Conclusion:
This pattern is good for a guided beginner.  

Happy Sewing