Showing posts with label corset. Show all posts

Monday, October 28, 2013

From a Four Panel Swing Skirt to Paisley Corset

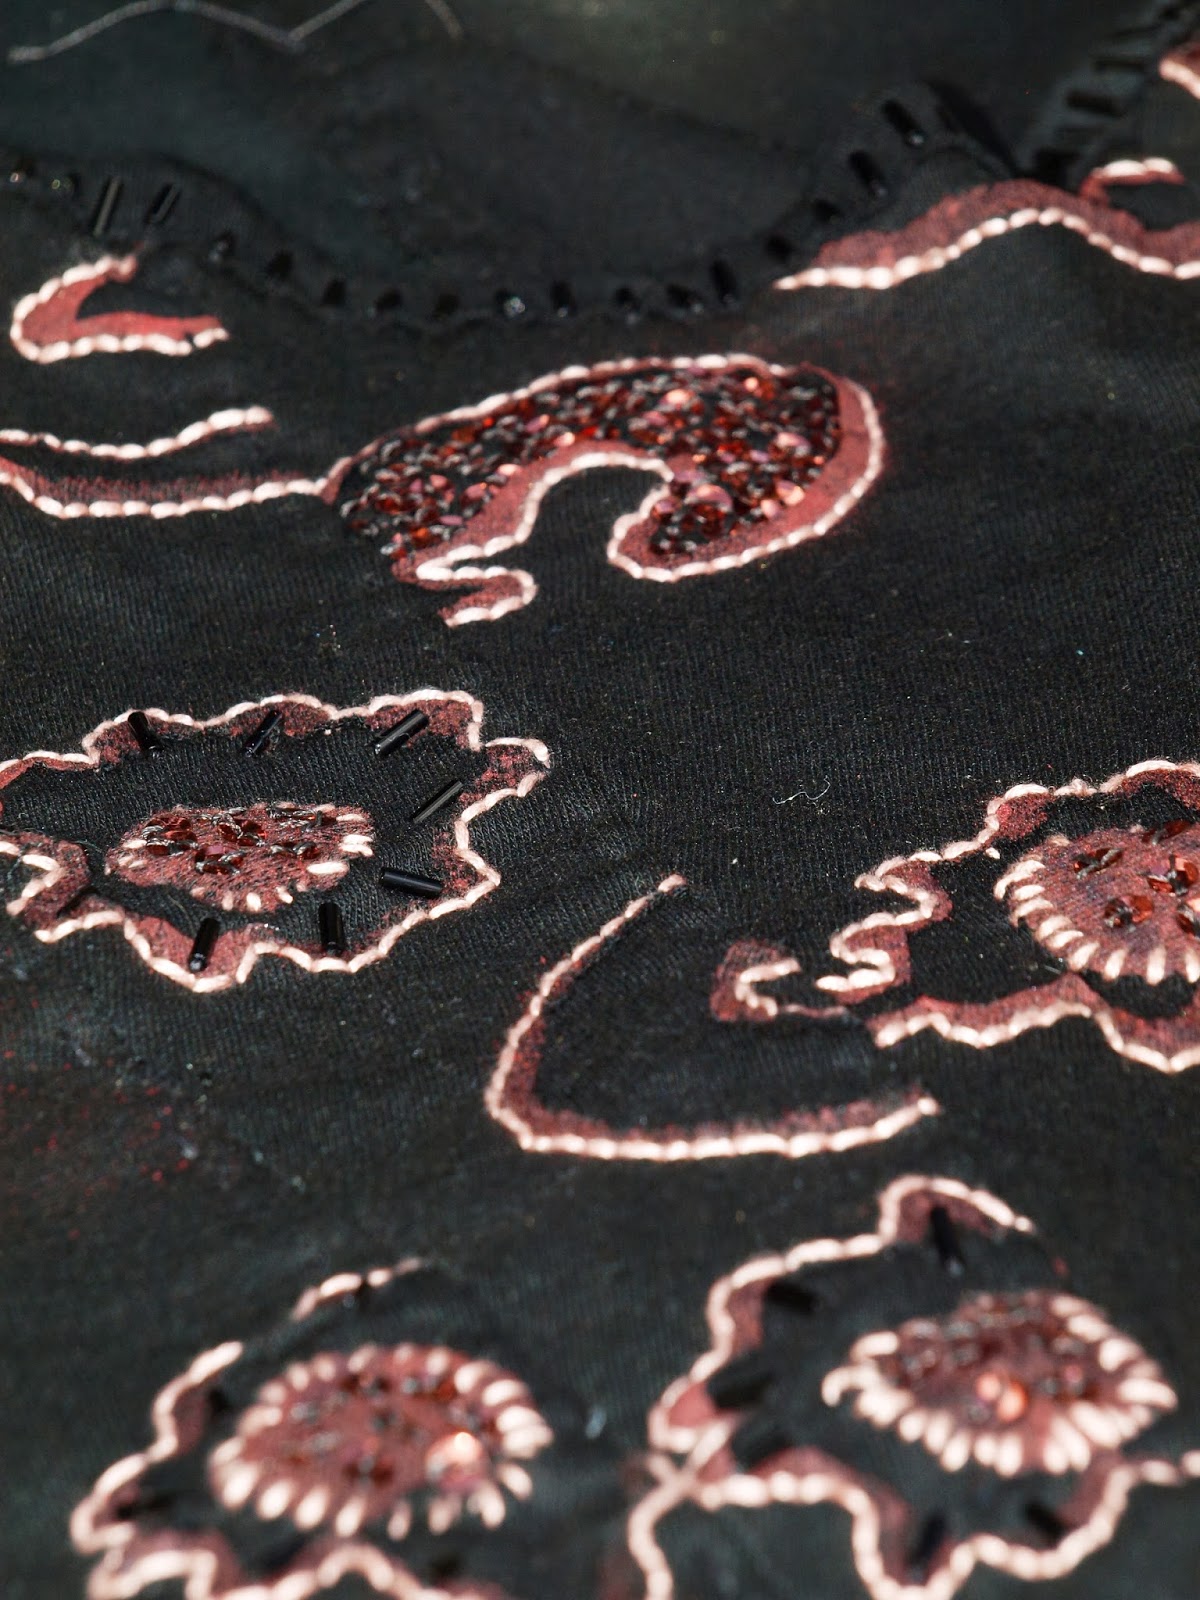
My very first embellished Alabama Chanin project was started three years ago and was overly ambitious. I decided to make the four panel swing skirt from the Alabama Stitch Book. My plan was to use a reverse back-stitch with embroidery floss to sew a negative reverse applique. I decided to use the Paisley stencil because it is a large scale design and I thought I would finish quickly.
I used a spray bottle and red fabric paint to transfer the designs to my fabric. I can't remember now which paint, but it was too thick and sat on top of the fabric making it a bit hard. At the time I was too new to this whole thing to know it was a poor paint choice. I used six strands of embroidery floss for my reverse back stitches (it should have been done with four). The density of my floss coupled with the double layer of fabric made it slow going. In addition, the tension of the fabric and thickness of the thread did not make a smooth process. Over the course of a few months I got two and a half panels of the skirts stitched.

As time went on, I realized that this was not a project I wanted to complete. I put it in my unfinished projects pile where is mocked me for almost 3 years.  After redeeming my polka dot caplet I got inspired to breathe new life into this project. Rather than continue with it as a skirt, I decided to transform it into another corset. Fortunately, I had enough of the panels finished to make it! I choose to  embellish the front only using black bugle beads and copper colored sequins to embellish specific features of the paisley design.

Adding sequins with my handy dandy beading glove made from the sleeve of a sweater and double sided tape.

Sequins and Bugle beads along the neckline.


I followed the instructions outlined in the book and stitched the corset in a double layer of cotton jersey.
For this version, I did not raise the depth of the neckline like I did last time. The parallel stitches with beads along the neckline  keeps it from shifting too low. When I make the corset again, and I will, I will  cut it higher as before.


I am very satisfied with the re-purposing of my unfinished skirt into this corset! I am even happier to have one less item in my work in progress pile.


Happy Sewing!
Bianca

Sunday, September 29, 2013

Alabama Chanin Anna's Garden Corset and Long Skirt

I have always liked the hand-stitched corset from Alabama Stitch Book. For whatever reason, I never made one didn't think I would. That was until I saw a version made by  Nixxi, on Craftsy. She embroidered the June's Spring design to her sand colored fabric and stitched it using a baby blue colored embroidery floss. I think her end product is delightful and it brought this pattern back into play for me.

Even after making my beaded sampler top, I decided to change my entry for the mini wardrobe contest to include a corset. I had a white cotton jersey sheet in my stash that would serve as my fabric source.  I stenciled my fabric in "Anna's Garden" using  grey paint I blended. 

Painting the fabric
The pattern for the corset is from the Alabama Stitch Book and includes all the instructions to create this corset top and a multitude of other garments. They are sized xs-xl. I traced and I cut the size medium.


 I find A.C. necklines too low for my tastes so  I raised it about 1 inch. I sewed my corset with double stitching; once to secure it then again to top stitch. I had my seams fell to the inside of the top.    I chose to bind my neckline and armholes using a strip of white jersey fabric.  I secured the binding with a herringbone stitch using slate button and craft thread.
Anna's Garden Corset Front
  I really like the rounded hem on this.

 I am glad I raised the neckline and think it could still go up just a smidge more.
Herringbone stitch on bindings
Stencil close up
I am happy with my corset and the fact that the only significant alteration to the pattern was raising the neckline. It was really quick to stitch and I will certainly be making more.

To go with this lovely top, I needed a coordinating skirt. I selected the Long Skirt option from Alabama Studio and Sewing and Design. 

I had not made this pattern and thought it went great with the top. I love that the front is shorter than the back which has a train. Again, I made this by re-purposing the white jersey bed sheet. I traced and cut the pattern and began sewing.

The construction was easy but a tiny bit tedious. The seams are super long and needed to be stitched once with the seams inside, then, stitched again on the outside. After the sides were stitched up, I added fold over elastic (foe) to the top waistband. The pattern called for 1 1/2 in foe, but I didn't have any. I bought a spool 3/4 of  foe elastic on sale and a ridiculous price years ago and decided to use what I had on hand.

It was a bit fiddly to work with, but basting it in place instead of pinning, solved that problem. I attached it using a parallel stitch.
 Here is the finished product.
Skirt Front
 
Skirt back (I am stooping so the curve can be seen better.)

I really like this outfit! I will be making this again, and again. As we come upon the holiday season, this has been added to my gift giving list. Are you my friend?

Happy Sewing,
Bianca