
Have you ever seen a pattern that touches a special part of your brain, resonating? I always feel that way when I see a slightly weird, unusual or wonky pattern.

Vogue 1576 touched that bit of my brain the moment I saw it. I love the retro '80's feel of the sleeves with the mini length. I was a kid when this look was trending back then. I wasn't in charge of my clothing choices, so I never had the big sleeve clothes. Deciding to buy this pattern when it was released, felt like childishly cheeky rebellion.
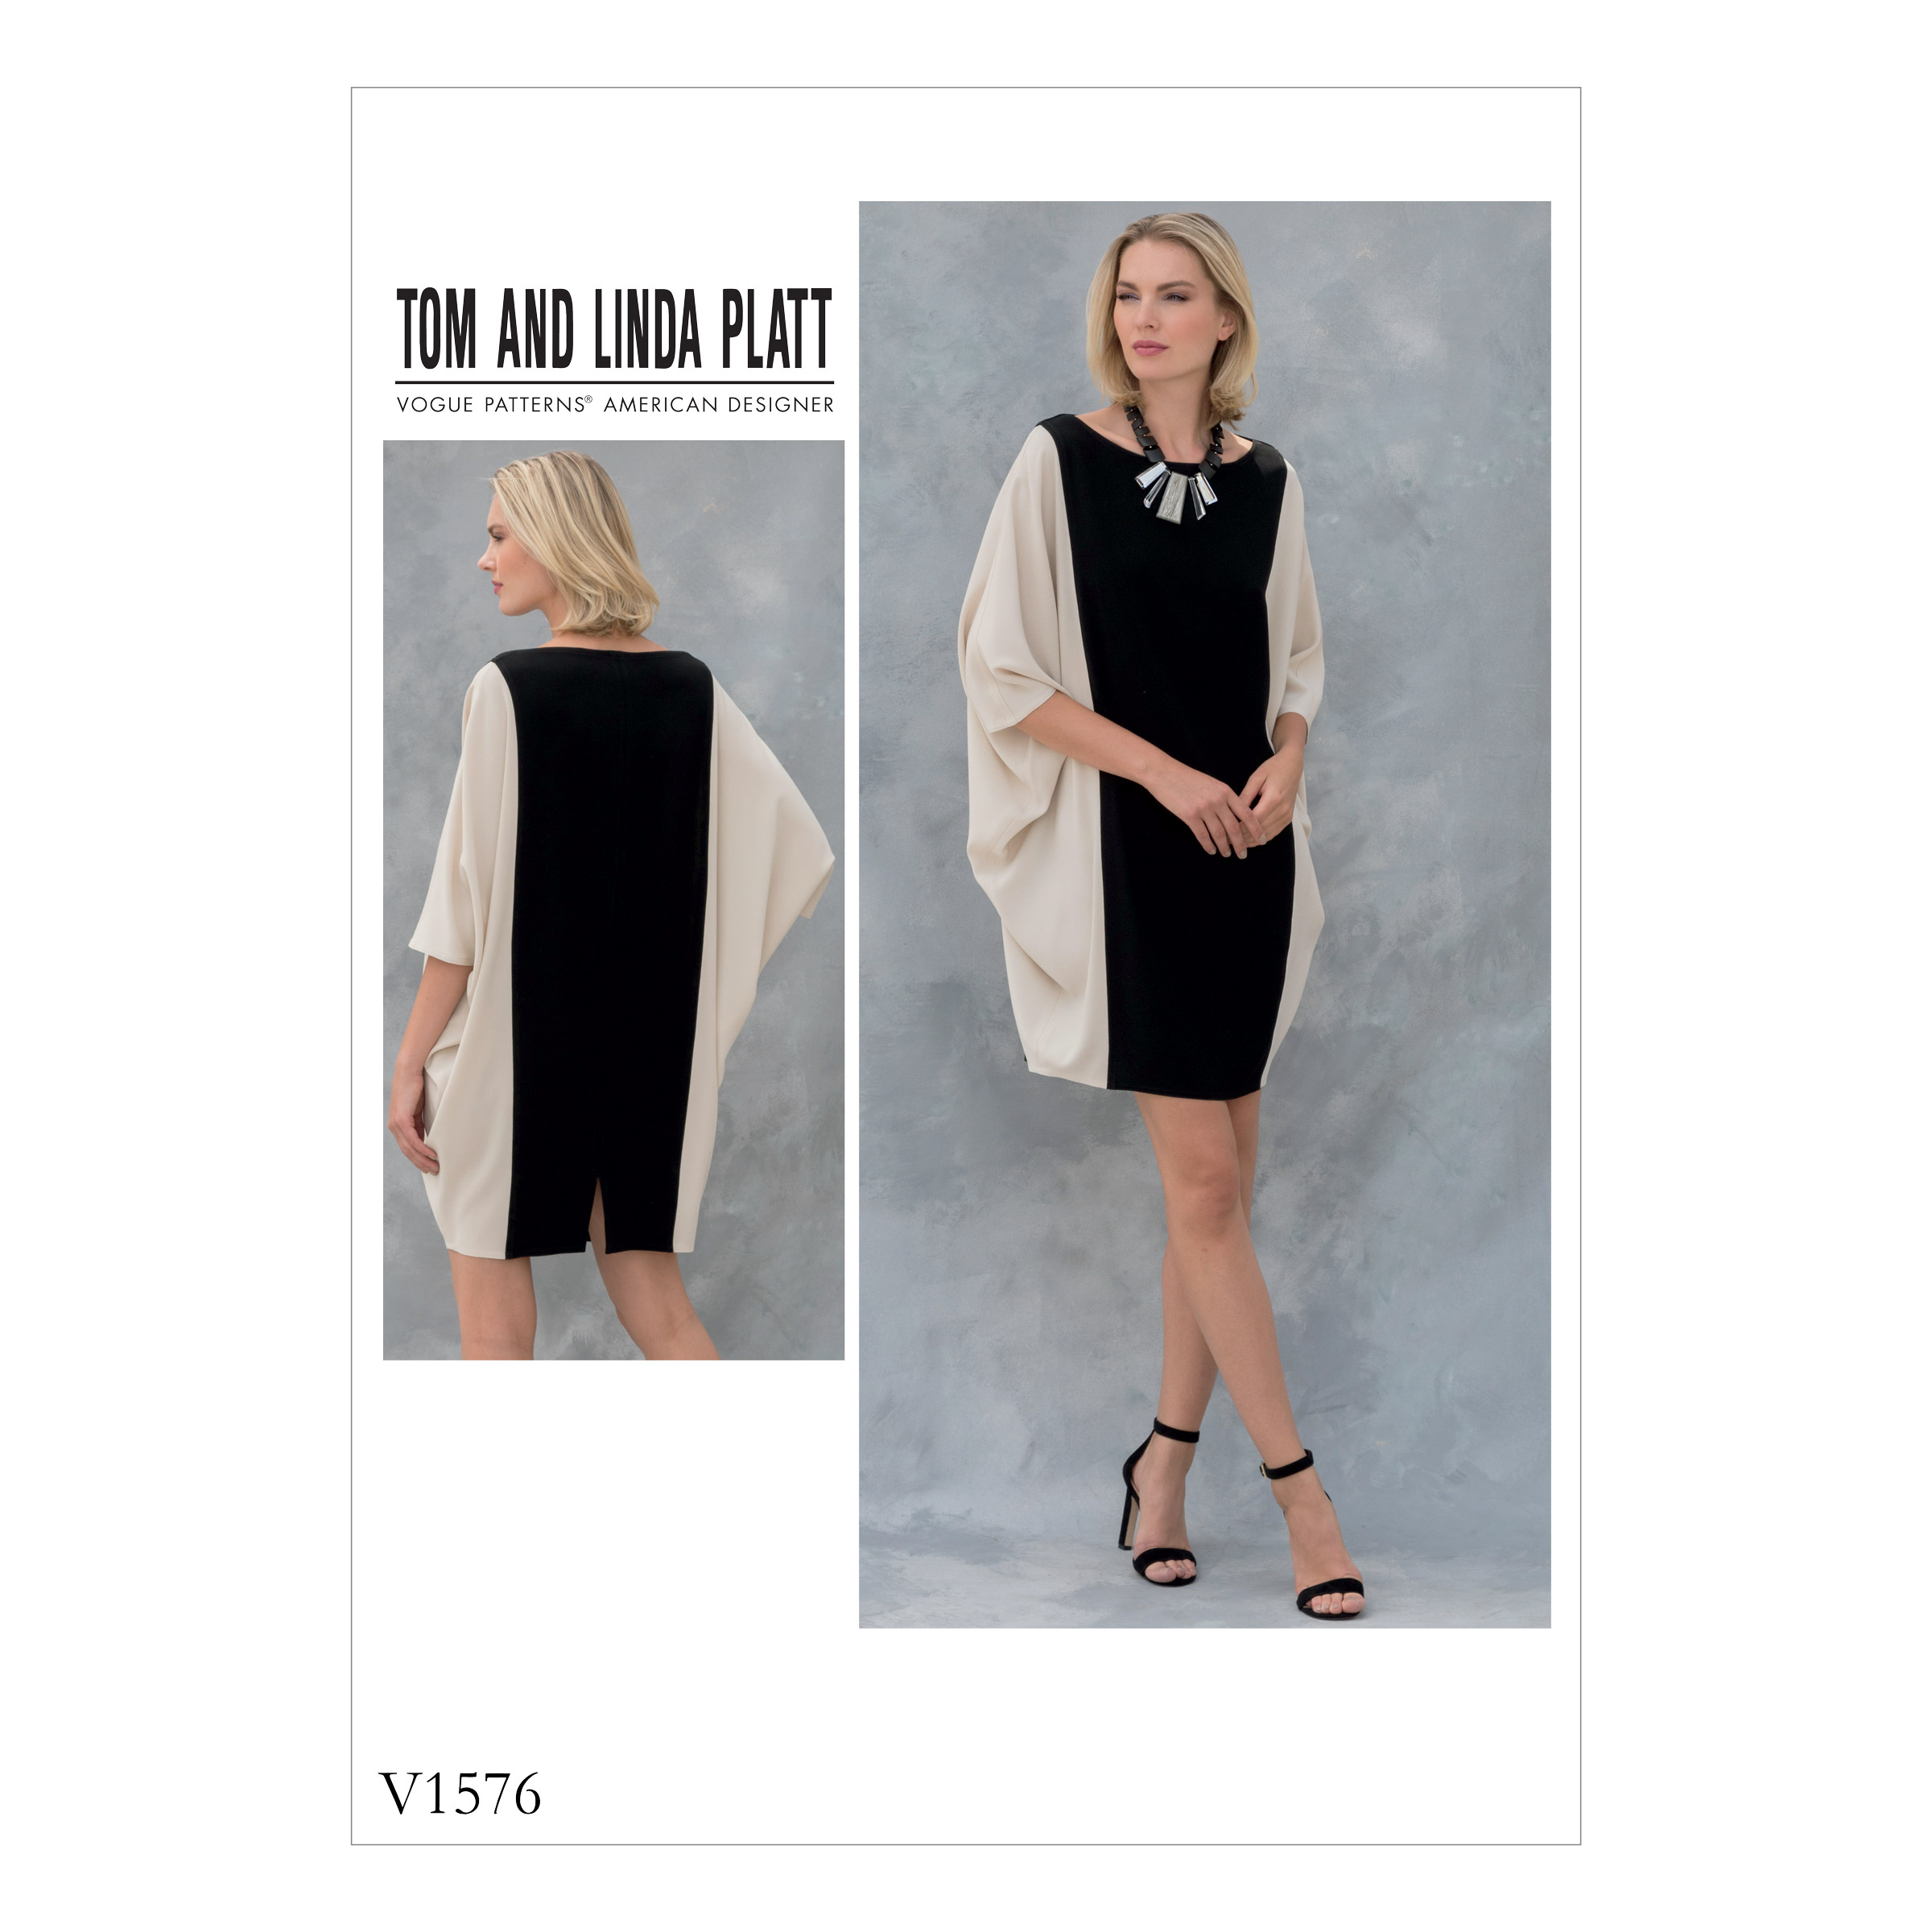
I love the color-blocking and seam lines of these fancy secret pajamas. Upon seeing it. I knew immediately it would be a candidate for a hand-sewing project. There are no finished garment measurements for the bust on this pattern. There is also no indication of ease. My rule of thumb on making these jersey projects is to cut based on the finished garment measurements of the bust. When that is not given, I cut my ready to wear size and tweak the seam allowance to decrease or increase where needed.

I made a stencil featuring mod circles and semi-circles. I chose Black and Natural cotton jersey from Nature's Fabric. I airbrushed gold fabric paint on the top layer of the center panel. (If you do not have an airbrush, Tulip Color Shots, applied in thin coats works well.)

Next, I put the top layer on the right side of the bottom layer and sewed them together using a running stitch. The button and craft thread is twisted off the spool. I smooth it out with my fingers before stitching. I like to use a sashiko needle because it allows me to load many stitches at a time. After finishing a shape, I tie the ends off with a double knot on the wrong side.

Once the embellishment is sewn on the center panel, I created the applique texture. I separated the top layer from the bottom layer and cut away all but about 1/4 inch outside the painted area.

For garment construction, I deviated from the pattern slightly. I sewed the internal seams on my machine (3.5 stitch length) and after, I topstitched them down by hand, felling them toward the sides. I began with sewing the side fronts to the center front, then stitching the center back, followed by sewing the front to back at the sides.

The sleeves are hemmed with a simple edge turned under and topstitched.

All the stitching is time-consuming, but very satisfying. I love the tone-on-tone look on the Natural fabric and the contrast on the Black.

The dress hem is left raw and will curl slightly in time.

The neckline is finished with a simple bit of bias, folded and stitched to the right side then, flipped inside. The seam allowance is hand- stitched down to keep it from rolling and add interest.

My husband is my biggest supporter, sometimes to a fault, failing to see issues because all he sees is me. He is usually immediately effusive with praise of all my creations. When I came downstairs to show this dress to him, he was speechless; absolutely dumbstruck! When he gathered his thoughts, he expressed his fascination with this one (and my legs). He felt it was old-fashioned and looked like it was from the future at the same time. He would not have pegged this as a style for me, yet he could see my style all over it. He likes it and is confused at once. I love that!

I am curious to know your thoughts on this pattern and my interpretation of it. Please be kind!

Happy sewing,
Bianca

Happy sewing,
Bianca