My son is obsessed with soft fabrics. I have had the pleasure of working with Shannon Fabrics for several articles for Sew News Magazine and recently, I joined their brand ambassador team. They are a very generous company and I received several welcome packages with their yummy fabrics. With every delivery, my son wraps himself in the cuddly fabrics to enjoy the softness. Every attempt for me to disentangle him, has been met with reluctance because he constantly wants to be enrobed in them. On more than one occasion, I've had to unravel him from 6 yards of fabric.
When Shannon Fabrics heard that he routinely wears the single-sided fleece garments inside out, to feel the softness, they told me about the double-sided options. They sent him several yards to celebrate his recent birthday.
Top of his list of projects for me to make was a blanket. I decided to make a bound option using Ankara fabric that he selected from my stash. This is a quick and easy project that gives a lot of comfort and character with a little bit of effort.
Here's a quick tutorial
Supplies:
2.5 yards Double-sided Lamb Cuddle Luxe (54/56" x 90")
1.5 yards Ankara fabric or 45" fabric of your choice
Walking foot
A heap of pins
A sharp rotary cutter
A rotary mat
6" quilting ruler
Iron and board
All purpose thread
If you are buying yardage, the 2.5 yards of Cuddle Luxe is ready to go. If you have more than that you will need to cut it down. I like to lay the fabric on carpet because the fibers keep everything from shifting. Measure 90" down the length of the fabric and cut across the width.
Use a quilting ruler to cut 8 strips of binding the length of your fabric (45") x 6" wide. If you are using wider fabric, you will require fewer strips.
With right sides together and raw edges even, stitch/serge the short ends together, Repeat on all strips, press open if stitched, to one side if serged.
Press .5" on both long sides of the binding. Fold long edges in to meet and press to create a long center crease.
Slide binding under one edge of the fleece so the edge meets the center crease.
Pin through layers of binding and fleece to secure in place. Allow the binding to extend beyond the fleece.
Tuck the binding under so the center seam meets the edge of the fleece. Adjust the corner to smooth the fabric and form a point.
Fold the binding to the front and adjust your corner to create a mitered corner. Pin in place.
Continue to pin the binding around the perimeter of the blanket. When you get to the beginning overlap and tuck the fabric ends in place. I pinned the entire perimeter before I began sewing. If your blanket feels too bulky and heavy this way, I suggest you pin then stitch each edge before continuing to the next.
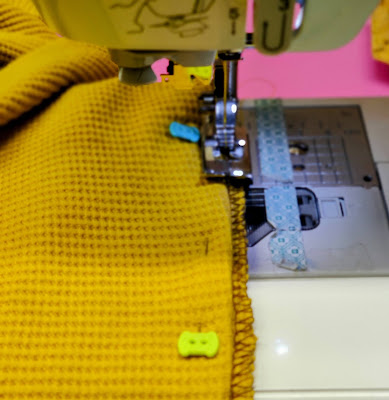
Clear the area to the left of your sewing machine so there is room for the blanket to rest on the table. It can be unwieldy if the blanket hangs in front of the machine. Install the walking foot on your machine. Adjust the stitch length to the longest length. Align the edge of the binding to the edge of the foot and use it as your seam allowance guide. Stitch binding in place. Backstitch at the beginning and end, pivot at the corners.
Bianca


