Friday, June 29, 2018

Space dye Activewear: Mama and Me.

They say the body you want in June begins in January. With another round of knee surgery, I was immobile in January and February. A healthy healed body was a priority over any real or imagined summer beach body. With a good doctor, rest and physical therapy, I can begin to think about rebuilding strength in my body with workouts. When I work out, I am usually that person in the gym or park wearing mismatched t-shirts, a shorts bra and uninspired shorts. My logic has been, "they are going to get gross and sweaty, so why does it matter?".

                           
Little Miss is old enough to workout with me at the gym or alongside me at the park. She has awesome fitness clothes that I bought her when a local store went out of business. The times I have taken her to workout with me, she has looked great, me, not so much. She doesn't care what I wear and is not embarrassed by me; she is just happy we are there together. Seeing how cute she looks however, made me want to make more of an effort.


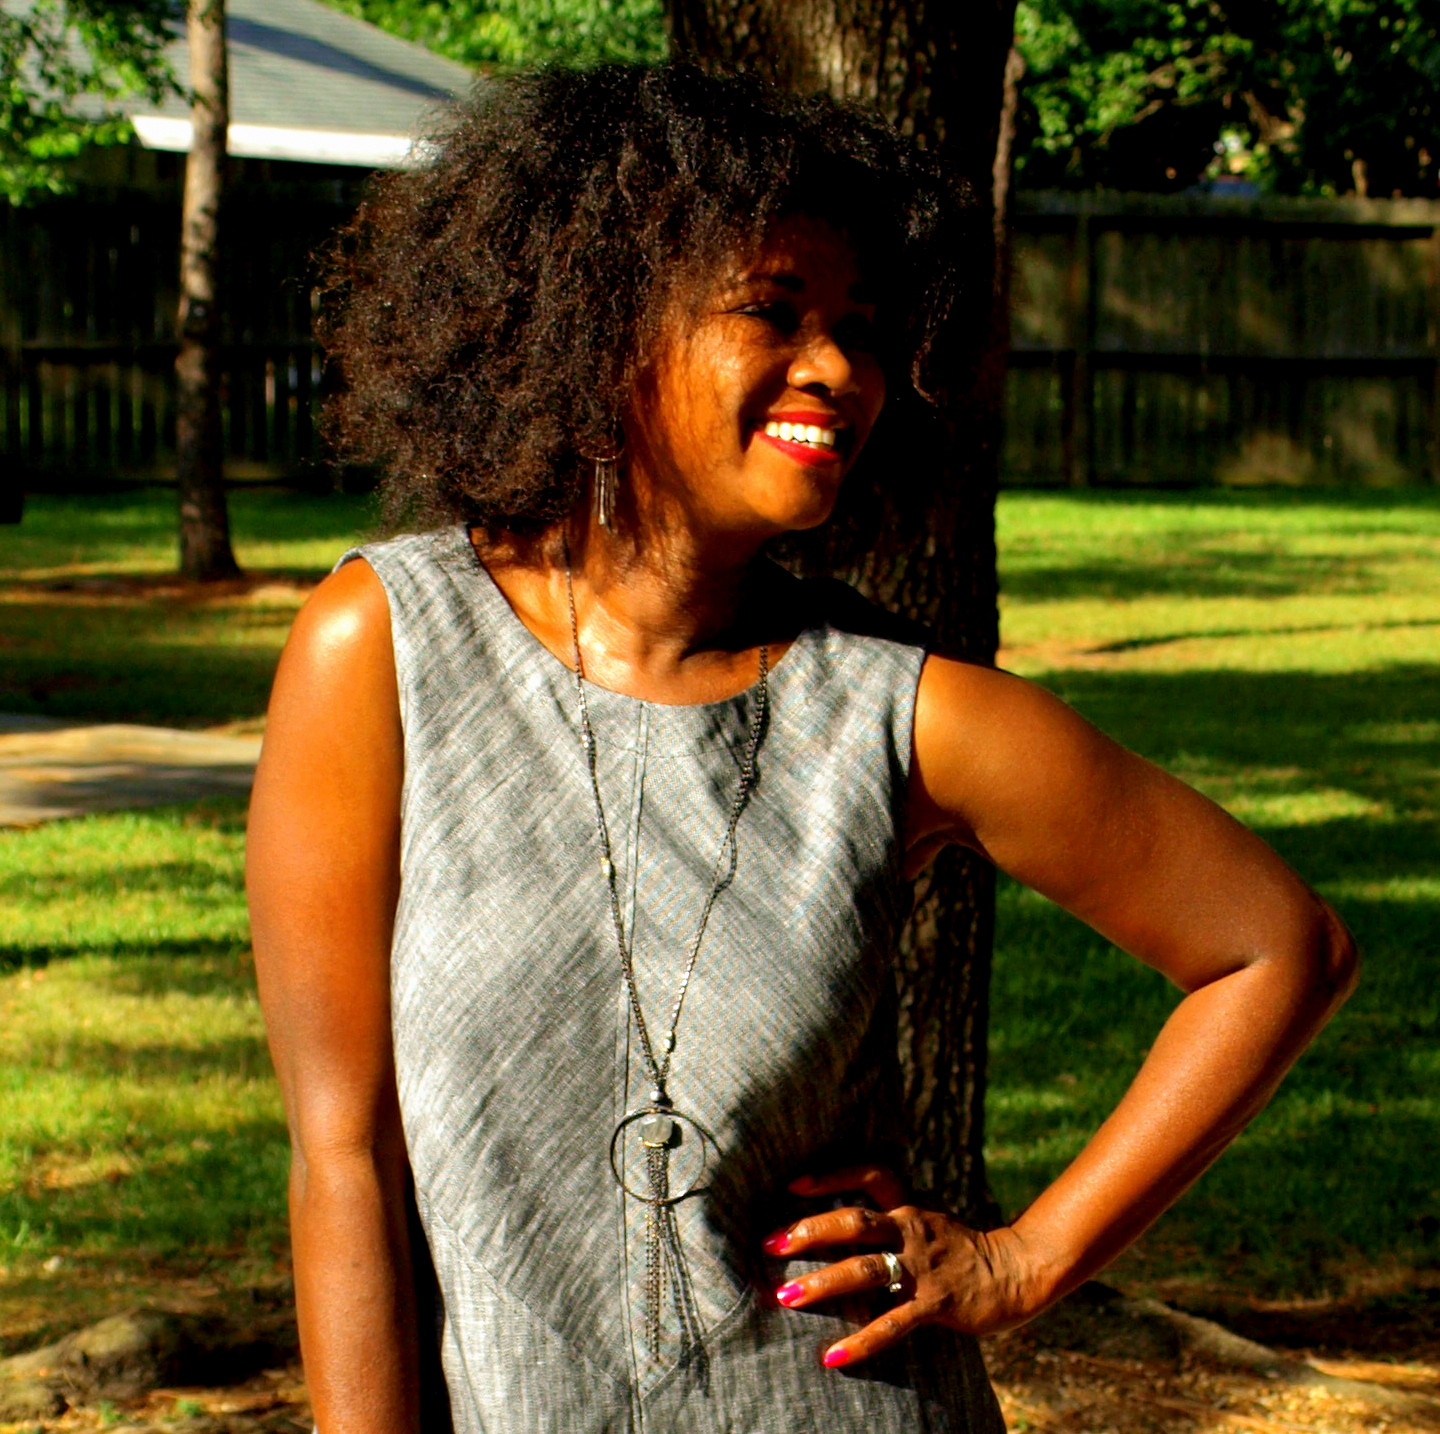
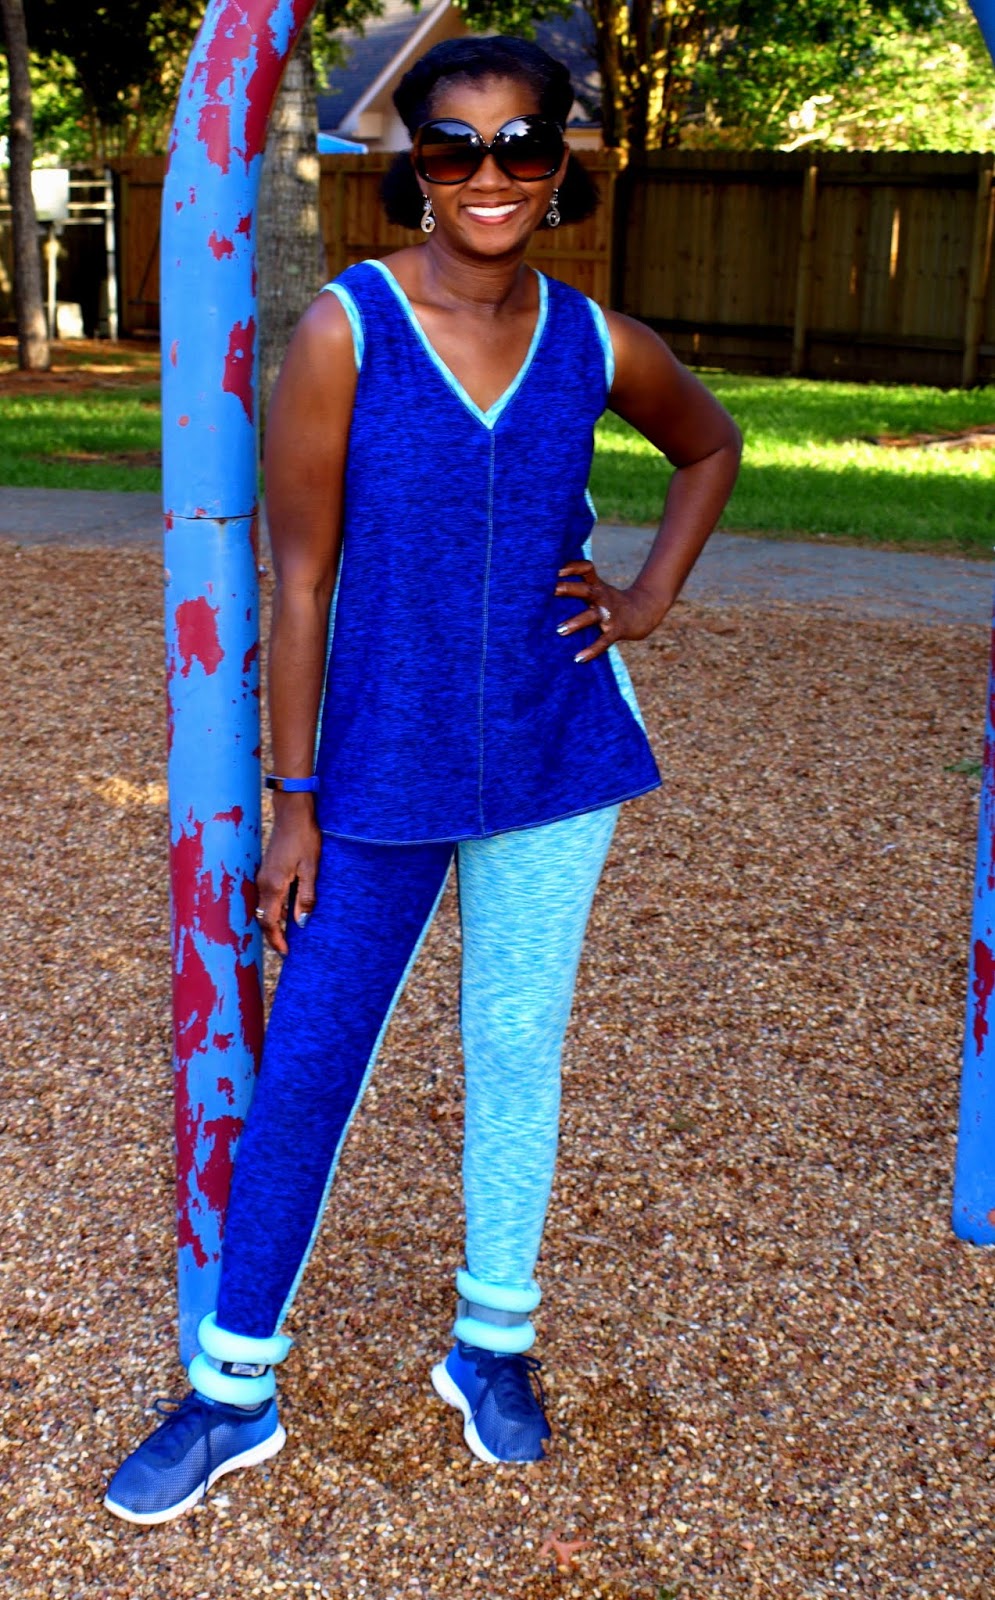
I took advantage of Nature's Fabrics sale last month and bought Midnight Blue Space dye and Ocean Space Dye Knit with the goal of making activewear for myself. When the fabric arrived, I loved it so much, I didn't want to make workout clothes anymore! I don't enjoy working out and didn't want to "waste" such yummy fabric on a dreaded activity. I hemmed and hawed for most of the month vacillating between day wear and workout gear. In the end, I decided I should go ahead with the original plan because the wonderful feel of the fabric could only improve the workout experience.

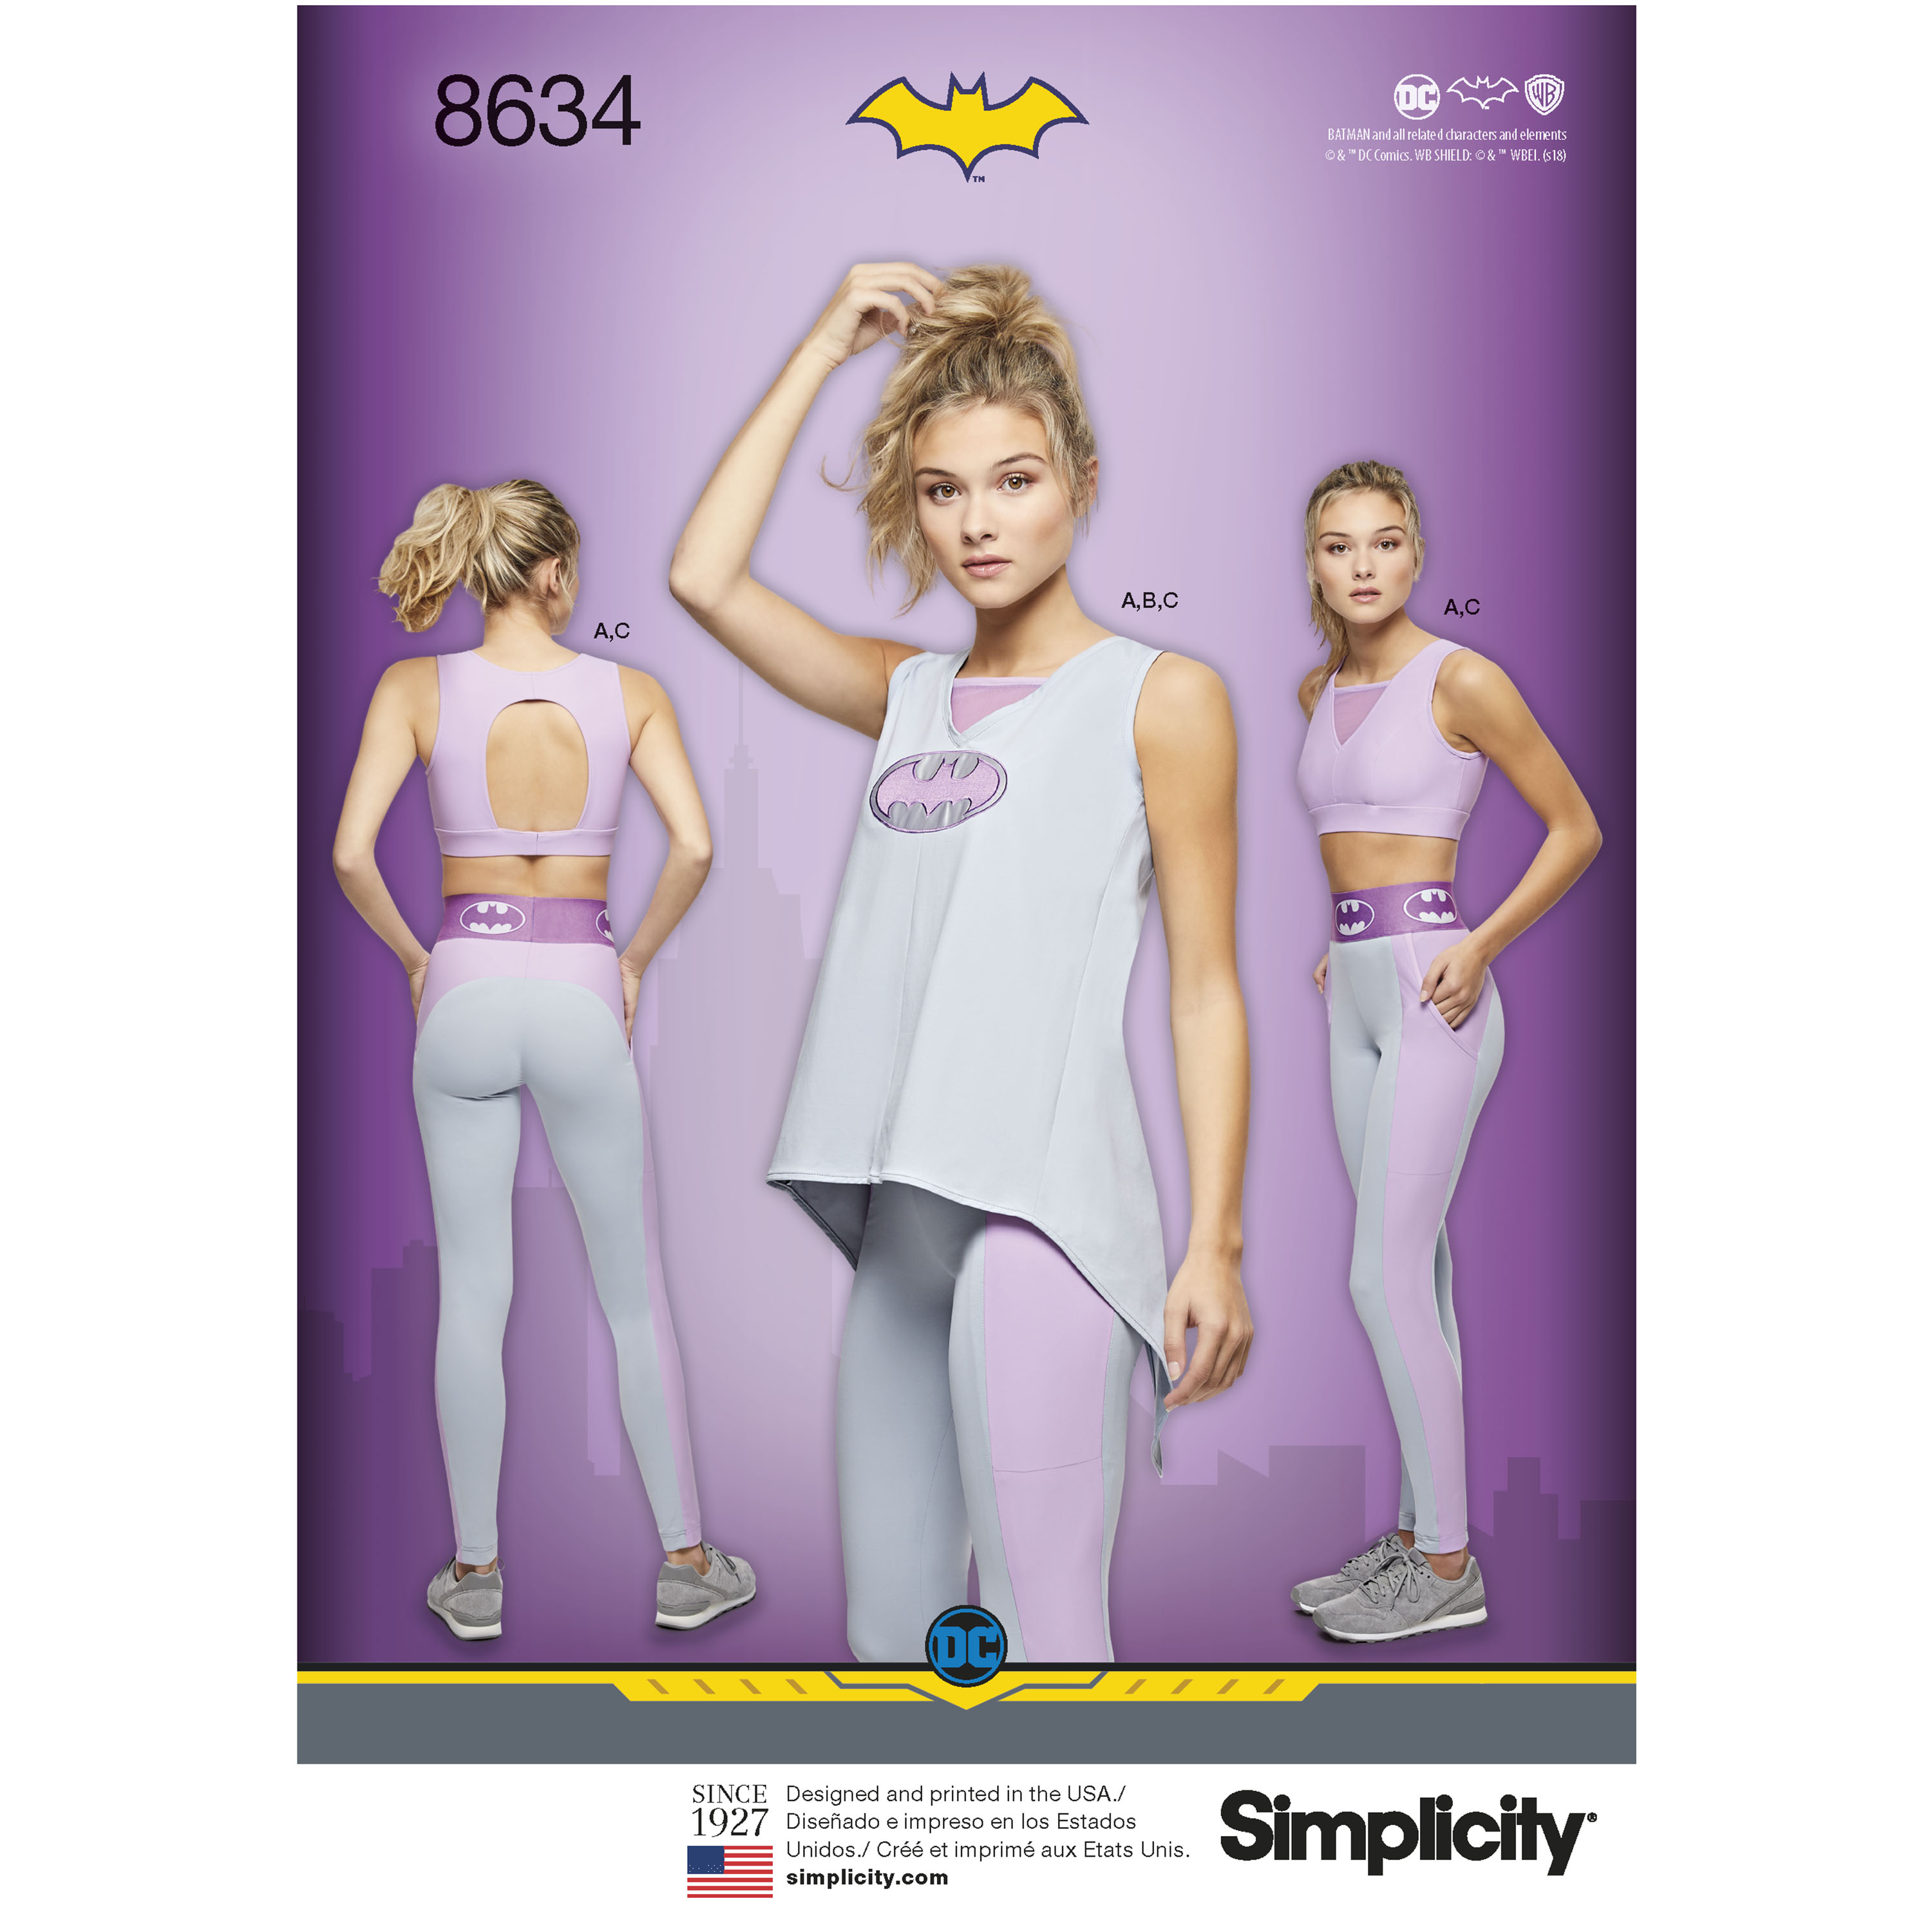
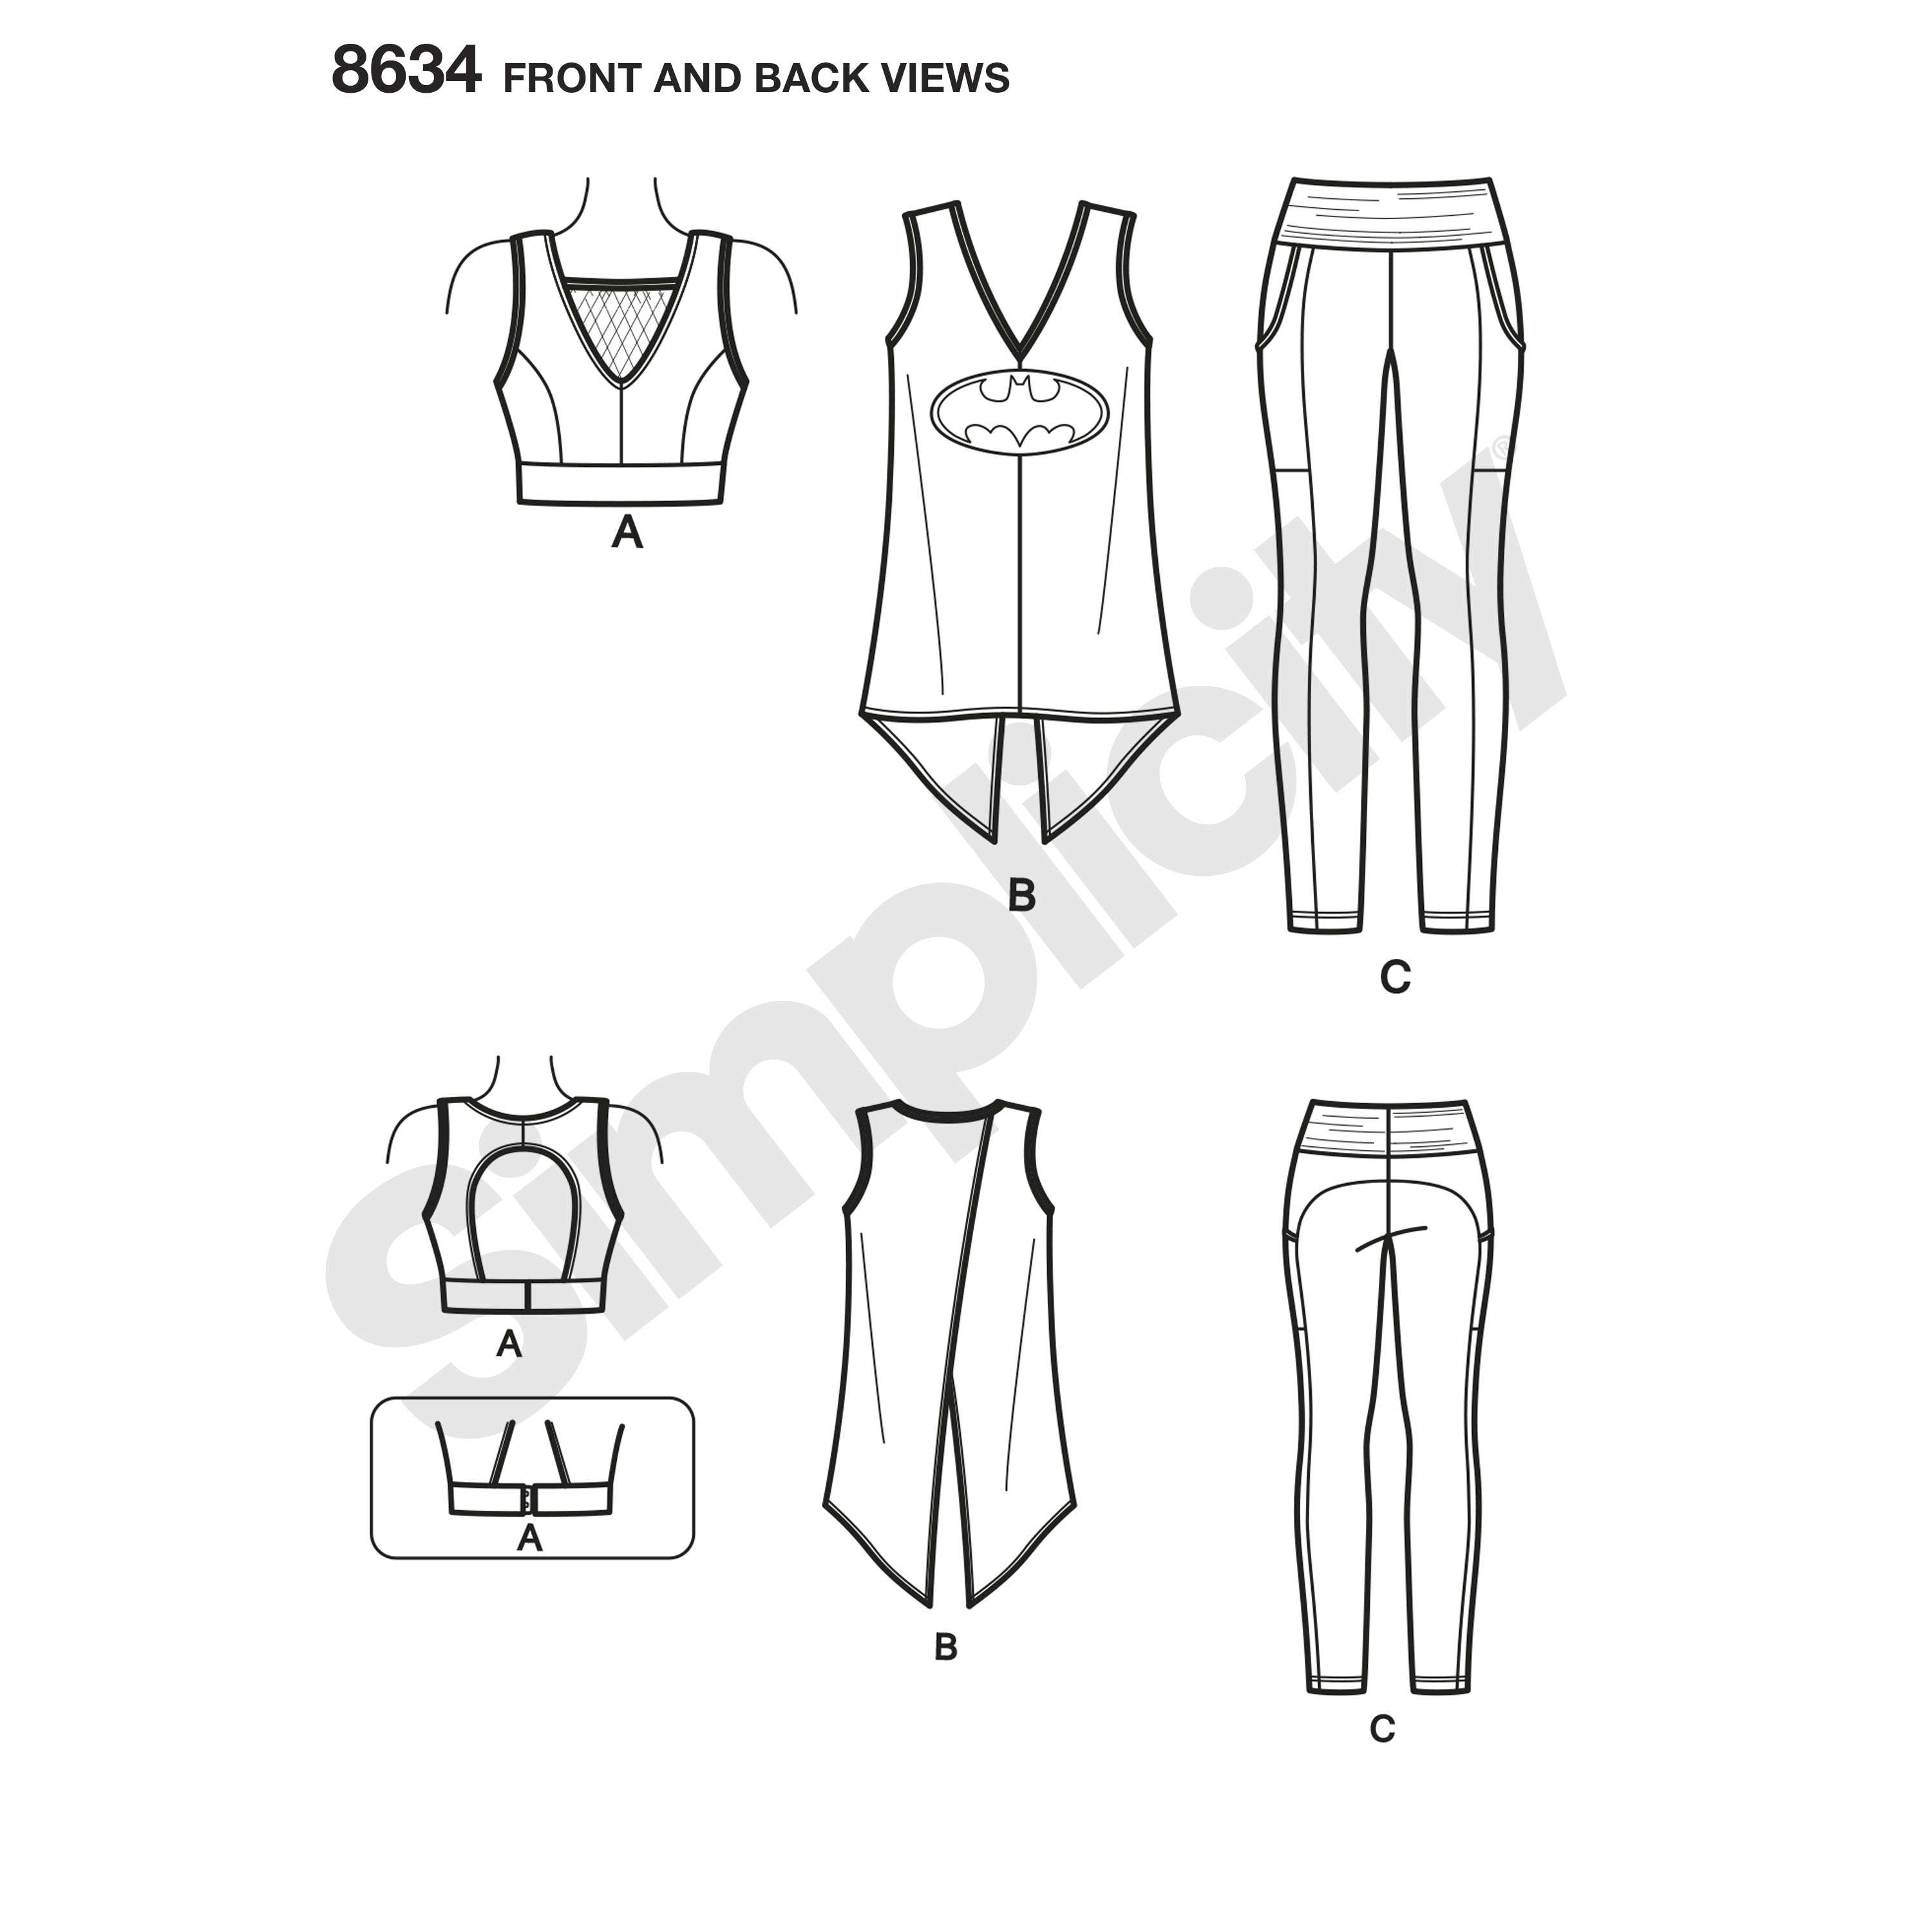
A sale at the fabric store lead me to a Simplicity sale and their new patterns.I went with Simplicity 8634 for the top 


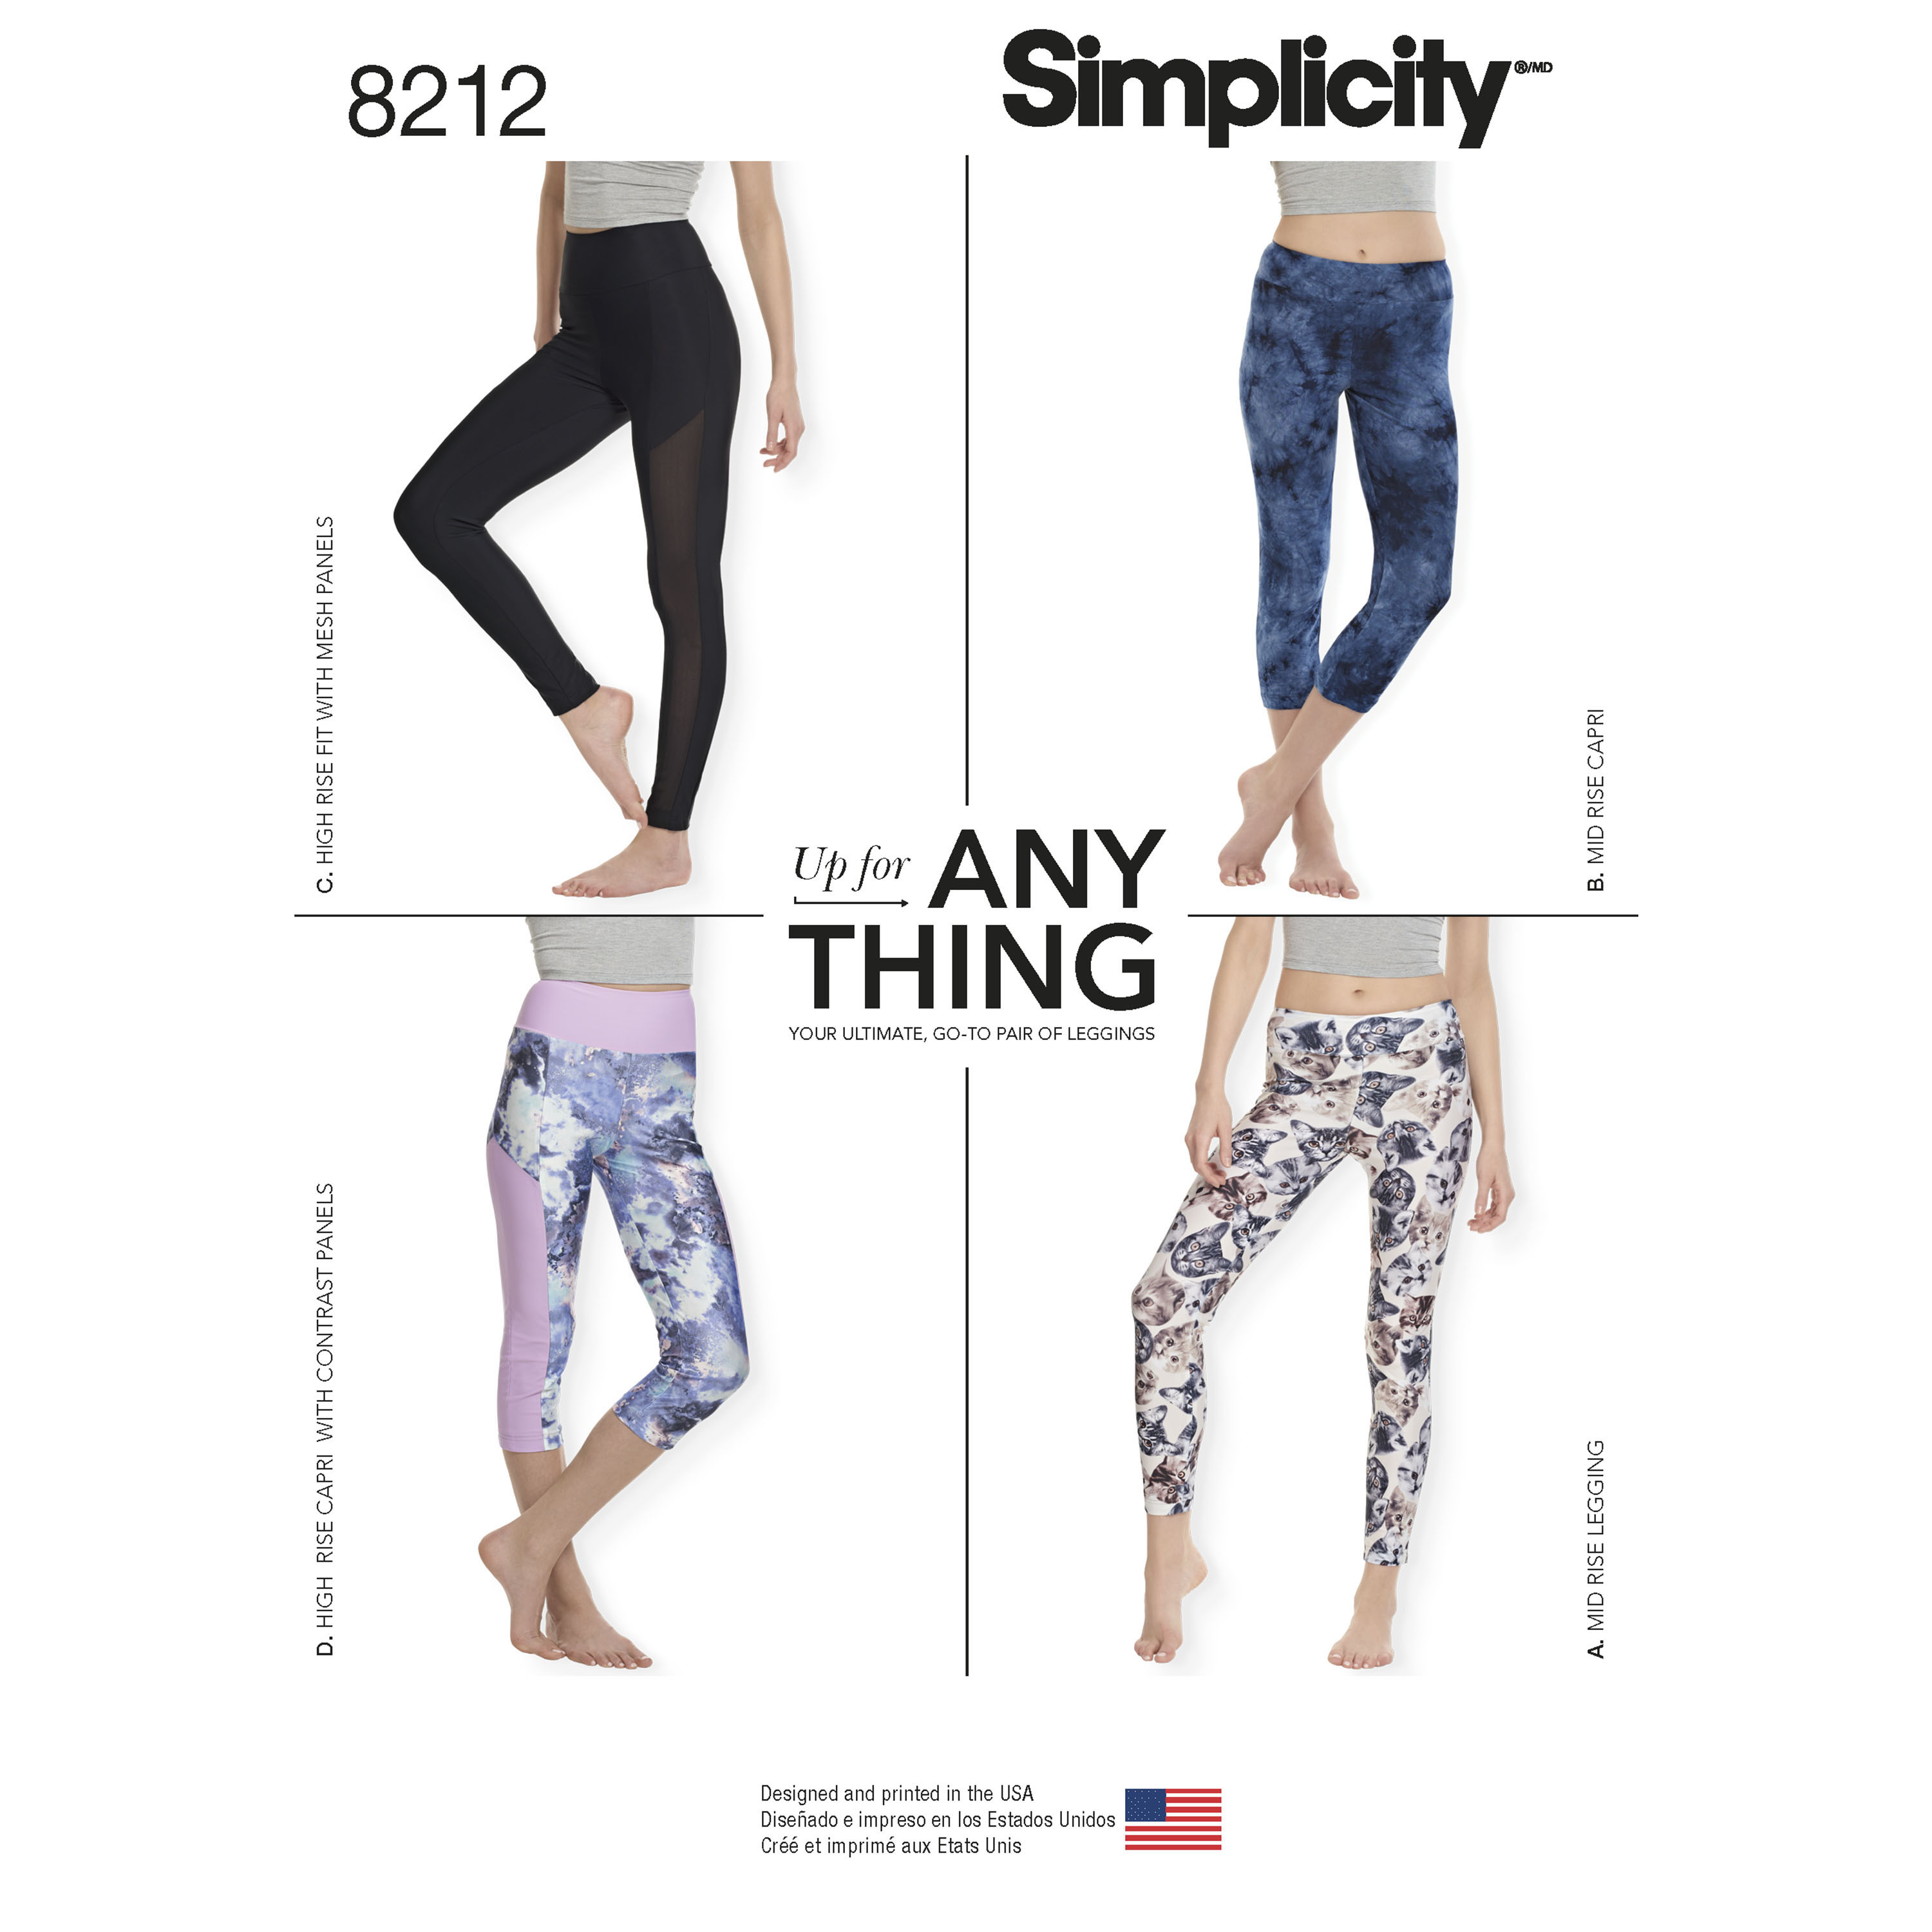
and Simplicity 8212 for the leggings
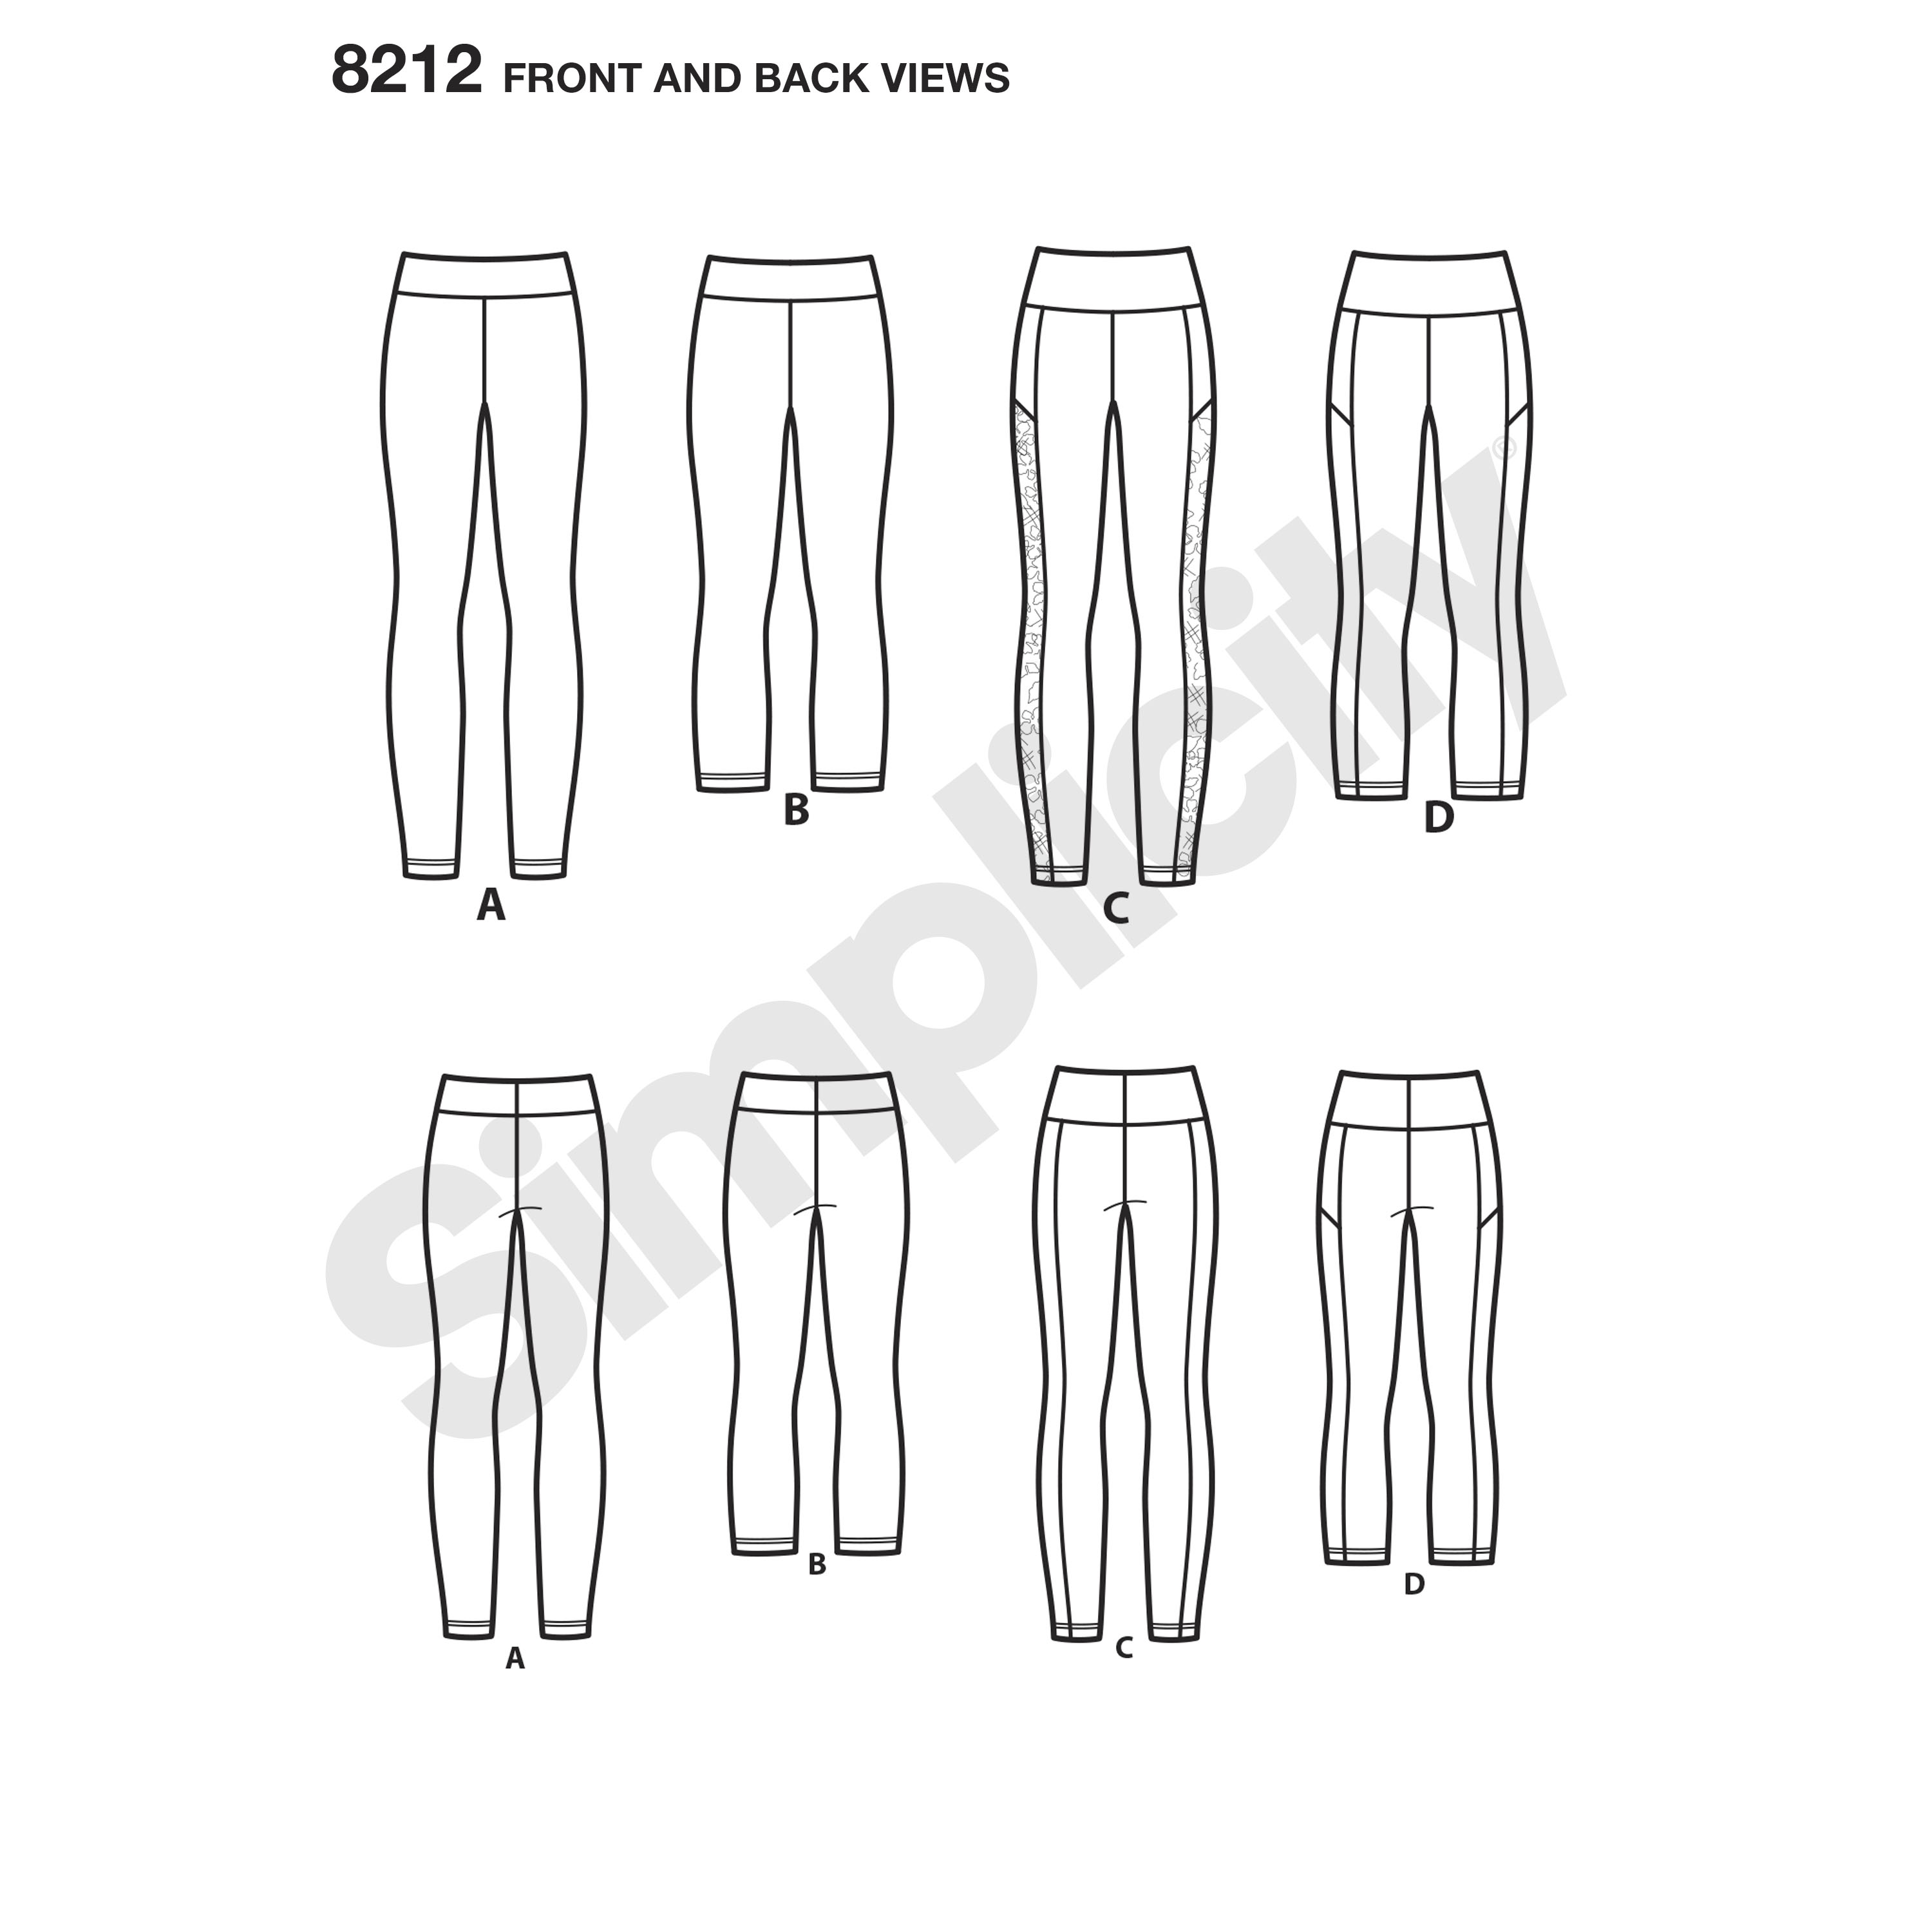
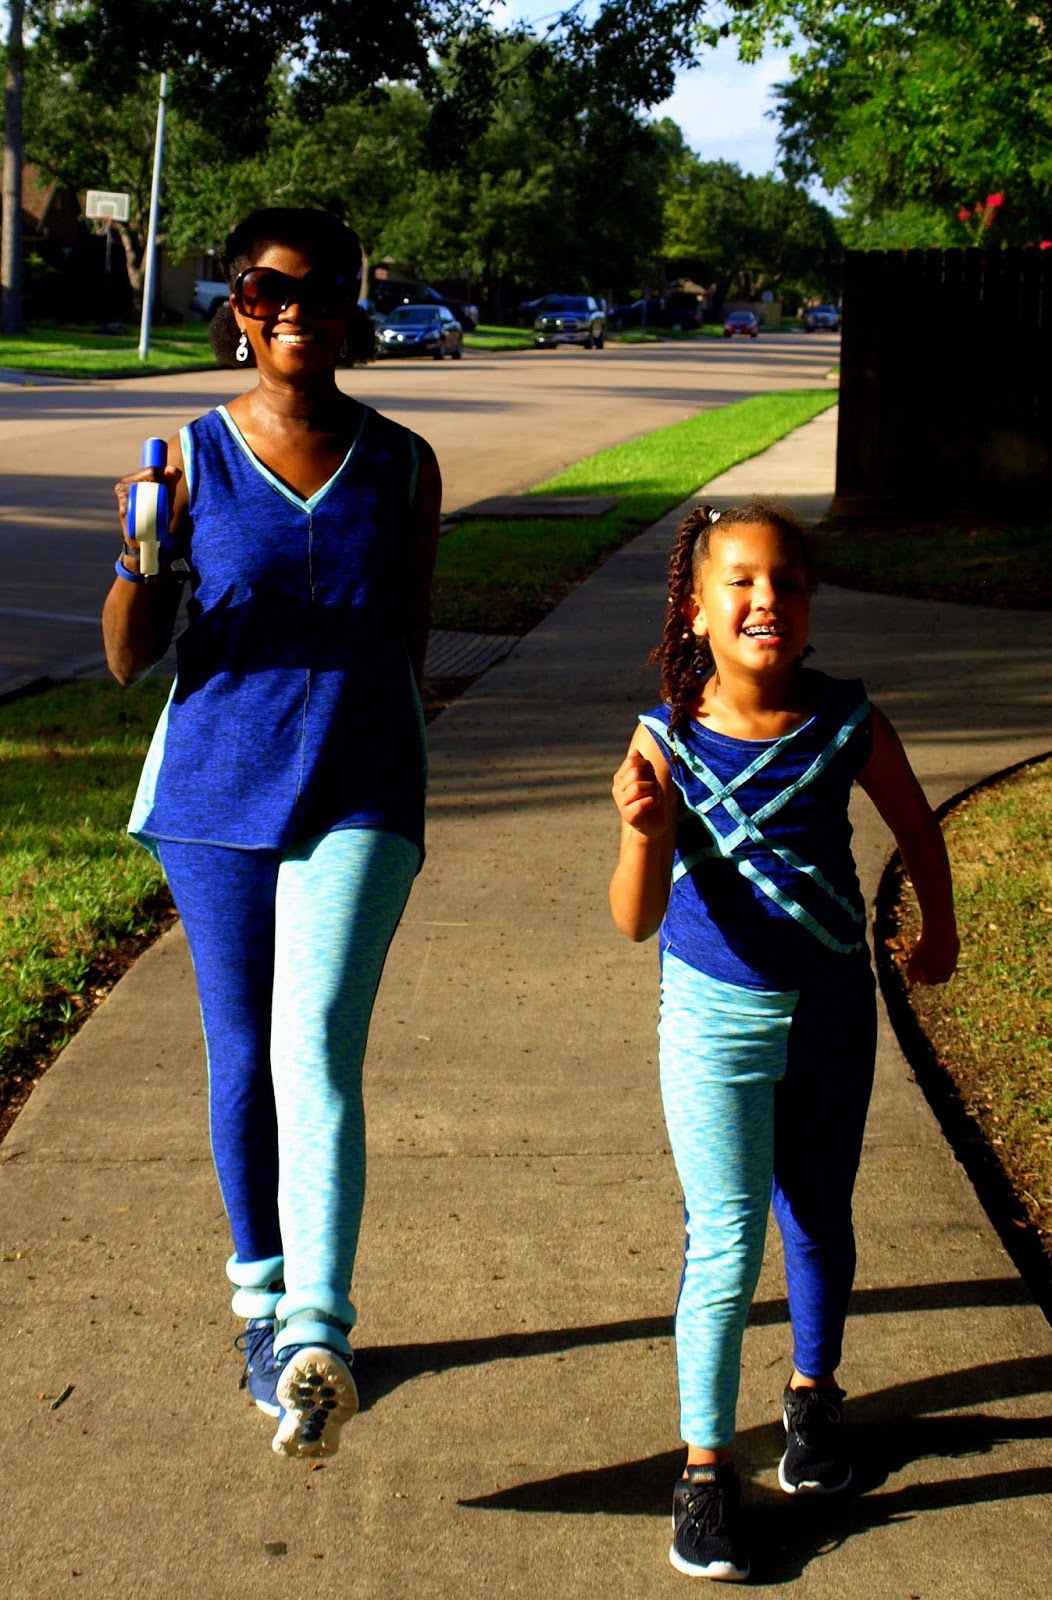
The line art of the patterns made me think they would be a good candidate for color-blocking. It was a fun way to tie the two fabrics together. In a happy coincidence, my fabrics match my swing arm weights and ankle weights. They help me get more bang for my buck on my walks.
     
The patterns were easy to sew straight from the package. I only tweaked them slightly. I added two inches to the front an back of the shirt to give a bit more coverage. 
                          

 The crossover back is secured only at the neckline and shoulders. The overlap covers the back area over the bra, but I wanted more security. I stitched the overlap together along the edge ending where it begins to open. This with the high waist of the leggings, provides the necessary back coverage.
                           
I don't own a coverstitch machine so I sewed this on my domestic machine and serger. 
                 
I used a twin needle with contrasting thread for all the hemming and topstitch details.
  
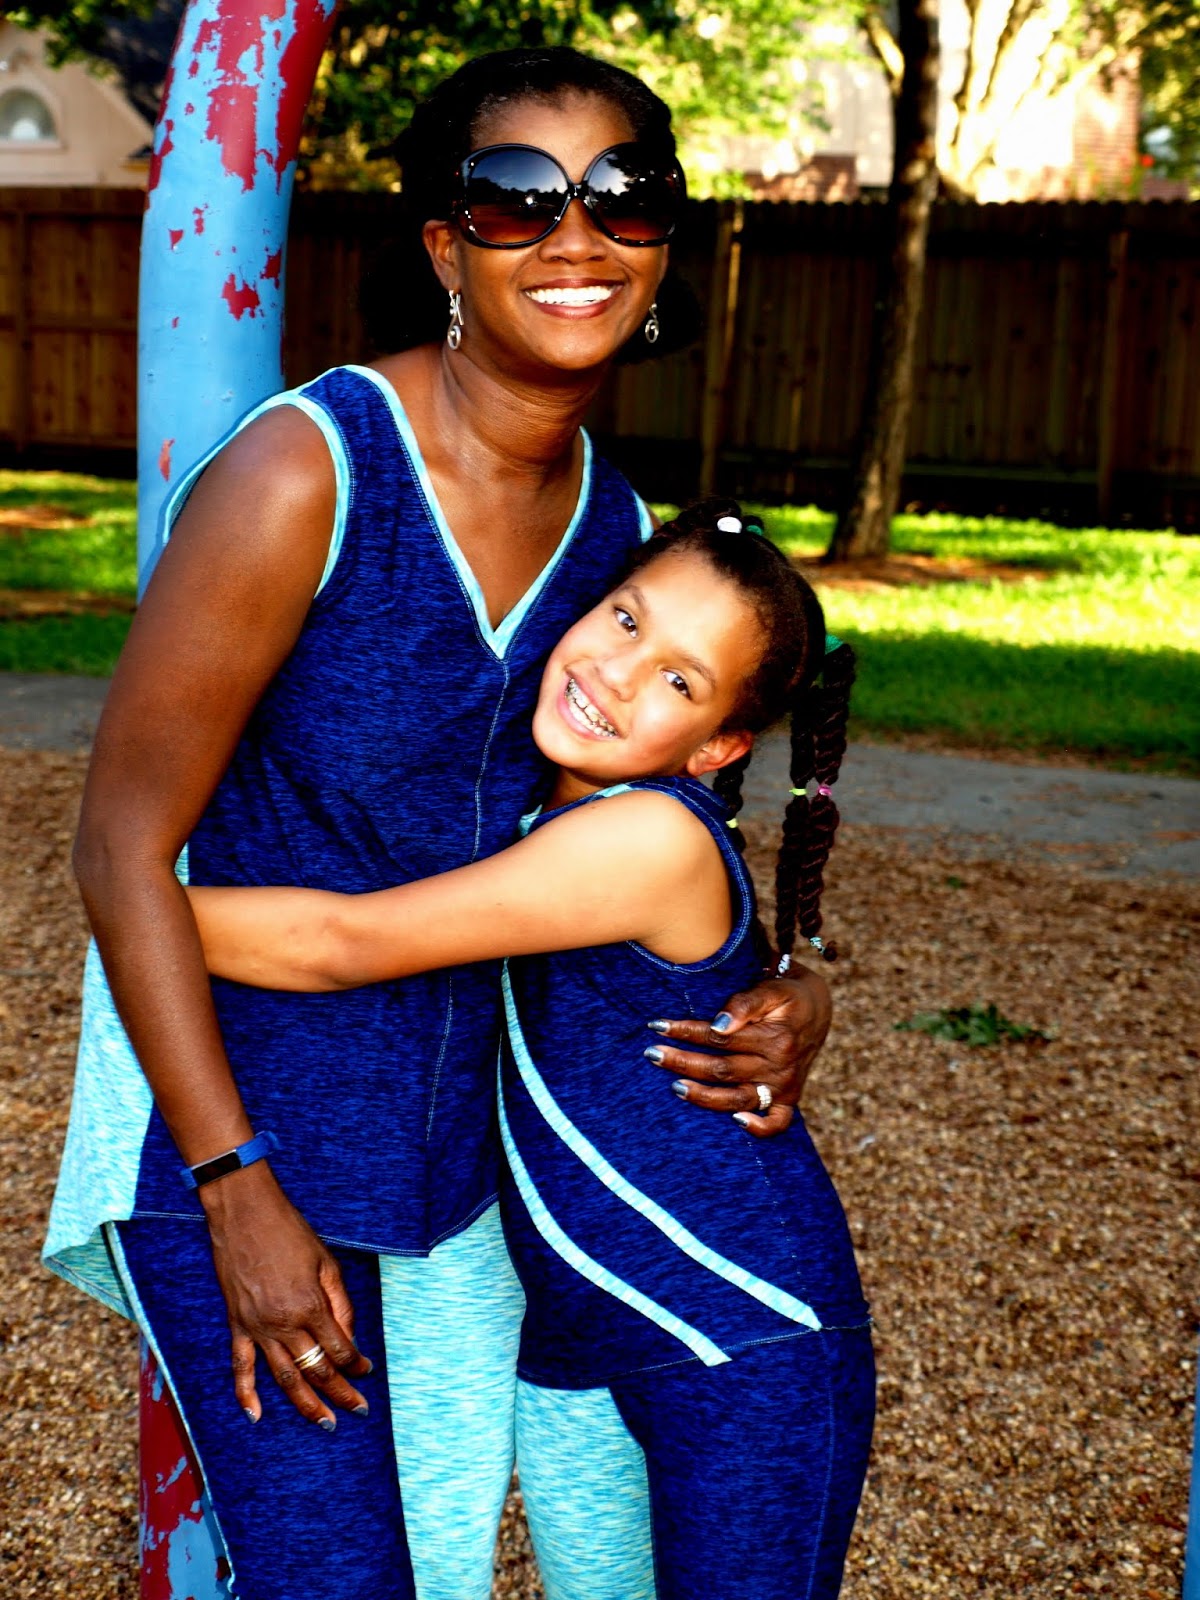
After planning my outfit, saw I had enough fabric to make a set for my daughter. I considered identical outfits, but I opted for coordinating pieces to allow me to play with a little embellishment.
                      
I don't have a  pattern specific for athleisure patterns for girls in my stash. I found Simplicity 8184 with its tank top and leggings knew it would work.

                    Image result for simplicity patterns 8184
I colorblocked the leggings and added a stripe embellishment to the top. I cut 1-inch stripes of fabric, folded the edges under and secured them to the shirt front using the twin needle.


She too loves the soft hand of this fabric and wants me to make pajamas and everyday clothes with it. This knit has a lot of stretch. For a close to body fit, I suggest going down a pattern size when sewing with it. She loves that she can do handstands and flips without having to tuck her top in first. 

I am so glad I went ahead and made these outfits. It feels good to get moving again. As I was getting ready for my third knee surgery, Little Miss asked, "Will you ever be able to run with me again?". It was heartbreaking! I am still months away from running, but we can go out together and break a sweat!


Happy Sewing,
Bianca  
P.s. Thanks to those who voted for my quilt from the previous post! I won the Pattern Review Quilt Contest!


Wednesday, June 13, 2018

Big Hair! Big Dreams! I Designed A Quilt!

Friends, I am so excited! I, a longtime admirer of quilts and quilters have finally made one myself. Not only did I make it, I designed it. I have bought many quilt patterns over the years. I have admired the finished projects, but never had the courage/skill to make my own. With my knee surgery and recovery, it has been awhile since I have entered a contest. Always up for a challenge, when I saw the quilt contest on Pattern Review, I thought it was time to pull out one of those patterns from my stash and finally make one.

I chose a popular and fun pattern, I pulled fabrics, then nothing. I was completely unmotivated and uninspired to cut it out. I took a step back and thought about why I wasn't able to move forward. My conclusion was I couldn't make someone else's quilt when I had one of my own in my head. I have had a quilt design in my head for years, but not being a quilter, didn't know how to execute it.  

I have access to a laser cutter and have been playing with various media, wood, cork, foam and acrylic. Once I calculated the settings to cut fabric, I knew applique was a viable design option to finally make mine. I was inspired and excited to figure out how to do it.

Given my skills, I decided on a quilt-as-you go and applique techniques for mine. 


You may remember that Little Miss was teased by a child on the playground about having "weird" hair. I began designing Natural Hair love, fabric and embroidery designs to remind her of her awesomeness. I have expanded on that theme with this small scale "Good Hair Day" quilt. It features three girls with the fun hairstyles of Afro puffs, an Afro and Dreadlocks. It showcases hairstyling tools and accessories and the words "Big Hair, Big Dreams".

Once I got started, I made many faces in various hairstyles, skin tones and accessories. I was all in! I was on the way to making a king size quilt when I rechecked the rules and discovered the size was limited to 36 inches wide! 

It was a good thing I checked because I didn't know how much work was involved. The fabric blocks are cut to size and quilted to cotton batting. I used various stitch patterns on each block as a testing ground for the techniques. 

The appliques are fused and sewn to the top fabric to create the blocks.


I had a hard time choosing the text for this quilt. We had a long list of text for this quilt. In the end, she went with "Big Hair, Big Dreams".


The appliqued quilt blocks and batting are stitched together to make the top. The quilt is then backed and then bound.

           
Because this is a wall hanging quilt, I added a rod hanger to the back.


As a first attempt, I am very happy with this! Little Miss loves it and can't wait for her bed sized quilt. There is a fine line between self-awareness and self-deprecation. I see the errors in this process and know it is far from perfect. I will make refinements in the process before moving forward with. I have a gaggle of girls in my sewing room and I am excited to improve on the future makes.

If you would like to see the other entries, and possibly vote for mine, I would appreciate it. Voting is open now! Click here!. 

Thanks and happy sewing,
Bianca

Monday, June 4, 2018

The Time for Easy Summer Dresses Is Here!


I love the ease of wearing dresses during hot summer days. There is nothing to coordinate, just throw on one piece and go. I am particular about my everyday dresses though, they need to be cool, not fussy and interesting. Here are some flashbacks of my favorites. 

Vogue 9112

Simplicity 1080

Vogue 1410
Simplicity 8793
When I saw Simplicity 8640, I loved it instantly! I knew I wanted to add it to my summer wardrobe.
                      

I was uncertain which length I wanted, so I made a muslin which I show later in the post. After making the wearable muslin, I figured out what I liked and made this black chambray version (available at Nature's Fabrics). It is my favorite of the two so, I will show it first.
                                                  

The bodice seam lines are wonderful! They are top-stitched for added definition. The neck and arms are finished with facings rather than bias binding. It gives perfect weight and support and visual interest when top-stitched.


The gathered pockets are adorable! Note, they are positioned lower than standard pockets. If pockets for you are a place to put your hands rather than for phone storage, you may consider raising them.


I enjoy the curves at the sides of this interesting hem.


At the shorter length, there is good coverage in the back.


Come on triple degree temps, I am ready!


For my wearable muslin, I went with a blue and white stripe seersucker stripe in the longer length with the added buttons on the pockets.

 
This pattern has the "not suitable for plaids, stripes or one-way design fabrics" prohibition.


The bodice is bias cut so I thought is would be fun to see how it would look with stripes. I have had this fabric in my stash for years. I am sewing through my stash and with a few exceptions, I want to use what I have on hand.  I enjoyed manipulating the fabric to align the stripes the way I wanted.


 I used my walking foot to help keep things together as I sewed. 


It was not a perfect match, but it was not the pattern predicted disaster.  


Hubby thought the gathered pockets conflicted with the lines of the stripes and suggested I change them. As I have said before, hubby rarely takes a critical and assessing eye to what I make. He just sees me and goodness. A great trait for a husband, but bad for useful creative feedback. I was so impressed that he saw that, spoke up and knew how to fit it! He suggested I flip them to the ungathered lining side and it worked.


I think the the length of view A is too long to be flattering on me. I went with it because I thought it would showcase the curve at the side better. On the chambray dress, I decided the shorter was the way to go. Now that this is blogged and you have seen it, I will likely shorten this one too. 
   

Both of these dresses will get lots wear in the next few months. It was fast and easy to make and is super comfy. I like it so much, I see a linen version in my future.

Happy Sewing,
Bianca