I wish I was a regular yoga exerciser. I like the idea of being the type of person that is zen. meditative and relaxed. I own a yoga mat and I've attended a few classes. Every time I do I realize it hurts it's not as easy as it looks and I would rather sweat hard for 30 minutes then be silent for an hour.
I recently had reinvigoration of the idea of doing yoga. There I was, downward facing dog, staring at my yoga mat. Sweat beading on my brow, wondering if I would get to the point when this would be fun. Suddenly, it hit me! The mat I have been staring at would make an excellent stencil! With a blast of creative inspiration, my burning limbs and taut muscles suddenly did not hurt so much.
Using the stencil making steps I previously wrote in this post; I got to work. I photographed my mat and manipulated the image in Publisher to get the 18in x24in image to use as my stencil image (Thanks Dr. Fun).


I decided to use my stencil for shirts hand-sewn in reverse applique and applique techniques on cotton jersey. I will show the reverse applique shirt to begin with. I decided to use my trusted vintage Simplicity 9300 pattern that I used to make a halter top.

I have an airbrush and love the results painting with it produces. It is however, 100+ degrees in my Texas garage. I was not willing to spend any time in there to paint fabric. I also know you may not have one, so I wanted to show an alternative.

I applied a light layer of spray adhesive to the back of my stencil and positioned it on top of my fabric. This helps me get crisp edges around the shapes and helps the stencil stay in place when using an airbrush. Using a 3-1, paint to water ratio, I thinned it out a bit. Using the paint as is, makes the fabric less flexible than I like. (Okay, I really didn't use that ratio. I just poured about an inch and a half into another bottle and added some water and shook it!). I sprayed multiple light layers to get the saturation I needed taking care to let each layer dry before the next.
Next, I cut the front of the shirt and made a tiny hole in each large shape. This makes the cutting out easier later. I then basted it to the red backing layer at the arms and neck.
 |
| Stenciled top layer basted to the back |
 |
| Shape with hole to aid in cutting later. |
I prefer to join my layers while it is in an embroidery hoop. Using button and craft thread, I sew a running stitch around each shape. I tie a double knot to secure it after each shape. Using the hole I previously cut as an entry, I removed the middles leaving about 1/4 of the silver paint.


I sewed the internal seams on my machine and hand-sewed the external seams laying them down toward the back. I really like the curved hem on this.

I bound the neckline with a bias strip and secured it with a herringbone stitch. I am still working on getting it to slant less.

I really do enjoy the puff sleeve on this.


I am very happy with this result. The bold red is very striking when paired with the silver paint and black fabric. This stencil size is large and relatively fast to sew.
This look can be created using a tried and true t-shirt pattern. Use a dinner plate to cut the curve of the hem and end your stitching about 8-inches up.
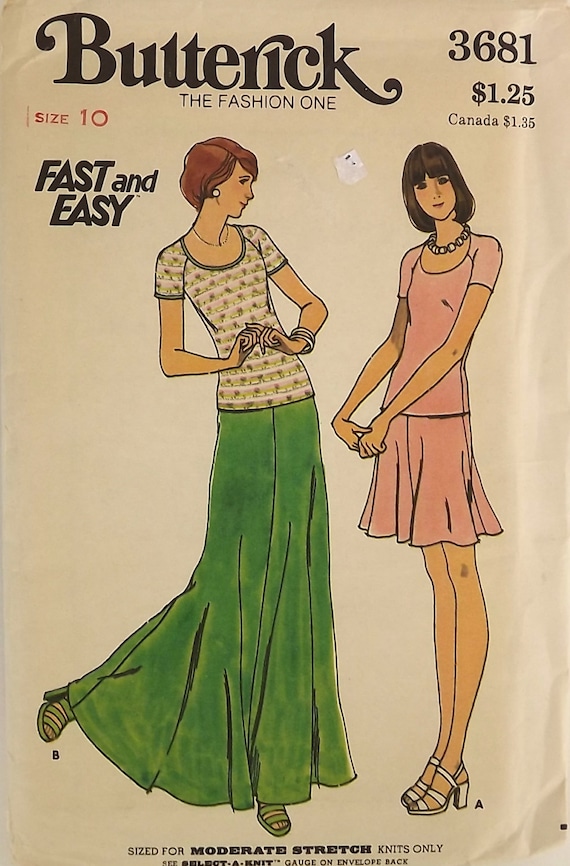
I enjoyed this stencil so much, I made another in the applique technique using vintage Butterick 3681 to make view A. Mccalls 7093 is a currently available close pattern match.
The beginning of the process is the same without cutting a hole in the shape before sewing the layers together. For the applique, I cut around the shapes outside the gold paint by about a 1/4 inch. All the outside fabric is removed.

The internal seams of the top and skirt were machine sewn. The visible seams are laid down and hand-sewn. The neck binding was secured using the herringbone stitch.

I like the depth of the neckline, raglan sleeve with a shoulder dart. The sleeve and bottom hems are left raw; they will curl when washed. Speaking of washing, I machine wash on delicate inside out. The quality of the stitching and paint have not been compromised in my many hand-sewn garments.

The texture in this effect is so fun, isn't it?
If you want to make these tops, or some other garment you can! You can download the pdf image of this stencil for free in My Craftsy Store the link is in the right column. It is a 6-page landscape layout that you can download, piece together and make. If you use it, please share your projects with me!
Happy Sewing,
Bianca
Very unique applique process! Nice job!
ReplyDeleteThanks Linda!
DeleteThey're fabulous! And I just love your story about finding a new use for your yoga mat. Personally I love yoga far more than aerobic exercise but I will never look at a yoga mat the same way again!
ReplyDeleteThanks Jane! I will return to the yoga class if only to look at other mats :)
DeleteThese are just beautiful! Love them both!! I must try this!!
ReplyDeleteThanks Cindy! You should give it a try!
DeleteThese are so beautiful! Also, I love your hair like that.
ReplyDeleteThanks! With my hair like this, I have more time to sew!
DeleteI especially love the black and red, and your nails match the paint!!! So did you cut up the mat itself, or did you mean you used the design of the mat?
ReplyDeleteHahaha! I guess I was not clear on that! I did not cut up the mat. I photographed it and manipulated the image from which I made the stencil. :) I hope to learn to love yoga, so I kept the mat.
DeleteThanks for noticing my nails! They were each painted a different neon color before! I grabbed my instant dry polish and covered it right before taking the pics! Hubby rolled his eyes and said no one would notice!
I thought you cut up the mat, too!
Delete:) Okay, that is proof you guys have been around this blog a while. You have seen my repurposing; it is something I would do!
DeleteWow! Beautiful - just absolutely beautiful!
ReplyDeleteThanks so much Tomasa!
DeleteThe tops are Stunningly Beautiful. Thanks for sharing the process.
ReplyDeleteThanks so much Sheila!
DeleteI stumbled upon your blog today, I loved reading and viewing the photos. Stunning work, I love it!
ReplyDeleteThank you for stopping by and thanks for your kind words!
DeleteBeautiful tops, beautiful work! I just found your website while exploring inexpensive and "upcycling" means of creating Chanin-style applique garment. I just saw this style online this past spring and pushed it aside due to high cost of materials and lack of availability of appropriate material and paint (I live outside of the US and W. Europe). Now I am planning to make my own stencil designs and use t-shirt, with recycled t-shirts and other knit garments for the applique. Your blog is good encouragement for doing it your own way! I really love your choices of color!
ReplyDelete