Showing posts with label fabric printing. Show all posts

Tuesday, February 21, 2017

More Me Made Printed Fabric using Simplicity 8295


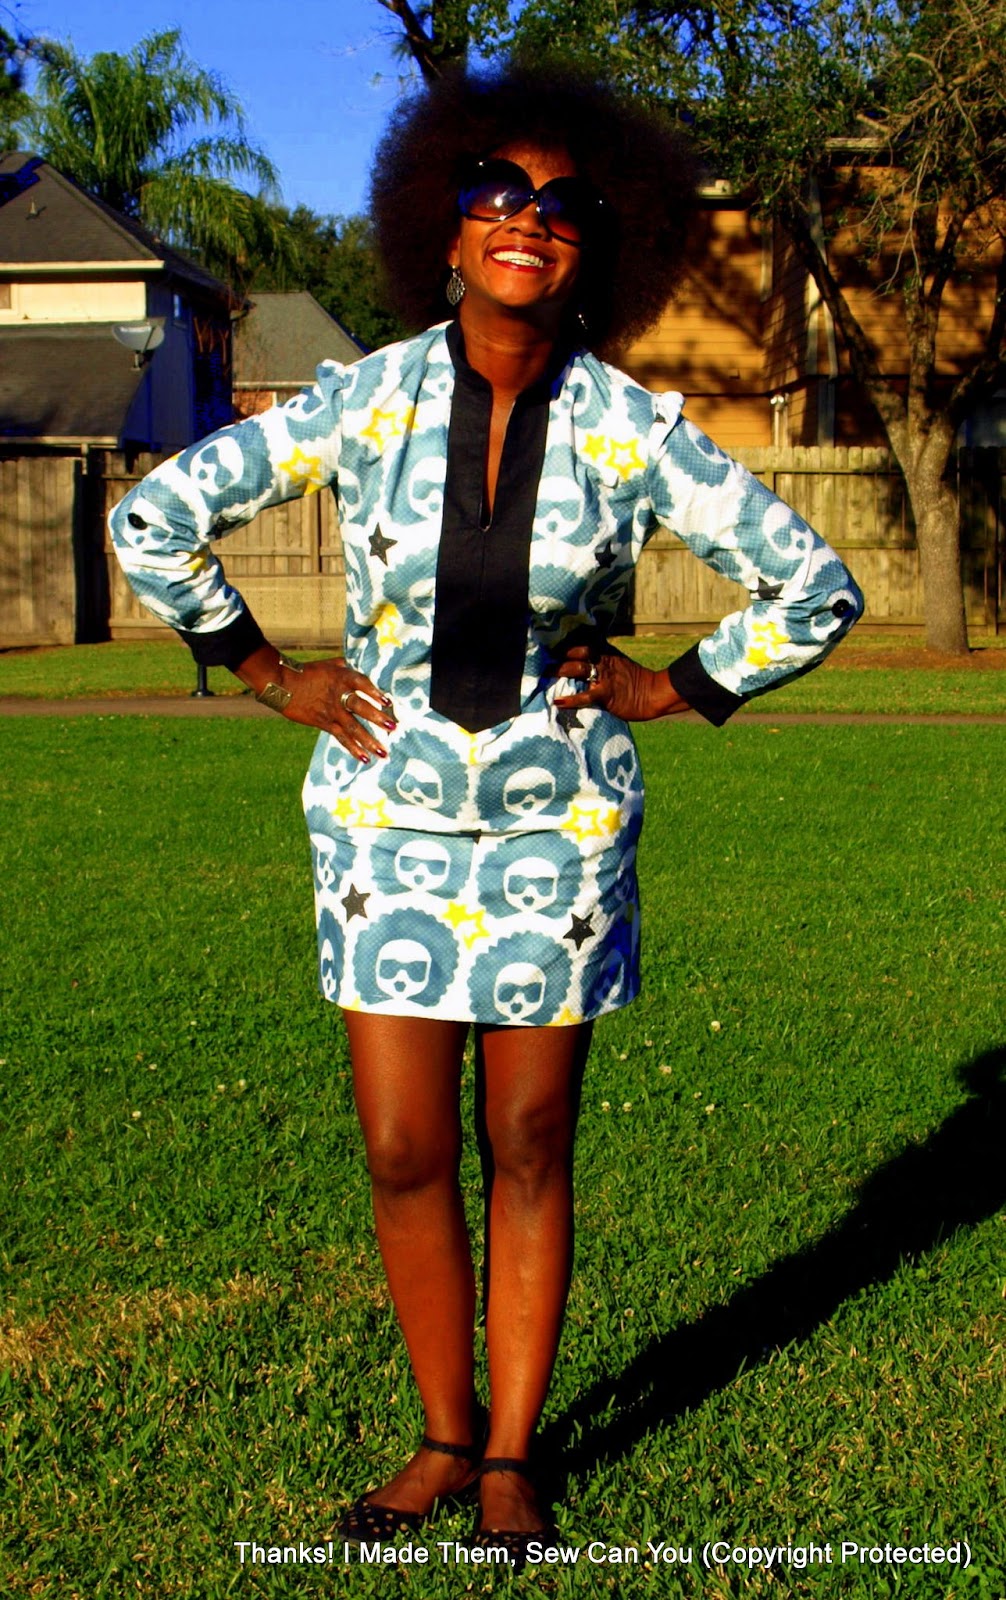
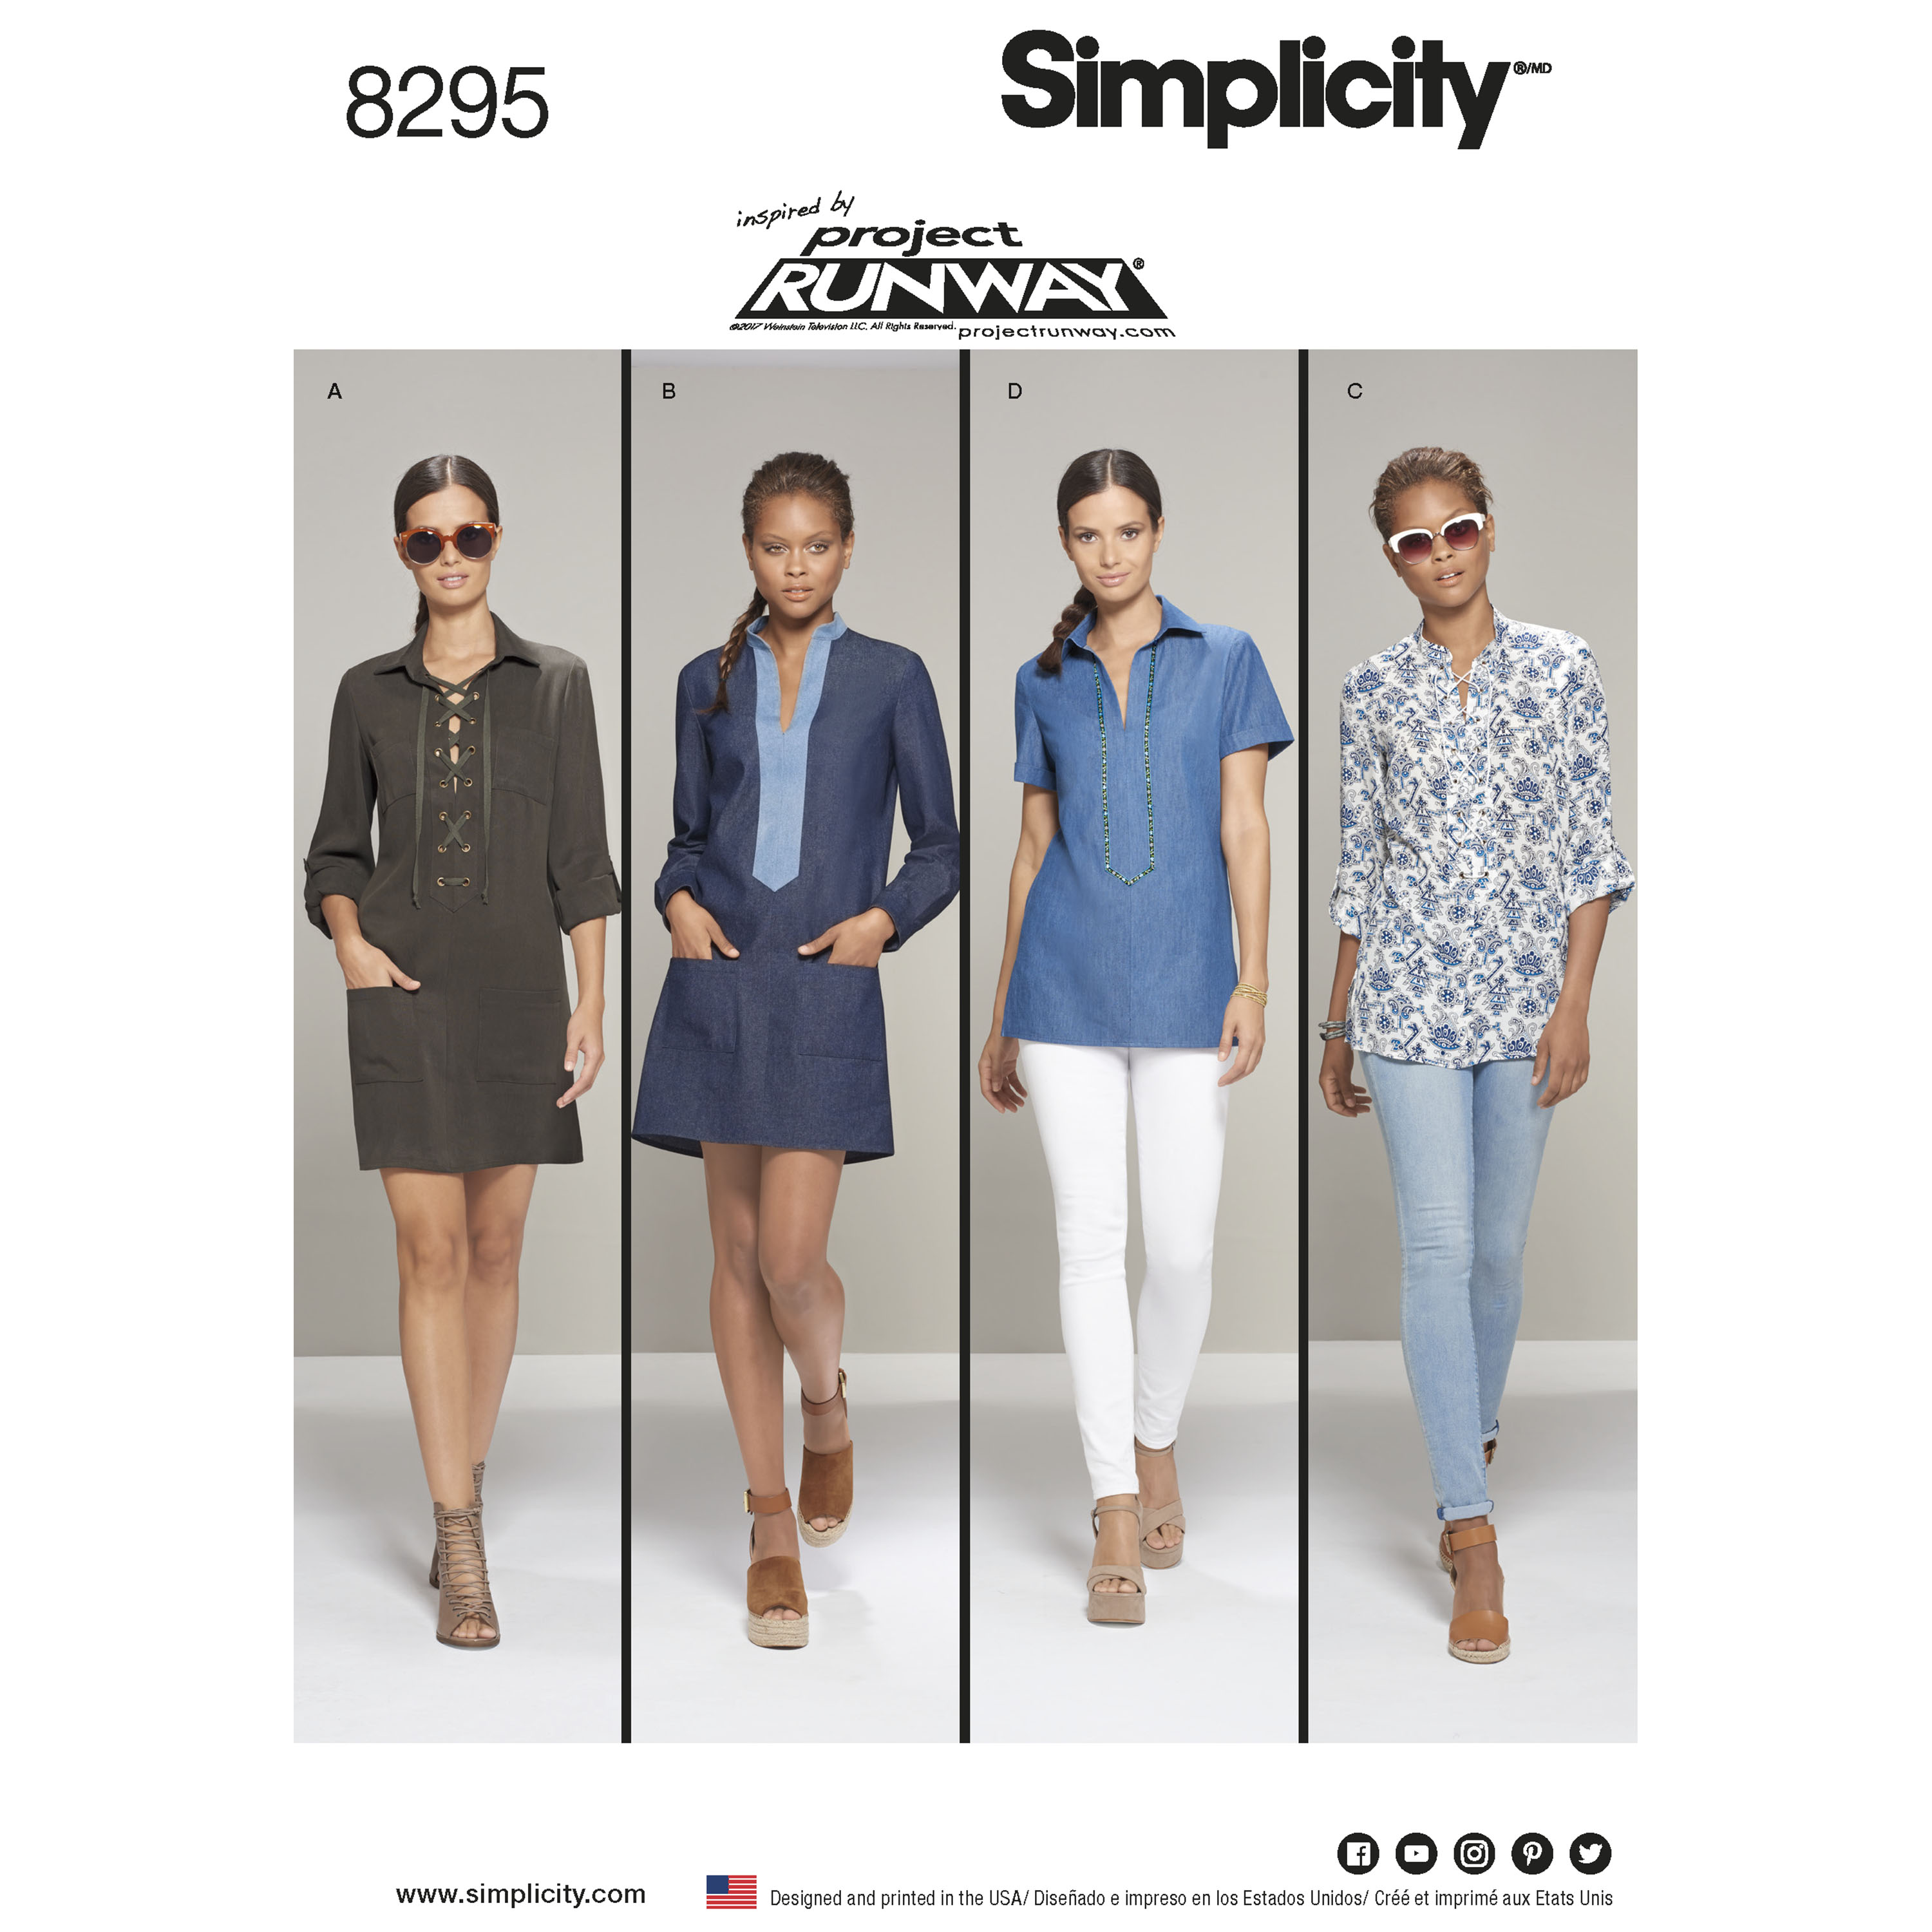
A couple weeks ago, I stumbled upon a $.99 sale. I wasn't looking or planning to buy patterns until I saw Simplicity 8295. I like tunics, mini dresses and that combined with the placket options drew me to this one. 
                                

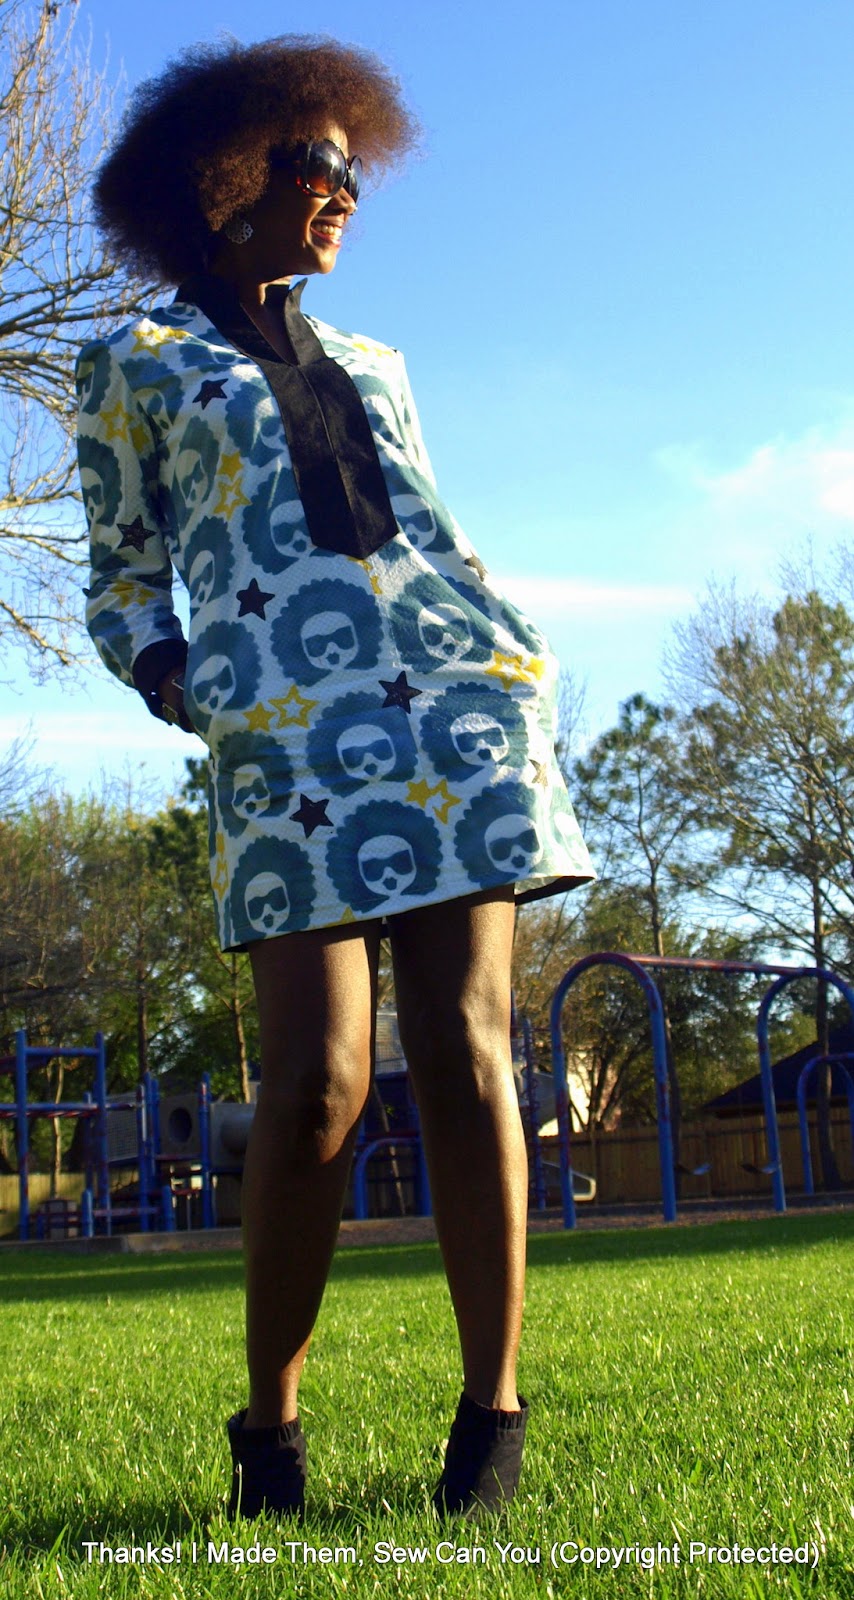
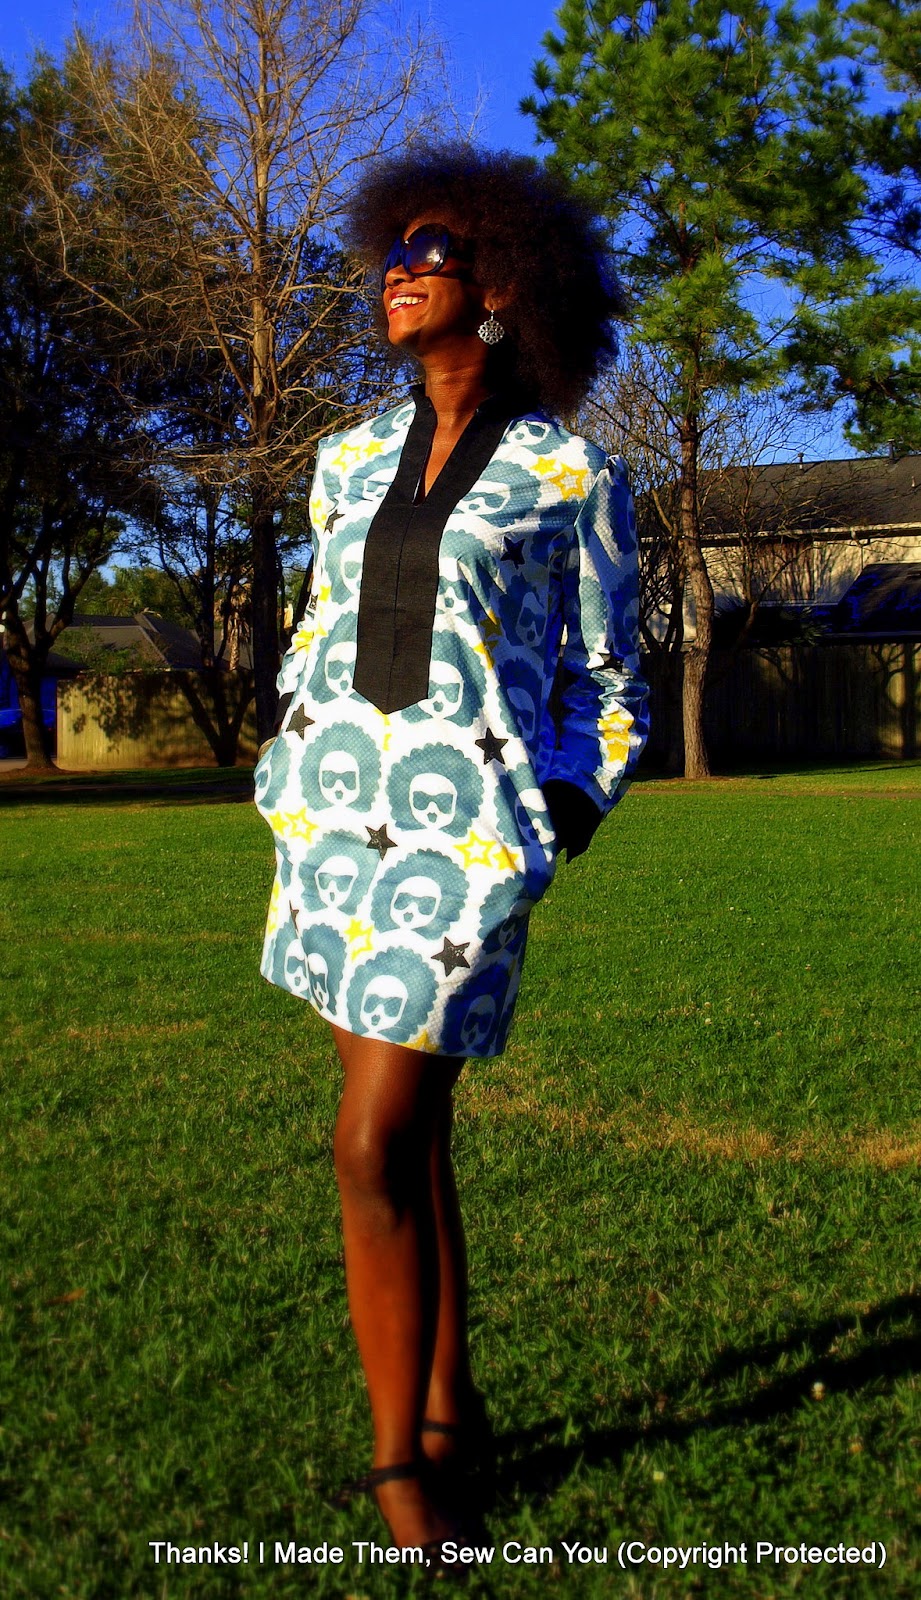
I am still having fun making my fabric (see previous post) and wanted one for this dress. For the base, I used  a white on white dot cotton from Joann Fabrics. I airbrush painted over it with a paint color that I blended myself. I accented the "Afro Stripe" design with woodblock stamps in double yellow and single black stars. I chose black linen fabric for the contrasts.

I like view A and B and couldn't decide which to make. A poll on Instagram had the results split, so I went with B with modifications.The pattern called for a contrast placket only, but I chose a contrast cuff too. The pattern also has exterior patch pockets, but I switched them out in favor of side seam pockets. 


The instructions for this are straight forward for an experienced sewist. A beginner would need to take it slow on the placket and sleeve details. The sleeve has a continuous lap on the pleated cuff, and a button tab. These elements on their own are not too much, but if you are a newbie, I suggest you take breaks to sew these elements with fresh eyes.


Once it was all said and done, I don't like the fit of the sleeve when pulled up by the tab. I have thin arms and it is tight to wear it pulled up. I am not sure if the linen and my interfacing made it inflexible or if the sizing there is off. It is not a deal breaker for me, but you should know. I think I will lower the button and get some more room.


I like that the back has a yoke pleat detail. It gives a bit of interest to balance the front.


This is a mini-dress. The length I am wearing is as is from the pattern. I thought it would be too short if I hemmed it at this length. I instead added black ribbon to the bottom and folded it back to hem it. When I make another, I will add an inch or two before cutting.


This one is a keeper. I will be making more for the warm Texas weather. I will be making more of this fabric as well.  I have added the other prints I have made to my Etsy store.  I will make this one only by special request in custom orders.

Whichever fabric you choose to make yours, I hope you like yours as I like mine.


Happy Sewing,
Bianca


Saturday, February 18, 2017

"Peace, Puff, Afro, Love" Fabric and the Urbanista Bag with Vegan Pleather

After making fabric to celebrate the beautiful hair embraced by my daughter, I decided to make some more. In fact, because of her excitement and the enthusiasm shared by my reader friends, I have been bubbling with inspiration. I want to design all the fabric and make all the things!


My most recent print is this "Peace, Puff, Afro, Love" design on 60-inch grey duck canvas. The base is airbrush painted and the accents are hand-stamped for added texture.


The canvas is a prefect weight for bag-making, I searched my stash for a candidate to showcase the print. The Urbanista Hobo by Cheryl Kuczek fit the bill because of its size and no distracting exterior pockets.


This choice also gave me an chance to use the Paradsio pleather kits that I got the same time I got the pattern. Aren't they yummy!


I met Cheryl at Quilt Market a few years ago. I was drawn to her fun patterns and she and I have developed a friendship since. Her patterns are written with a lot of explanation and detail for the novice. I prefer short bullet directions followed by an illustration to show me what to do. These text heavy steps are not a deterrent to making this great bag, but are different from commercial patterns. I find it best to read through them first and highlight the relevant sewing steps. Cheryl is a very approachable designer happy to answer email questions. She also provides online guidance on her blog  and includes tutorials on the following topics:
Many independent bag patterns give dimensions from which you make the pattern. I am so happy to not have to spend time on this step because the main pattern piece is included. I have made MANY bags by Noodlehead, Sew Demented and Amy Butler. They all have their high points and low points. I love the construction details unique to this bag. The body is stabilized with fleece and muslin instead of fusible fleece, or Shape flex and interfacing. I really like this time and cost-saving feature. With the other methods, no matter how I well fused, I have had these layers separate over time and use of the bags and it is very frustrating. With this method, the bag has structure, flexibility and weight that is not floppy or heavy.

Exterior fabric, lining, muslin and fleece 
There are six roomy contrast pockets inside the bag. I made mine without the contrast. The construction of the pockets gives added stability and support because they are secured in the side seams.


The bag is accented with pleather on the base, straps, binding and strap slots.  I sewed this bag completely on my home sewing machine with a regular needle and regular foot. There are suggestions for sewing pleather, but I didn't find I needed them. They are easy to work with.

Pleather base before attaching
Strap in process. Use clips and not pins which leave permanent marks.
The installation of the top binding is brilliant! I won't give it away here, but it is wonderful. I wish I had made this bag when I got the pattern in November. The binding would have saved me so much headache. I made three Noodlehead Maker totes last Fall. The hand-sewing of the binding was a beast! I wish I knew this method before starting. 


I applied three double cap rivets to each strap rather than add buttons and buttonholes. I would also suggest heavy-duty snaps or button studs to allow the strap to be swapped out with others.


When the bag was all made, I was worried that the pleather was too stiff and that the binding wouldn't droop like a hobo should. After wearing it for a day, it softened wonderfully and feels great. 

 I love the strap slot and riveted handle.


Considering the capacity of the bag, I am really pleased with how comfortable it is to wear. The pattern does not include a magnetic snap closure so I added one to the lining before attaching the exterior.


It is the perfect size for a busy mom as demonstrated here by my friend Lisa 


This pattern is available for purchase  in Cheryl's store.

My "Peace, Puff, Afro, Love" fabric is available in my Etsy Store in limited quantities and less than Spoonflower rates. I have also listed the "Puff Diva" fabric. All the fabric is hand painted by me and each is unique. Grab them while you can and make someone's day!


Happy Sewing,
Bianca

Tuesday, January 24, 2017

Create What You Wish Existed In The World: Fabric Printing for Little Miss.

Update! This fabric is available in my Etsy store!

Over a year ago  a child at the YMCA told my darling child her free flowing curly locks were weird. Her feelings were hurt, she was saddened and confused. She wondered how someone could be so ill-mannered and cruel. After a conversation, reading her books, "Happy to Be Nappy" and "The Skin We Are In" and she let it go. It wasn't so easy for me to move on and I made a note to step up my "you are awesome" and "fearfully and wonderfully made" game.  

I looked around for fun fabrics with kids like my daughter represented. I found a few, but they included unicorns, princesses and fairies. I have bought them and think they are great, but feature fantasy and myth. I wanted a normal design based on real people; based on us. When I couldn't find what I was looking for I decided to make what I wanted.


Lately, I have been playing around with fabric printing. I have shared the prints I have previously experimented with on my Instagram. They have been small sample size and border prints, but never yardage enough for clothing. The process is imperfect and time-consuming so I was reluctant to print on a larger scale until now.

             
I made this Afro Puff Diva using design software and a die cutting machine. After careful consultation with the model, I hand-stamped the diva with black fabric paint and white flowers between. I love the texture the fabric paint gives. Some stamps are completely saturated and others have a weathered appearance. 

                   
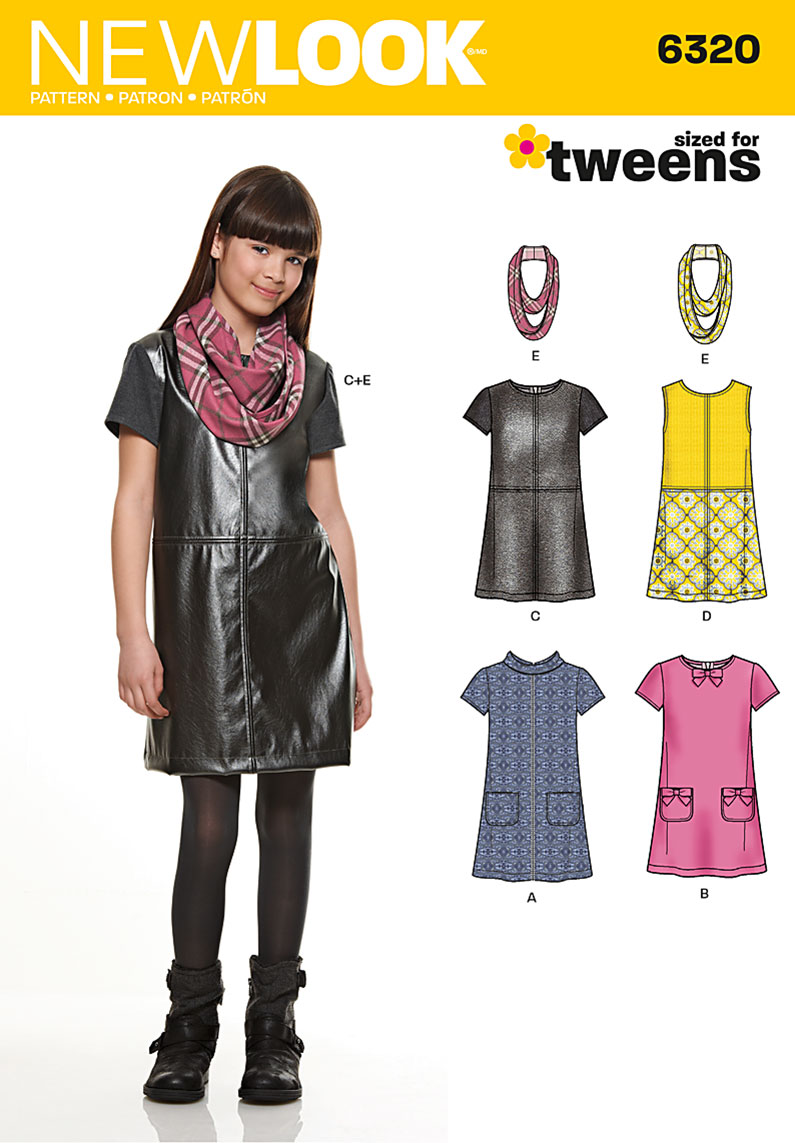
I chose to use New Look 6320 to make this dress and it was a fast and easy make.

                                   Image result for new look 6320
I love the collar on this dress. I wish I could take credit for perfect alignment of the diva on the collar when folded down. It was a happy coincidence that the hair and sunglasses matched up. I couldn't have planned for that had I tried.


I didn't want to hope on chance on the sleeve placement. I wanted the image centered, so I printed them directly on the cut sleeve piece.

                                    
I modified the dress to have side seam pockets and chose to add a regular zipper instead of the suggested exposed zipper.


I love this and want one for myself! I have made a stencil of this and other designs I am working on. I hope that airbrushing the fabric will be faster enabling me to make more in less time. It will result in a different texture but I think it will be good. 

Can you tell she loves her hair and her dress? The positive messages she receives far outweigh the random carelessness of a poorly raised kid. I love that since that incident she continues to completely embrace her identity, asserts herself when confronted and moves on respectfully. She is so great! I want to be her when I grow up!

Happy (confident) sewing,
Bianca


Thursday, April 21, 2016

Afro Diva Pincushions

So, I have been printing more fabric of my lovely handmade afro-haired sunglasses wearing diva. 


I have gotten carried away and decided to make a few pincushions. The base is the printed fabric with applique hair and embroidery accents in the hair and lips. This is a large pincushion that measures approximately 6inx6inx1in. It is filled with crushed walnut shells for weight and stability.

I have such fun playing in her "hair" with the pins!


I made a couple for friends and decided to have an Instagram swap with the extras. The support for the pincushions was positive and I was encouraged to make more to sell. I thought it was a good idea and have added them to my Etsy store. You can see them all in my store below.


Happy Sewing, Bianca

Thursday, January 28, 2016

Fabric Printing and Finally a Sew Together Bag

Howdy! Long time no sew. I have been recovering from recent surgery for a torn meniscus and microfracture of my left knee. It is not my sewing knee, but it hurts lots and I am on heavy pain meds post- op. I have been busy in my mind, and able to steal only a few snippets of clear headedness to make anything.  I have long wanted to make the Sew Together Bag by Sew Demented and decided now was as good a time as any. 

Sew Together Bag
I have been playing around with fabric printing and made up this fun little bag in fabric that I hand-printed. I designed a large stamp based on a fun graphic. I used a combination of acrylic, foam and block printing to build my stamp.

Back

I cut the bag pattern prior to my injury with the goal of sewing it up. While laid up in bed, I added embroidered details to my printed fabric. I randomly stitched French knots, and various shapes to fill the negative space and accent the flowers. I added more dimension to the bag front with Trapunto surface embellishment. To do this, I backed the top layer with a second layer of fabric and stitched around the hair shape. I cut a small hole in the second layer, filled it with polyester filler then I stitched it closed.    


After my embellishments I began sewing the bag. I am a visual learner and I found the included instructions for making this bag insufficient. I bought the pattern and never made it because, there were not enough illustrations.  I found a tutorial by The Quilt Barn that shows step-by-step pictures to accompany the pattern. It is wonderful and I suggest you follow it if you plan to make the bag. 


The bag is meant to carry sewing supplies and the three zipper pockets will keep my tools in order. The lining is leftover Lisette fabric and the pockets are made  from a fat quarter on hand.


I like the accordion sides to hold the pockets. The zipper strap is cleverly secured to the sides to create the handles.  This bag is a fun canvas to mix and match prints. It is not for the zipper phobic, but not difficult to make. 

It may be the meds, but I am pretty happy with my bag!  I have coveted the bags made by others and I am glad to have finally made it.

In this process, I have found I really love stamping my own fabric! Playing with colors, orientation, and design on various fabrics is really fun.  

Supa Fly!

Cool Breeze

Spring Time

I am still tweaking it all, but I am having fun with it all, can you tell? I may be adding some of these to my Etsy store if I can bear to part with them :)

Happy Sewing,
Bianca