Showing posts with label Amy Butler. Show all posts

Thursday, March 31, 2016

The Bias Tape Dress is Done! Just in time for the Dance!


Slow and steady wins the race they say. I am happy to take on long hand-sewing projects, but I like my machine projects fast. This dress took 2.5 weeks of constant sewing in every available moment and I am pleased with every second. I began this project after making Little Miss the bias tape skirt and coveting hers. I have been charting the dress making progress on my Instagram  and have appreciated the cheering on. 

It all started with a few thrifted spools of bias tape, The Party Dress Book and an invitation to a dance fundraiser. I rarely have occasion to wear a dress like this and was thrilled when the stars aligned for me to make this. 


After having used the reds for the previous skirt, I opted to use the blue and green bias with my project. The colors as they were felt a bit flat to me, so I painted them. I used multiple colors of metallic spray paint to add dimension to to the plain strips. 


I searched my stash for a print fabric to add to the blue and green bias. I found "Paisley" by Amy Butler's "Love" line. 


I cut a bajillion strips of the bias fabric the base fabric from the skirt pattern in the book. I decided to make separates to get the most use of the pieces in the long term.


After making the skirt for my daughter, I was looking for a faster way to apply the strips to the base fabric. I used an extra large twin needle to allow me to sew two lines of stitches at once. I used blue, green, pink and white threads. The colours coordinated with the print and would not be a glaring contrast. It took a few rows to get a hang of sewing double strips, but once I did, it went relatively fast.


After sewing the strips to the skirt, I applied a basic waistband and an invisible zipper at the center back.


The skirt is pretty full, but I wanted to be sure it maintained its' fullness with movement. I knew I needed a petticoat. I found one at an estate sale that needed some modifications and repair. 


Vintage petticoat.

I added six layers of tulle to the petticoat I may add more in time, but it was an unwieldy task .

Skirt with petticoat under.
After making the skirt, I still needed a pattern for the top. I found Simplicity 4885. It has the look of the bodice of the dress in the book, but is designed as separates. This meant I would not have to modify it like I would have for the top from the book. 


I placed the strips on the bodice, added a full lining and an invisible zipper.

Full lining
A note on the bodice. The photo on me on the first photo was taken when I thought I was done. I looked at the pics and decided I did not like the curve along the bust line. I deconstructed it and reworked the print strips to the positions as seen in the final photos. My suggestion to you if you make this is begin your strip placement at the bust line and then sew above and below that strip. It may reduce the chance of curving. 

Simplicity 4885

The completed ensemble.
Little Miss saw the skirt on my custom dressform BIRA and asked if this was for a contest. I was not making it for one, but after checking Pattern Review, I saw this qualified for the Bargainista Fashionista contest there.  You get to make a designer garment at a bargain price. The contest does not factor in labor, so I was able to make my dress for $22!
I called Mary Adams to find out the cost of the dress as it was not available online. After making this, when she said $1700, I was not surprised! I would charge that and more for my less than wonderful version! :)

The contest review asks specific questions and you can read my review here. It includes some other details that would have made this already long post, longer. If I have missed something please let me know. I have been in this dress for weeks and feel like I am coming out of a fog.

The dance was last weekend and we had a blast!


I am so happy I made my dress. In a sea of traditional black tie dresses, I am happy I stood out in my strip pieced dress.


 There were a few bug eyes when I shared, that I made this. 


This dress is fun to wear and fun to make. 


Happy Sewing,
Bianca

Friday, June 19, 2015

The Definition of Easy McCalls 7120

So, you know I teach sewing to support my fabric habit. I am currently in a round of sewing lessons where my students have made a pair of pants and a top. Next, we will make a zipper project and a dress. Before, asking my students to make something, I figured I should try the pattern first. McCalls has a line of "Learn to Sew for Fun" patterns and I chose 7120. 


This pattern is for  semi-fitted, pullover dresses which have neckline and pocket variations, and stitched hems. B: Below elbow sleeves with button and tab. D: Shaped hemline, wrong side shows. C and D: Self-belt. Sleeves Bhemline Dside slits C and F: Narrow hem.


This pattern has an "easy" classification and I chose it because I wanted my students to have a few choices. I chose to test the pattern in the most difficult of the easy styles. I made this dress in Amy Butler Lotus Tree, Peony Pink. This fabric has been in my stash for a while and I have been waiting to find the correct project to use it. 

Pro: Many elements for new sewers to build skills: Sleeves, darts, exterior pockets, facings, buttons, buttonholes, and sleeve tabs.


Pro: Cute dress without closures for the newbie.


Con: The details may be time-consuming for the newbie. They may need to take breaks when they begin to feel overwhelmed.  


Con: Runs big, go down size. My pattern is XS-XXL range and  I cut the size medium, but graded it down to a small when sewing it, it is bigger than expected.


Con: Too long in the suggested length. I made hemmed mine in a wide 3.5 inch hem.

Maybe con: I am not sure about the depth of the neckline. I did not expect it to be this low. In this cotton, it stays in place. If using a rayon that drapes more, it will show too much for my taste.


Deep V-neckline

The print is large and I felt the pockets were camouflaged, so I added buttons to the pockets to mimic the buttons on the sleeves. 


Pocket with button detail
Sleeve tab

For the hem, I kept the length and sewed it 3.5 inches deep. I love a wide hem in a mini dress, so I didn't cut it down. 


Wide Hem


I like this one, I may sew this one again in the size small and I may add back

darts. I need easy summer dresses that have style, but are not fussy with 2 

young kids. I like this for the skills it teaches the newbie. My students will make 

it in the coming weeks, so I am anxious to get their take on it. For veteran 

sewists, this one is easy. I am curious to know if my students would define it as 

such.


Happy Sewing,

Bianca

Sunday, February 23, 2014

Look at theses goodies I won!

The Sew News Amy Butler Beautiful Belle Sew-Along had a giveaway for participating. The winner was chosen by random and I was the fortunate one to win the bounty. Here is what received in the post this week!
  
A lovely sewing box filled with notions!


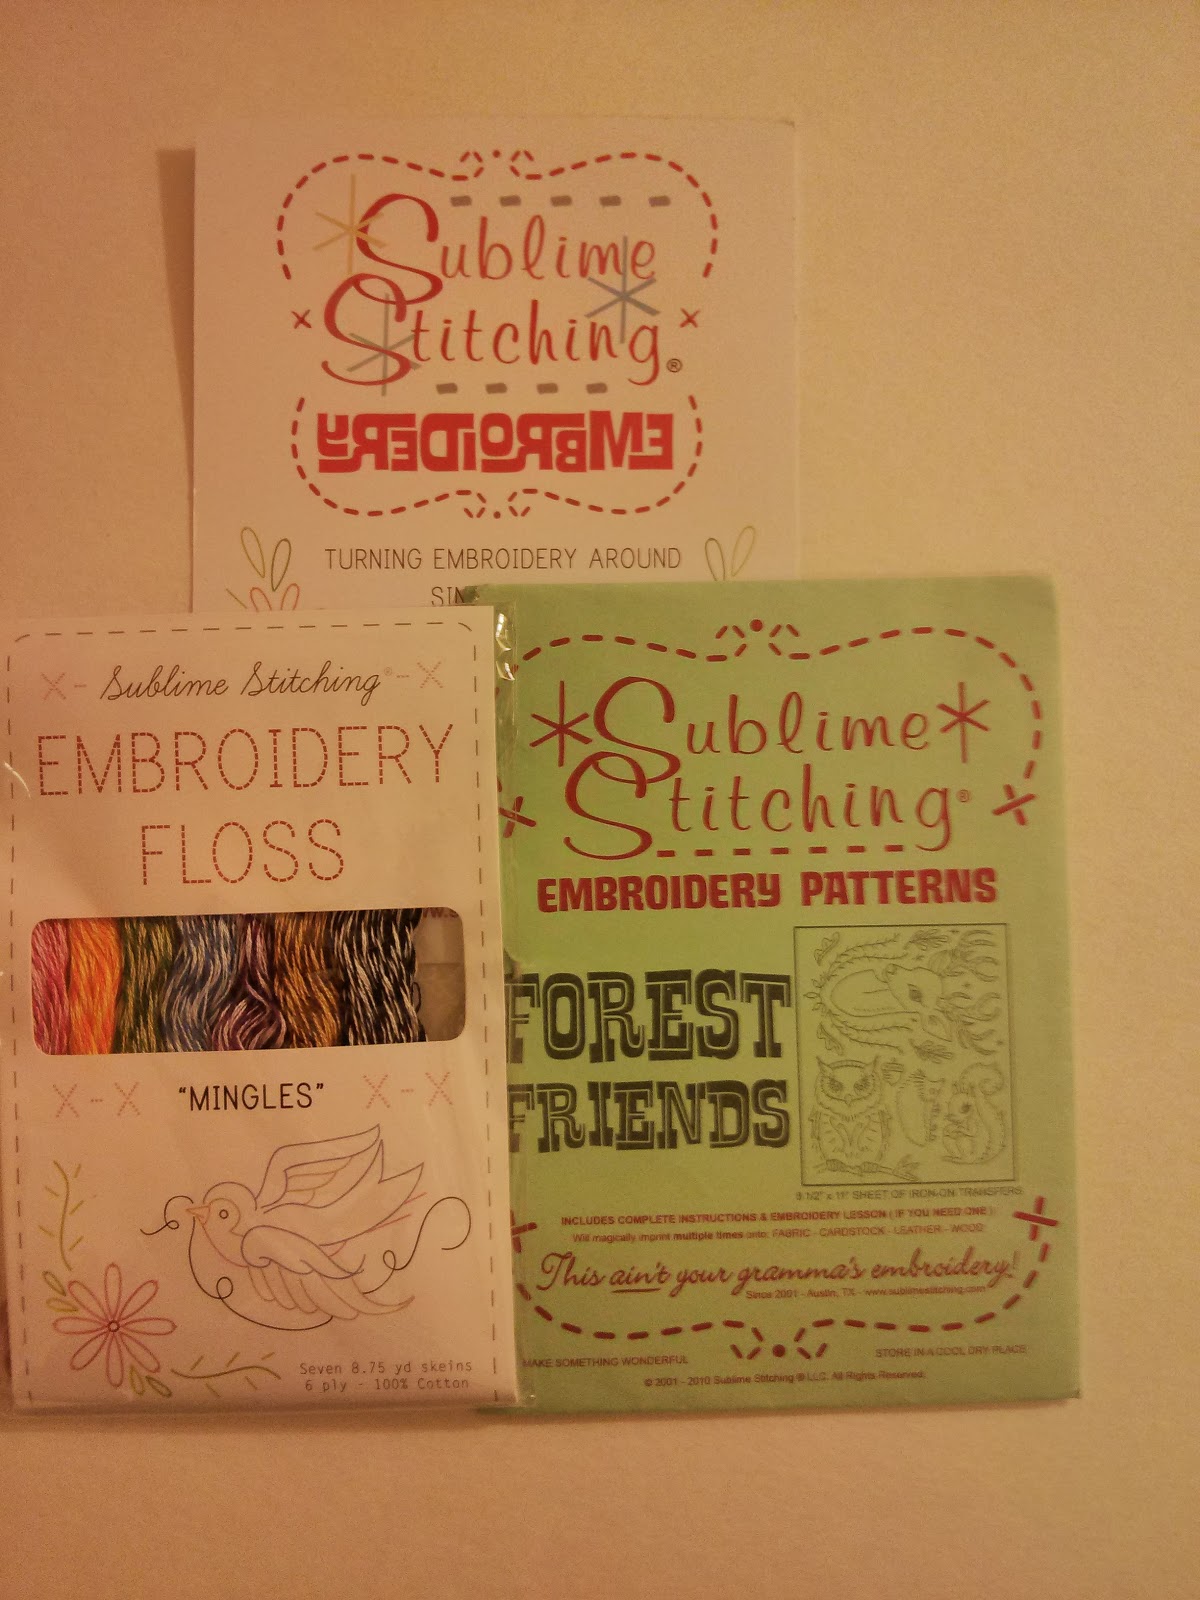
Embroidery Patterns and Floss

To replace the rubber band I currently use :)
 
Two retractable scissor buddies to replace my current solution.

This has worked as a holding place, but it requires that I put it back when I am done... The scissor buddy always keeps the scissors with a clip!
I don't knit, but my cousin wants to learn, so this will be gifted to her.

This looks great as another option for making DIY labels.

Just wow! The quilts in this book are awe inspiring!

There are some fun projects to make in this one! Stay tuned!

The one I am most excited about!
Stencils, stencils, stencils! There are fourteen wonderful designs in this book that can be used alone or combined. The stencils are large scale and made of a durable plastic/paper material. It seems they will hold up to multiple uses.  

This will look lovely on a dress. I do have a stockpile of cotton jersey...
I like this one on pillows or bordering curtains perhaps.
 I am so happy with the bags I completed in this Sew-Along. Winning the giveaway was just the best icing on the cake!

Happy Sewing!

Tuesday, February 18, 2014

Beautiful Belle Bag Sew-Along

I have been chomping at the bit to finish the bags I started in the Sew News Beautiful Belle Sew-Along. I wrote about the process here in this post and this one. Over the course of the month, participants are tasked with constructing the bag in small manageable steps. I was right on track with the schedule, but then I got antsy. I added some embroidery stitches to one bag in an attempt to slow down. 

I was going to work on some other projects this week when I checked in on the FLICKR group. Other group members could not wait either and completed their bags ahead of schedule! Following their lead, I finished both of my bags today!

I prepared to sew my leather handles on my heavy duty sewing machine. 


I used a 4mm stitch and a heavy thread in my sewing stash. I was sewing at a moderated pace with success until I got to a seam in the leather. My needle broke!


I was only on the first handle of four and and I only had three needles! At this rate, I was going to be in trouble. One bit of sewing advice I got from a friend is, "when in doubt, change everything and begin again." I changed the needle, changed the thread to regular dual duty, and stitched at a higher speed. This combination proved to work for me and I got the handles done. The pattern called for stitching a fold in the center of the handles. I decided not to do this. I made my straps about 3 inches longer to wear as a shoulder bag. I wanted the strap to rest flat when worn. I also did not want to push my luck with sewing  four layers of leather.


I have found in my previous Amy Butler bags that the pockets are generally too large for me. I like my pockets to fit specific items and not have much room to move around. I tailored the pockets to fit my electronic tablet, wallet, and size of my cell phone. I also wanted at least one of the bags to have a magnetic closure, so I added that to the lining. I also customized the other bag to have a zipper in the lining.

Cell phone pocket

Tablet pocket

Magnetic Snap Closure

I completed the remainder of the construction per the pattern instructions and love the end product. 

Interior

Added my DIY label

Beautiful Belle With Leather Handles in Chevron
And the other with the embroidered fabric


Added Zippered Pocket


Beautiful Belle With Leather Handles in Amy Butler Bliss Bouquet   
The size of this bag is perfect for the Mommy essentials; it is large without being cumbersome. The applied interfacing helps it maintains its' shape when it is not full. This is a one of the easier Amy Butler bags I have made. I highly recommend making it and trying it with leather handles.

Happy Sewing!
Bianca