Showing posts with label retro fabric. Show all posts

Thursday, August 24, 2017

Craigslist: A Source for Vintage Patterns, Fabrics and Sewing Supplies.

A big thank you to those of you who tuned in to my interview on "That Sewing Blab". I had a good time chatting and answering questions. As promised, here are the steps to get up to the minute alerts on Craigslist for patterns, fabric, machines of whatever you like.  I have also included items I have recently purchased at a recent estate sale. It is proof that these alerts pay off. (I am so sorry for the photo quality. I was having trouble with my phone for clear screenshots. I went old school and took pictures of my monitor. You will get the idea.)  

Open Craigslist for your city and enter the search terms you want.


Your search results will open.


To the right of the search bar, click "save search". 


Log in or create an account


Your search criteria will be confirmed as saved


Your alerts will remain in your account until you delete them. If you want a break from alerts, you can turn them off and on.


I have built my fabric and pattern stash at reasonable cost over the years through my Craigslist purchases. Last month, I received a late night alert about an estate sale for a seamstress in a nearby city that was happening the next day. After reading the details of merchandise, I knew I had to go and be there when it openned.

I ended up making two trips to the sale and scored big! The first trip was to be sure I got what I wanted. The second trip was a leisurely one without my kids. Because I was friendly, enthusiastic and made friends with the staff the day before, I got great deals on the second trip.


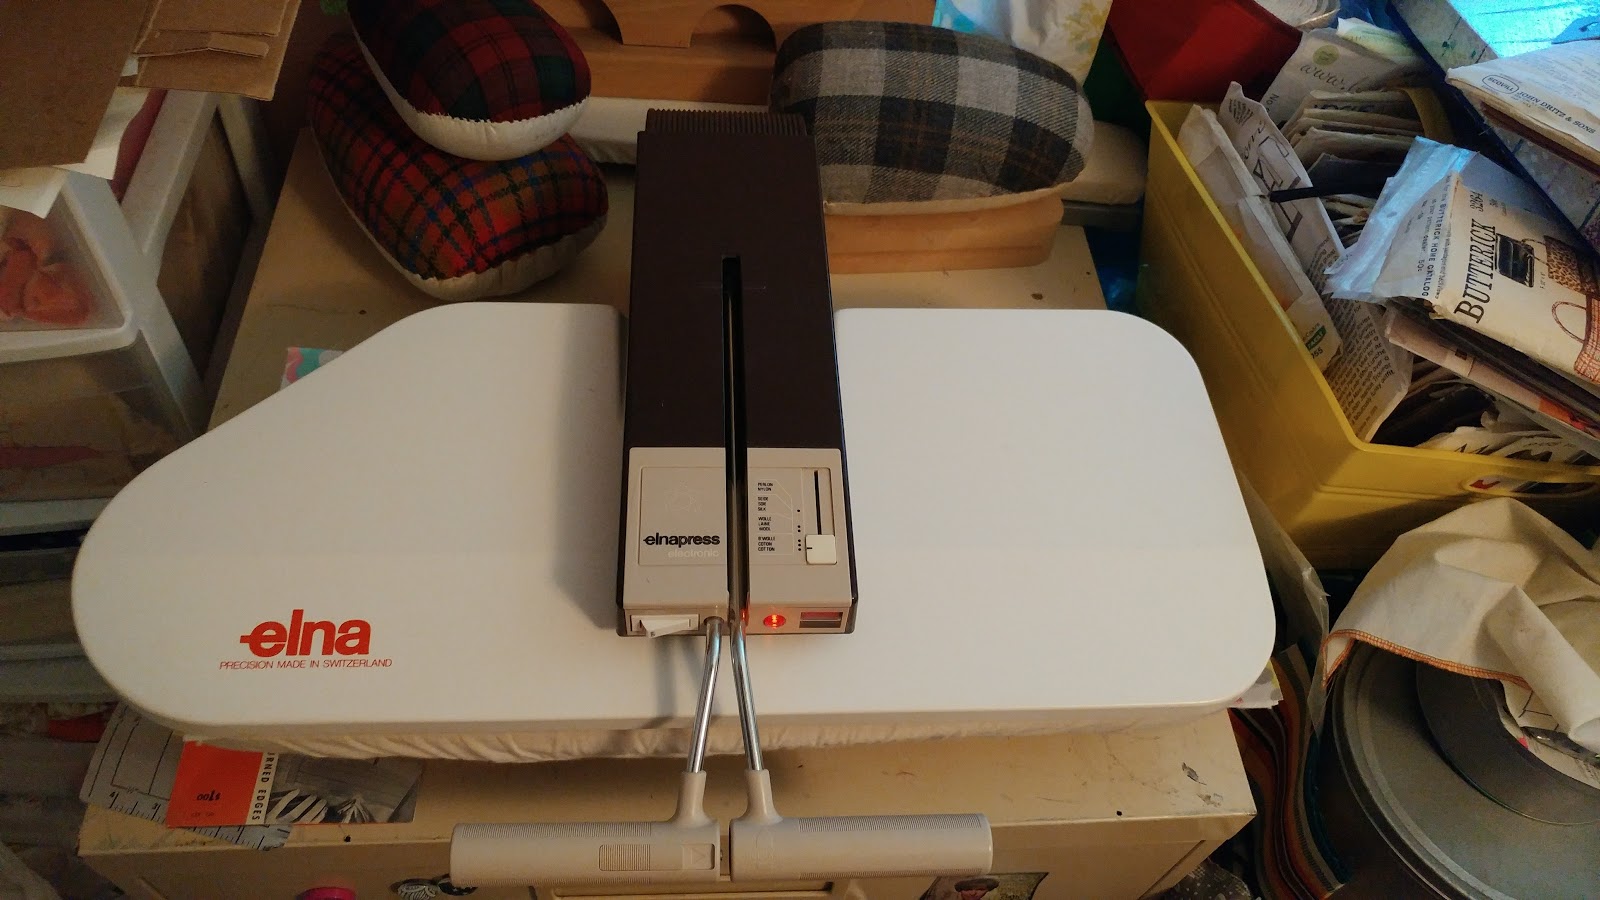
I love this iron! I suggest you set an alert to snag one of these if it comes available.

Wiss brand scissors, pinking shears and sewing pins.

Rare (and awesome) June Tailor Pattern Weights and an expandable Gauge

Sewing Books for $1

This is just one of the fabric tables I took my pick from.


There were hundreds of patterns and I looked at everyone!  Scroll below to see what I got. 


There was a wealth of items that I admired, but decided to pass on. I set a budget and wanted to stay within it. I had to consider the available space at home and my mortality. This Bernina Cover-stitch/Serger combo however, was hustling hard to join my family. I have a serger and have been wishing for a coverstitch. I had to utilize my "phone a friend" option to have her talk some sense into me. She wisely advised against the purchase. Apparently, owners prefer separate machines and don't like switching between the two. It was still available on the second day at $200 less than the day before. I have no regrets passing on this one.


As I shopped, I chatted with other sewists. We admired the sellers stash and vowed to honor her with our makes. We all reflected on the fact that someday we will leave our stashes behind. We promised to try to pass our passion onto others so our treasures can bring joy to our loved ones. Knowing that is not always possible, we delighted in the thrills we will bring to bargain-hunting sew sisters like ourselves.
    
Happy sewing,
Bianca                                


Friday, December 6, 2013

Houdstooth Bow Bum Pants with Invisible Zipper Instructions.

While going to a meeting at church, I spotted a woman in the parking lot wearing a fantastic pair of pants. I had to know more and ask her about them. I made a u-turn and parked to get a closer look. It happens to me a lot, but I felt kinda silly accosting a random woman on the street to talk about her clothes. As I got closer and the person turned, I realized I knew her. Luckily, she is in the in my Sewing for Starfish Kenya Journey Group and knows I am sew crazy. She was wearing a wide leg pant in a multicolored chevron print. They were adorable and I decided I needed a pair.

When I returned home, I immediately searched my stash to find a pattern I could use to create my version. I found a retro Butterick 3272 pattern. I love that this pant is made from a one piece pattern with a back zipper. It also has a casing for elastic in the band. I was not excited element, but I knew I could work around that feature.


I do not have the chevron fabric similar to those of the inspiration pants in my stash so I am shopping around for the perfect fabric. In the meantime, I decided to make a muslin with fabric I had on hand. I had some extra houndstooth fabric leftover from this dress,  and I thought it would work. It is a double knit with just enough stretch to move while keeping its shape.

The pattern instructions were super easy to follow and called for the installation of an invisible zipper. Every time I install one, I have to pull out my instructions to refresh myself on how to do it. I decided to include my steps here for my future reference and yours.
Pin right side of open zipper to the right side of fabric one fabric opening. in this case the right side.


Using your regular zipper foot stitch zipper in place to secure it.
Attach your invisible zipper foot. This is a universal foot you can purchase at any fabric store and attach like your other feet.
Position your zipper teeth in the right side grove and stitch.
When you get close to the zipper pull, keep your needle down and raise your foot to close the zipper. This allows you to sew to the end of the zipper.
Look how close to the teeth it gets.
Repeat the steps on the opposite side.
Voila! All done!
After installing the zipper, I continued construction on the pants. I discovered that they have a higher than expected waist. Additionally, because of my fabric choice and size, I did not need the elastic casing. I fit the pants and had a flash of inspiration! Why not use the casing to add some pizzaz to the back of the pants! I threaded a purchased sequin ribbon tie through it and tied a bow in the back.

B.i.r.a wearing the bow back pants.
Side view.

Full back view
I think this is super cute! For someone with just a little on the back step, I think the bow adds some fun interest. I like that I can change the tie for a pop of color. I can also remove it altogether to wear it flat as seen here in another peplum cardigan  I made using Mccalls 6844. The review for it is here.


So, this began with a quest for some funky chevron pants and turned to these fun Houndstooth Bow Bum pants. I am very pleased with the fit and ease of construction. I will likely lower the waistline and depending on the fabric, omit the zipper altogether when I make the inspiration pants.

Be sure to check back for the chevron pants update.

Happy Sewing,
Bianca


Saturday, July 13, 2013

100 inches of hems! Ultra Wide Leg Pants with a High Waist!

I was born in the nineteen seventy's. I love the fashion and hairstyles of that  and the previous decade. The large print vibrant fabrics, elaborate crewel embroidery on fabrics and the sassy Afro hairstyles all attract me. On one of my many resale/thrift store adventures I found some fantastic fabrics that reminded me of those decades.


Aren't they delightful! I didn't measure the lengths of the fabric, but I guess there is about 25+ yards here! I paid about a dollar a yard for it all! 

I was instantly drawn to this fantastic print. It is delightfully obnoxious with the floral motif and neon colors. I thought I would make some super wide pants in this print to wear with a black tank. 


Before I was willing to cut this fabric however, I decided to make a wearable muslin with the brown floral fabric of which there was about 10 yards.

Next, I needed the perfect pattern. I love to sew with retro sewing patterns! They offer styles slightly outside of mainstream fashion and the instructions are awesome! Short and to the point! I love it! So, I dug into my stash and found this pattern from 1972. A pair of high waist wide leg pants; it was perfect!


This pair of pants required 4 3/8 yards of fabric! Look how wide the legs are. I added a spoon to the picture to show scale.


The pattern is a size 14 and I needed to reduce the size to fit me. These pants are form fitting at the midriff and stomach then widen to the legs. I used my custom dress form to adjust the pattern to get the proper fit.

Pinned and on the stand

Pinned on the stand from the back

Hanging without the stand


After pining the front and back pieces together for my hip width, I needed to get an accurate crotch sizing. I determined that I needed a chuck of the seat removed to fit. I decided to remove this portion and simply taper to the inner thigh to retain the volume in the remainder of the leg.


After getting the proper fit, I thought these pants needed some pockets. So using the pocket pieces from this dress pattern, I added a couple to the side seams.
 

Granted, my usual hand stitching  projects take a long time, this was a super fast project even with the pattern adjustments I made. I think my completed pants a Dyn-o-mite!


Each hem is 50 inches!

Here is my review of the pattern:

Pattern Description: Wide leg pants and halter.

Pattern Sizing: Size 14 (I had to adjust it to fit)

Did it look like the photo/drawing on the pattern envelope once you were done sewing with it? 

Yes.

Were the instructions easy to follow? 

They were very easy to follow and the construction method made the size adjustments I needed to make easy.

What did you particularly like or dislike about the pattern?

I liked the high waist and super wide leg of the pants. In this era of skinny jeans and leggins, I wanted something different.


I disliked that the pattern did not have pockets.

Fabric Used: A retro cotton twill that I scored at a thrift store. There were no markings in the selvedge to identify it better.

Pattern alterations or any design changes you made: I added pockets to the side seams. I installed an invisible zipper and only hemmed it 1/2 inch instead of 1 1/4 inches the recommended.

Would you sew it again? Would you recommend it to others? I plan to make it again as well as the halter in the pattern too. I would recommend it.


Conclusion: Good pattern, fun pants! 


Happy Sewing!

Tuesday, April 2, 2013

Retro Cowl Neck Tunic and Review of Simplicity 5956


 I signed up for the Pattern Review Stash Busting contest this month. I don't know what I was thinking with all I have going on, but I did. I figure, I will sew something during the time frame, so why not pull from my stash. I had this 2 hour dress pattern in my stash for a long time. The copyright says 2002! Have I owned it that long and not sewn it? I am ashamed of myself! Lucky thing fashion is cyclical and this contest came along.
Simplicity 5956

I believe the contest is for pattern busting, I am also busting my fabric stash. I LOVE retro obnoxious prints (feel free to send me your Granny's stash!). I like reproductions, but I do a happy dance when I find the real deal! I found the fabric for this tunic at a local thrift store and it was waiting for a project like this!
fabric swatch


When I bought this pattern, the size 12-18 range would have worked. I have since lost some weight and had to grade the pattern down to fit. With so few pattern pieces, I didn't think it would be difficult. My plan was to make the dress in view d with no alterations. When I did a pin fit for hemming, I happened to pull the front up and loved the mullet look. So, I used a plate as a template to cut the front and eyeballed the rest. It came out great!

Here are the Pictures!

Front


Drape

 
Back
 Here is my review of the pattern

Pattern Description: Knit Coordinates

Pattern Sizing: My range was 12-18, I cut the 12 and graded down to an 8. I used View d (drape front dress) as my base.

Did it look like the photo/drawing on the pattern envelope once you were done sewing with it? No. I made modifications.

Were the instructions easy to follow? Yes

What did you particularly like or dislike about the pattern? I liked everything. It was very easy to make and modify.

Fabric Used: Thrifted Knit fabric (content unknown)

Pattern Alterations or any design changes you made: I made it with a hi-low hem and used the Serger for edge finishing.

Would you sew it again? Would you recommend it to others? Yes, and yes. I have a custom order from someone!

Conclusion: Great wardrobe builder or beginner pattern.


Happy Sewing!