Tuesday, May 28, 2019

A Quilted Bag the Reminds Me of Creature Comforts.


Some say people don't change. I am here to say they do and I am proof. When I was a teen, I backpacked Bahamian bush for 2 days, cooked on a hand-built campfire, overnight primitive camped, and bathed in the ocean among stingrays. As a newlywed, my husband and I bought a pass to the State Parks and took full advantage of the varied landscapes in the state of Texas. We would steal away on weekends and vacations to hike Enchanted Rock, camp with the alligators in Brazos Bend and wade in Pedernales Falls among others. We explored, learned to live off the land and enjoy the simple things. Our quarters ranged from primitive sites and dug latrine to a small tent and out house shacks.

Now that I am all the way grown up, I am so over it! I am an Airbnb, hotel with a lazy river, automatic toilets and customizable breakfast omelets, kind of woman. I have ticked those boxes, had and seen the benefit of those camping experiences. I have no interest in relivining them. I may be convinced to revisit  my former self, but if I do, it will be in the direction of glamping experiences. 

The "I'd Rather Be Glamping" is a fun ode an elevated outdoors experience. 


I love these fun prints and knew they would play together well in a fun weekender bag.
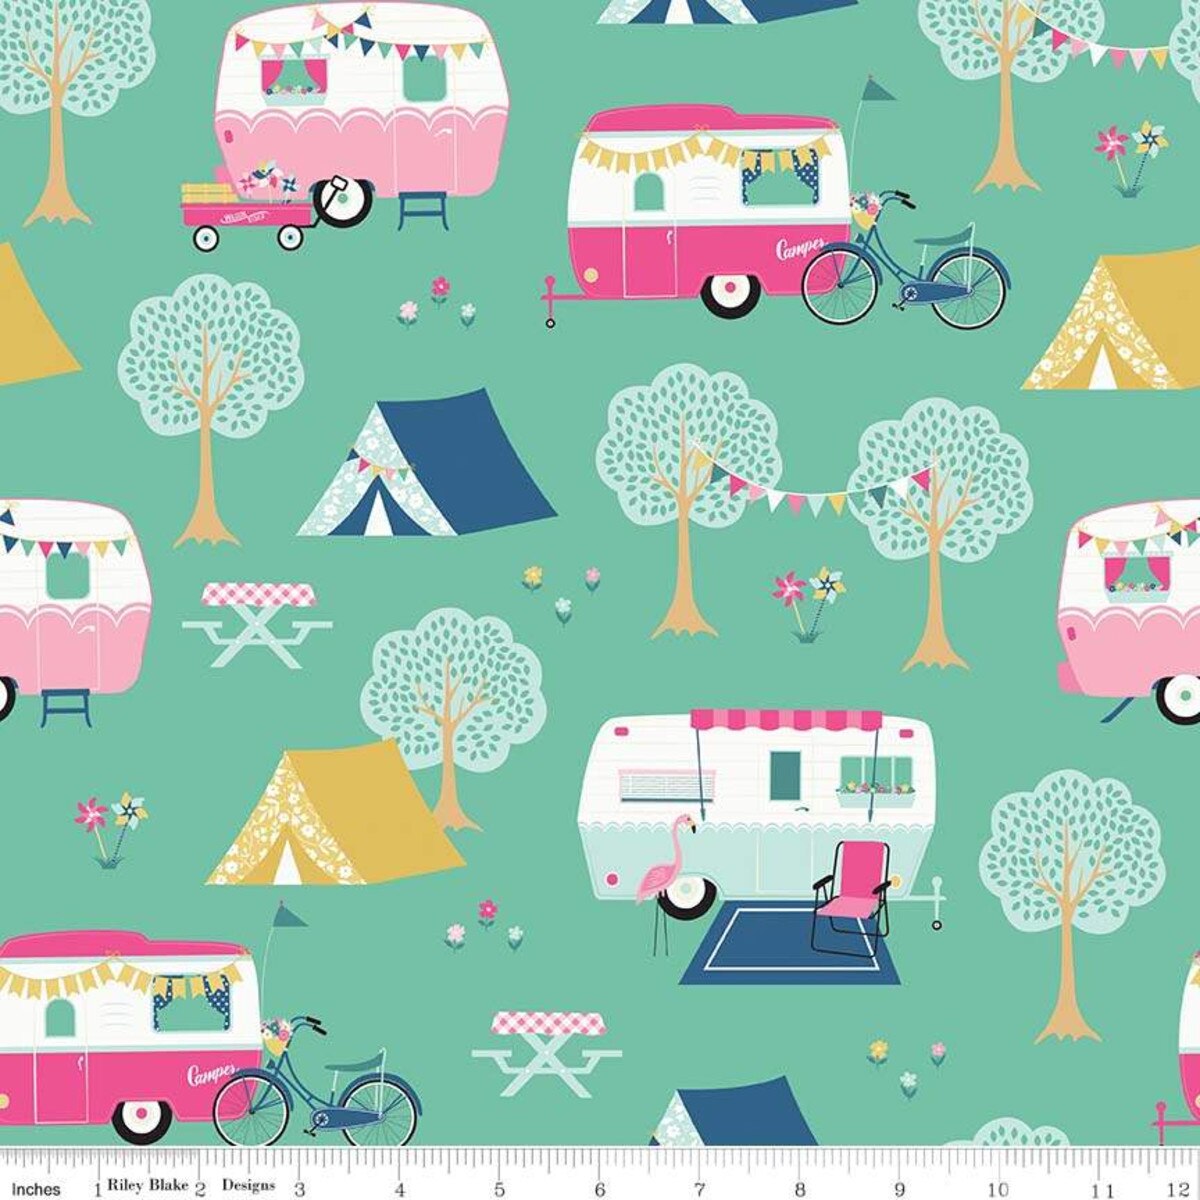

      Main Mint    
Simplicity 2600 is a quilted bag with piping and bias trim accents that would be a great pattern to use these fun fabric.

Image result for simplicity 2600

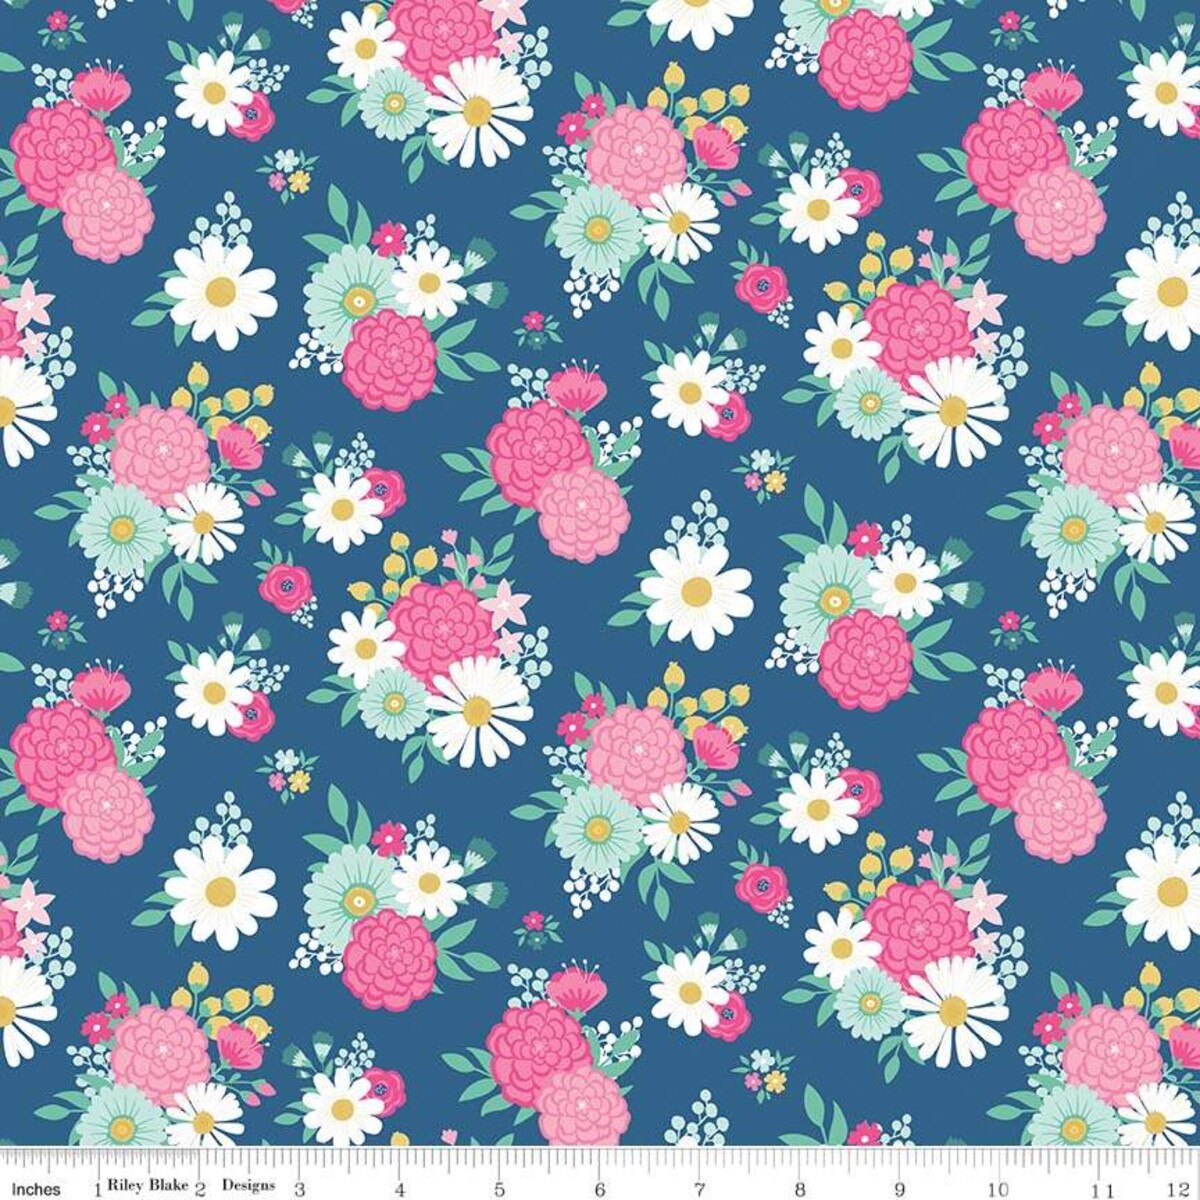
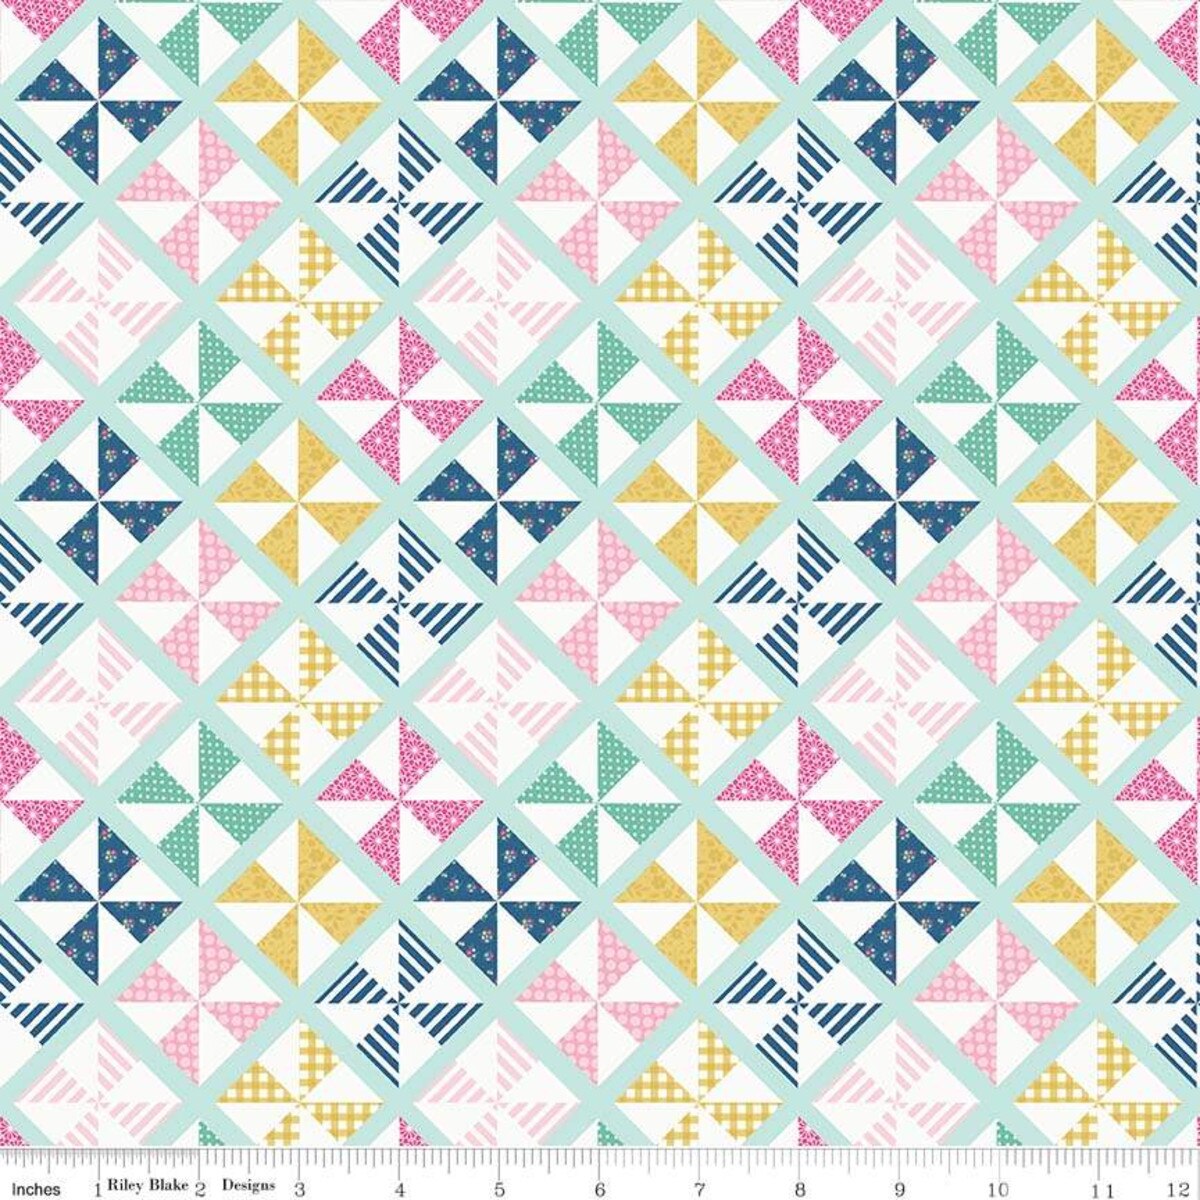
I chose the Main Mint for the bag body, the Pinwheels Mint as the accent pockets and the Blue Bouquets for the lining. It has been awhile since I quilted fabric so I was looking forward the refresher.

           
After cutting the fabric I marked 2 diagonal lines across the middle of each top piece they served as guidelines for the diamond pattern. I layered my lining fabric right side down, topped with Dream Cotton Batting from Harts Fabric, and top fabric right side up. I used a quilting gauge to get consistent, even quilt lines. 


The bag was not a quick project to make in a day. The quilting and binding are time-consuming, but none of the construction tasks are difficult. I love the the bag and the little details that make it special.


To play up the "extra" factor of glamping, I used metallic silver bias binding and piping to accent the seams, straps and pockets.
 

I added 1-inch D-rings to the tabs. They make it easier to zip, but give me the option to add a shoulder strap in the future. This is a large capacity bag (13in.Hx20in.Wx11in.D) and I will likely want to toss it over my shoulder for my quick trip from the car to whatever air conditioned comfort I am seeking.


I added metal feet to the base of the bag to keep it off the ground.


There is a front pocket and a side pocket with contrast fabric. The back of the bag does not have a pocket and it showcases the fabric fully.


The two outside pockets are backed with a pop of the lining fabric. 


The lining has the contrast of the exterior fabric for pop on the inside pocket.


 This Lori Holt Grannys teapot charm is the perfect zipper pull for this bag. It adds just that little bit of happy as a finishing touch.


This bag will get lots of use this summer for adventuring with the family. We will explore our world, expand our minds, increase our creativity and avoid snakes!


Happy Sewing,
Bianca

Friday, May 10, 2019

Fabric I Have Anticipated For Months


When you wear a full length yo-yo Kimono to Quilt Market, you are bound to connect with fabric loving people. That is what happened when I went to the Riley Blake Designs booth last Fall. I talked fabric with many of the designers and daydreamed of projects to make with all of their fun and interesting designs. I spent considerable time with Gerri Robinson of Planted Seed Designs. I enjoyed seeing her earlier collections and I fell in love with her newest collections Gem Stones.


These designs are fantastic! The prints feature an ombre confetti pattern that runs from selvedge to selvedge. There is a kaleidoscope of color choices with an underlying texture and metallics.

My excitement for this collection was evident and we discussed a collaboration to trumpet the release of the collection which is now available!

From the collection, I chose Multi Blue Raspberry though I LOVE every color and variation. I am obsessed with the vertical direction of this ombre design and the saturation of the colors. I chose to make Simplicity 8146, an easy summer sundress.


This simple dress pattern showcases the fabric without being busy or having complicated pieces.


The layout of the fabric required some thought to maintain continuity of design. 


I tied it all together by choosing the darker section of the fabric for the front and back ties and shoulder straps. 


I made the size medium of the pattern and did not like the bodice fit. The dress is meant to have a blousing effect in the bodice. The medium was too big and required the insertion of 2 darts in the underarm seams.  On the inside, I folded in 2 inches at the top and tapered to a point at the waistline. It was a quick fix to remove 4 inches from the side seams.


Slight fit issues aside, this is a fast dress to make and will be a summer staple for me. 


My son did not see me make this dress, only the completed photos. His first question was to ask if I dyed the fabric myself because it "looks just like something you would do"! That made me so happy! I was drawn to it when I  saw it and love the dress I made with it.  

Happy Sewing,
Bianca

Tuesday, April 30, 2019

Sew Trippy Stripe Jumpsuit!

Oh my goodness, I love this jumpsuit! 


I had big plans for my most recent acquisition from Natures Fabrics.  I ordered three black and white prints with large Polka Dotslarge stripes and micro stripes . My plan was to incorporate these three fabrics into a fun outfit. I planned on a slim leg stripe jumpsuit with a fun polka dot over-skirt.


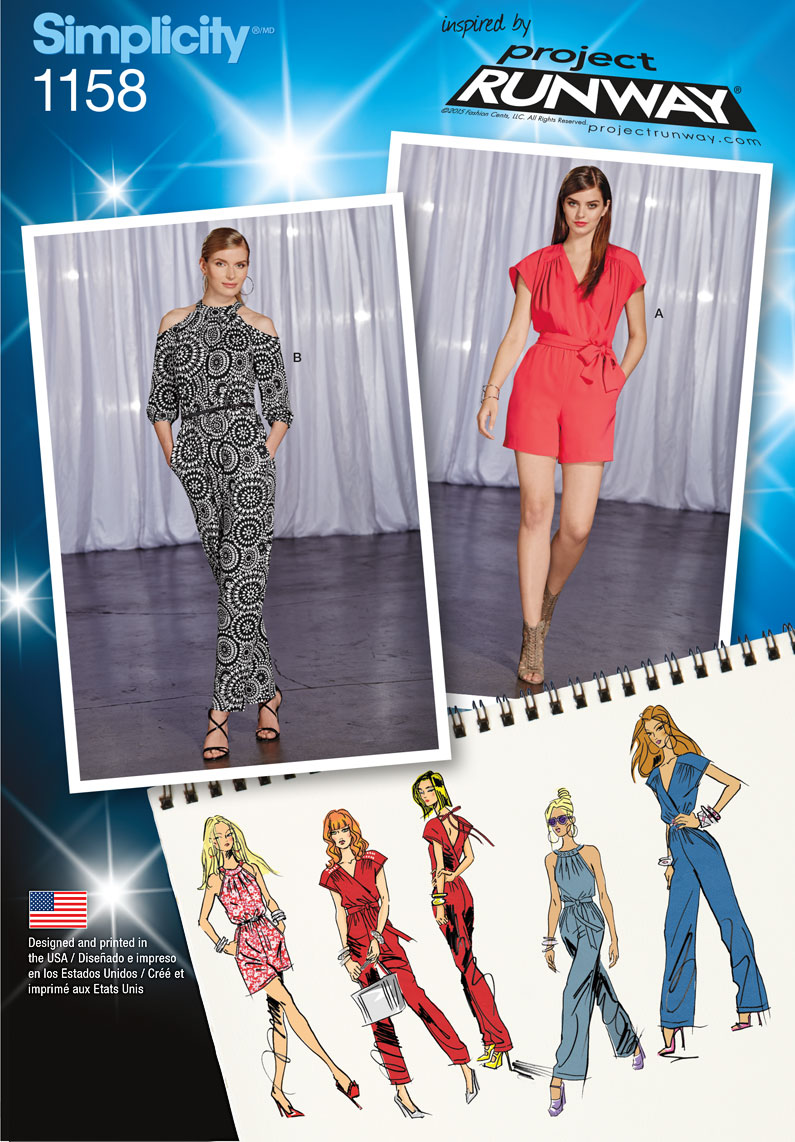
I chose to sew Simplicity 1158, but when I saw the wide leg view, my '70's soul child spoke up and I made a switch up. I loved the dramatic vision of the over skirt, but as I thought about practicality, I couldn't go through with it. I have skinny calves and couldn't see myself wearing the slim leg jumpsuit without the over skirt. I also couldn't see myself wearing the dramatic combo in everyday life.

                         
I decided to go with a simpler, yet wearable look. I went with the micro stripes for the bodice and the large stripes for the pants, the yoke and the back ties.


 To pull it all together, I made the waist tie with a solid black cotton from my stash.


The pattern construction was straight forward, but I made a few tweaks. The pattern is drafted for woven fabrics, but I used knits. Both are very stable with good recovery. This allowed me to cut them on the cross-grain to showcase vertical stripes.
Laser-cut pattern weights available in my Etsy store.
I added a bias casing to accommodate the elastic instead of using the suggested, folded up seam allowance casing. Such narrow casings are ridiculous to me. With the added bulk of the pockets, it would be a task to get the elastic through without a headache; I wasn't about to fiddle with that. I centered the casing over the seam line and stitched the edges down leaving an opening for insertion. 


This change allowed me to use wider elastic and makes for a more visually prominent waistline when it is not belted.
  

I shortened the "sleeves" by 1 1/2 inches. After construction, I felt it porturded too far giving a 80's shoulder pad vibe. I cut them down and re-hemmed with my cover stitch machine. 


The change to a knit fabric meant there is more flexibility and ease of getting in and out of this. The back overlap is secured only with the neck ties to allow for getting in and out easily with a woven. It is unnecessary with this fabric so I will stitch across the back overlap so it goes not fall open with wear. 

          
Every time I make a jumpsuit or see one on social media, there is a comment about the impossibility of using the bathroom while wearing one. I don't understand that. I have been potty-trained for 40+ years. I know when I need to go and how to hold it if the restroom is less than ideal. "But you have to get naked in the bathroom!" If I didn't wear underwear daily, I still wouldn't be concerned, the bathroom is the most (second most?) naked friendly room I know of.


There are probably larger issues behind the jumpsuit objections, the ones I can come up with are all medical. If health problems are the root of these objections, I will mind my own business.


Jumpsuits have been around and keep coming back around into fashion and I am here for it! This is my second jumpsuit of the year and I foresee more to come! This pattern has been in my stash for a few years and I am glad I made it up. I think I will get lots of wear with this one. I will be making  assorted waist ties to add pops of color versatility for greater use.


On which side do you fall in the jumpsuit debate? Do you wear them or is it a pass for you?

Happy Sewing,
Bianca

Wednesday, April 17, 2019

Springtime Calls for Bold Florals, Sweet Stems and Versatile Dressing


Do you have a sewing task that you have avoided because of repeated failures? For me it has been sewing buttonholes. When I started sewing all those years ago, I wanted to make all the things! I had a good foundation in sewing and did not expect problems not of my own making. No matter how well prepared I was, I would have one or more failed buttonholes. It got to the point where I just decided it wasn't worth it to try and fail with them. I have a new sewing machine with digitally calibrated buttonholes. I figured it is time to tackle my fear.

Looking through the Riley Blake catalog at the Sweet Stems collection, I was inspired to make a floral shirt-dress. I was drawn to Sweet Stems Main Dark Blue and  Sweet Stems Dots Green. The beauty of these prints could surely get  me over my buttonhole aversion. 


I wanted a pattern to use both of my fabric choices and reached into my vintage pattern stash and found Mccalls 4992.

Image result for mccalls 4992 vintage

This maxi shirt-dress pattern with its back/shoulder yoke and waist tie was a perfect canvas for these fabrics. The construction was a breeze and the buttonhole anxiety was much ado about nothing! All of the buttonholes sewed effortlessly on my Bernina 535. After stitching, I added Fray Check to the front and back of the buttonhole, allowed it to dry, then cut them open with my buttonhole cutter. This gives a cleaner cut to the threads and prevents frays over time.


I wanted to bring in a bit more of the contrasting fabric to the front of the dress. I used a button cover kit to make my own fabric buttons. It was a quick and easy process and a fun addition to this dress.


I am working on making a wardrobe of interesting yet, everyday wearable pieces. I love that this dress can serve as a layering piece over my staple of jeans and a t-shirt.


I love the ample crescent shaped side pockets that eliminates the need for a handbag for quick trips to pick the kids up from school.


I added simple thread carriers to the side and center back seams. Though not functional when worn open, I like the look of the belt tied in back.


The contrasting fabric balances the bold floral by adding an unexpected interest.


When I need to be more than casual Mama, I love wearing it as intended buttoned-up and with its' twice wrap around belt tie. 


This is a slight departure from the dresses I normally make and I am liking it loads.

The belt pulls in the fullness in the back for a nice silhouette. 


I love this dress and how I feel triumphant in finally getting past my problems with buttonholes. 


What sewing related task do you avoid because of fear or failure? It took a machine upgrade to get me through it. What do you think will get you past yours?

Happy Sewing,
Bianca