Showing posts with label repurposed fabric. Show all posts

Saturday, July 22, 2017

Bring On The Rain: Twister Mat Raincoat Upcycle

I wish it would rain! The skies keep rumbling with sounds of thunder, and clouds grow dark, but nothing happens. We want it to rain so Little Miss can play fun games outside in her new Twister mat raincoat.


Ever since I made my Twister Poncho a few years ago, she has been asking for her own. I resisted until now because my poncho was large enough to cover me and both kids easily. 


Everyone is getting bigger so it was time to make hers. I have been steadily collecting Twister games from resale stores when I come across them. They are available in retail stores, but you can't beat a resale price and opportunity to upcycle an item that may be one step from the landfill. I needed two for my adult poncho and two for hers, but one would have enough for her. I chose two because of design decisions I made. 

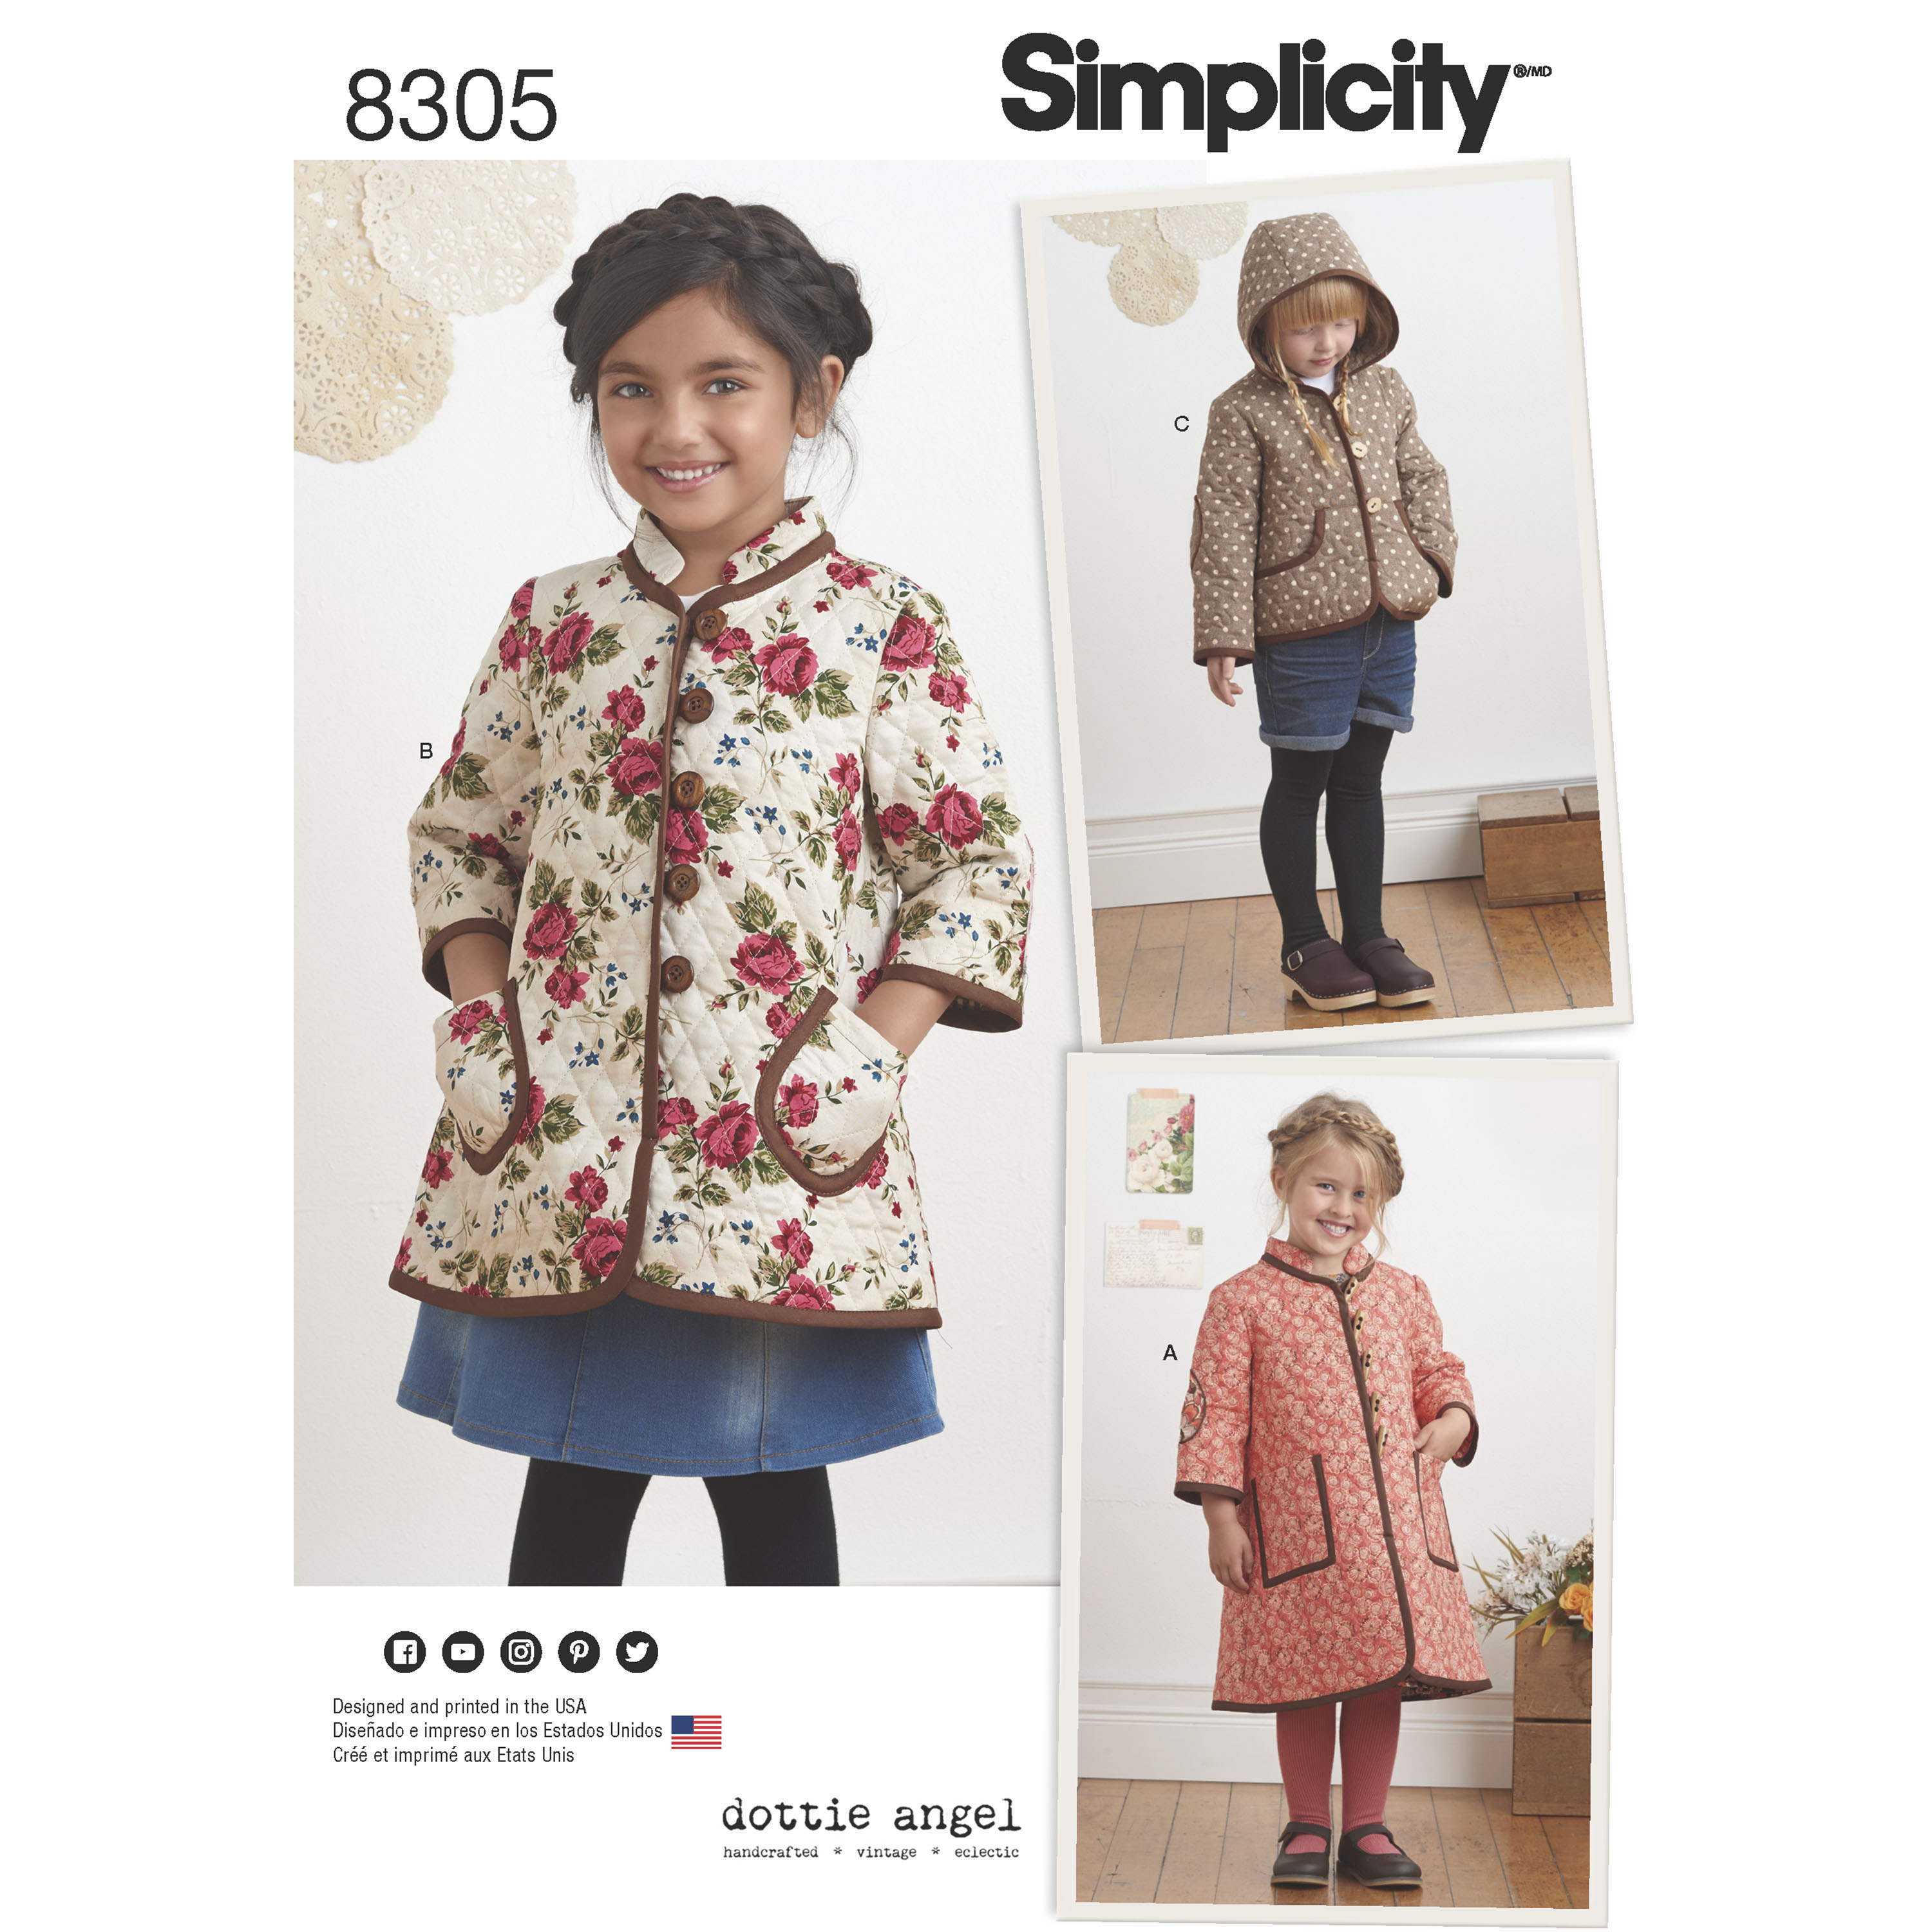
I used Simplicity 8305 for this project because it didn't require much modification to make it a raincoat. It is a combination of view A and C with modified the pockets.
Image result for simplicity 8305

Working with the Twister mat requires a bit more focus and a few more tricks than working with fabric. You don't want to melt or tear the plastic. Ripping seams due to mistakes will result in many perforations in the seams so I had to take time. This was not a fast, complete in one sitting make. It took about 2 days of work to come together and we love the result. 

  • Toss it in the dryer on express cycle with a damp paper towel to get the wrinkles out before cutting. Check periodically to make sure it isn't too hot. 
  • When pressing during construction, press the lining side with a low iron
  • Underline the Twister fabric with lining fabric so they behave as one. I used four colors of thread and my serger for this. 
  • Use clips instead of pins to hold the fabrics together
  • Sew with jersey/ball point needles or any with a fine point


I learned  a lot from making the poncho for myself and customers. I took those lessons and added fun touches to this raincoat.


Little Miss is enjoying a summer of color with purple dyed hair. I took advantage of her love of color and added them every chance I had.

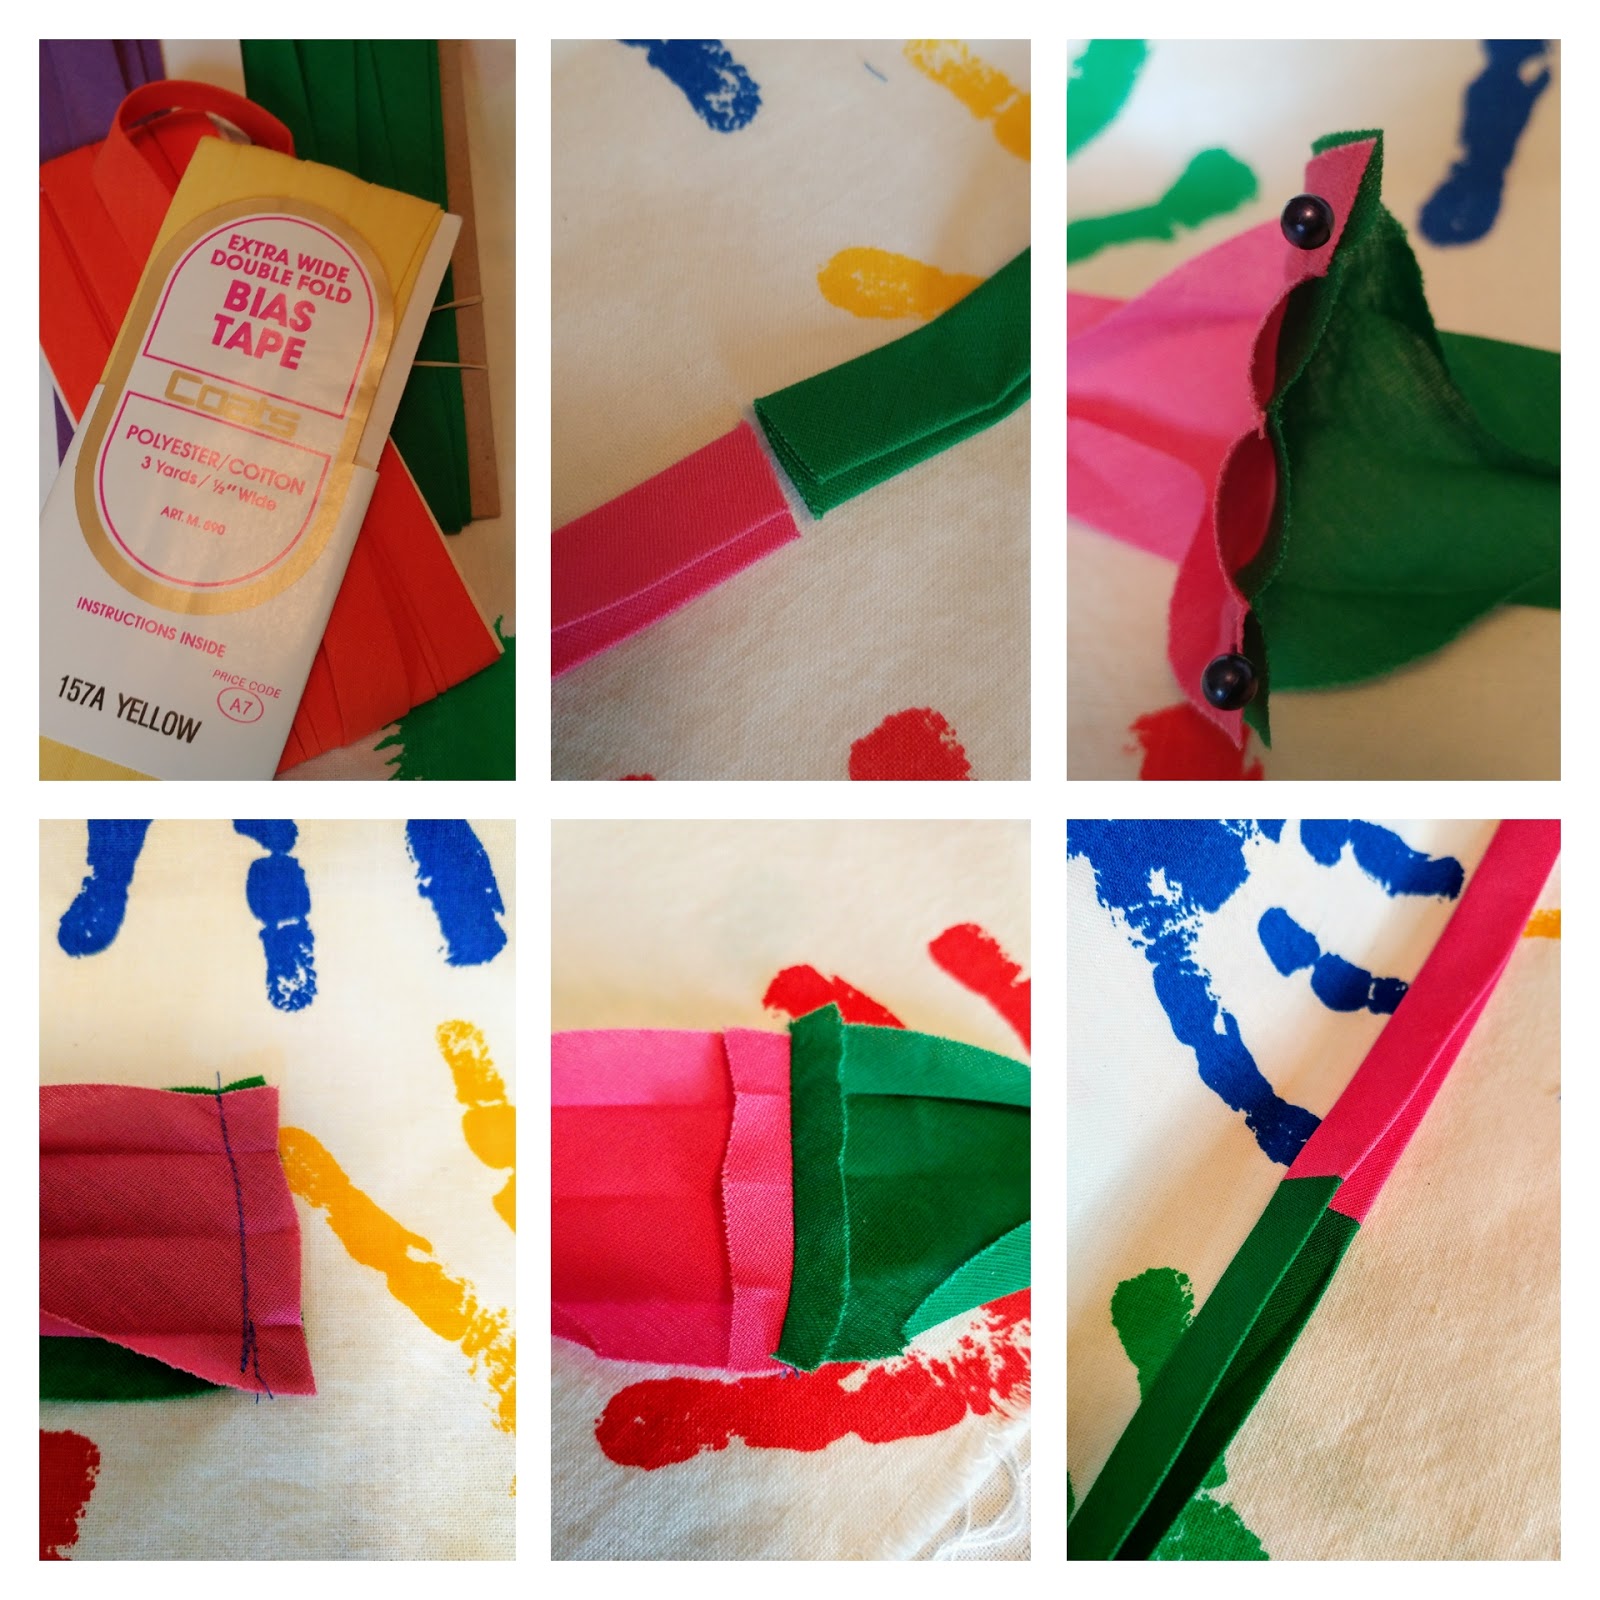
The first added color feature is multi-colored bias binding with rainbow color thread stitching


To make the multi-color binding:

  • Begin with purchased extra wide double fold bias tape
  • I cut 12-inch sections of all of the colors
  • Open the ends and pin, right sides together, raw edges even
  • Stitch the ends together
  • Press seams open
  • Refold along original foldlines and press


To that, I also added mismatched buttons and button loops


Alternately placed bias-trimmed pockets   
                                   

I really like the three-part hood of this pattern. It allowed me to showcase key aspects of the game mat.

A "Stockin' Feet Game"
                                                     

 "Twister"                                                                                                                                                                                                                                                                                                                 
                           
 "The Game That Ties You Up In Knots"
                                                                                                                                                                    

I am ridiculously thrilled with the lining fabric and how perfect it is for this project! I love the primary color hand prints on this fabric that I got at an estate sale. It is perfect for a Twister raincoat!

     
It is hurricane season in Texas, so I know the rains will come. In the meantime, a little plea to the sky cannot hurt right?

      
 Well, that didn't work. We will enjoy the sunny day anyway.


Happy Sewing,
Bianca

Monday, May 30, 2016

Paradiso Designs Boho Frock and a Giveaway!!

Oh Bianca, where art thou? Where have I been? Over on Instagram getting instant gratification without writing an endless post like the one you are about to read (please read it). I know it is terrible to say, but it is partly true. I have been hanging out and posting existing makes there during Me Made May. I have been working on wearing clothes that I had or remakes using pattern I had already sewn. I did not have many new makes to blog about so I have been neglectful, but that will change I promise. 

Today's Me Made May look is a new make from an Indie Designer and I am so happy to share it with you.


I first saw this pattern it at the International Quilt Festival and thought it was so cute. 


I really wanted to find the right fabric to make this fun dress. In my stash, I found a vintage tablecloth. It has a lovely flower motif, but had a few age spots and stains. I planned to address that  with some fabric dye later. 


It is a fun dress that can be made in three different lengths, babydoll, midi and maxi. I chose the babydoll length for my first one.

I am lazy in that once I learn a pattern company, I am reluctant to learn a new one unless I love the design. I loved the BoHo Frock when I saw the samples at the International Quilt Festival. My love of the dress and variations available in the diversions  made me get over my reluctance to try something new.


The instructions are very detailed and appear overwhelming, but are not. The booklet is not like the big four pattern companies so that was a minor mental block of mine. I read it once and I was good to go. It is intuitive and worth trying.

Because I was using a tablecloth with lace trim, I had to tweak my construction steps. It was fun playing with pattern placement to maximize the fabric. I  stitched the sleeves in flat to be sure the lace portions matched up. 


Sleeves being stitched in flat.
I left the sleeve and dress hems trimmed with the original lace. I serged the seams for a clean finish and fed the threads tails back into the seam.

Hiding the thread tails

:)
The dress came together very quickly.


Because of the dinginess and age of the tablecloth, I wanted to tie dye the fabric.
Rubber banded


I began with Navy blue dye


After the first pass in the dye bath, it was too light. I redyed it in a turquoise bath and love the result!


My daughter was mystified that my black slip under the dress camouflaged my undergarments. She was really nervous about preserving my modesty.


 I really love the way the dye came out!


I am really happy with my dress and feel silly for taking so long to make it.


Cheryl has expanded the original pattern options with her diversions. It allows to to make changes to the Boho Frock for more looks. I will be trying one of these soon maybe in a sew along?


To share this awesome dress, I have partnered with Cheryl of Paradiso Designs to give one lucky reader a Boho Frock Duo Pattern set. That is the original Boho Frock pattern and the Diversions!


The contest starts tomorrow so be sure to check back. If you follow me on IG I will remind you!

a Rafflecopter giveaway


Good Luck!

If you have not had enough of me by now, I was featured as a Paradiso Passionate Sewist and you can read the story on Cheryl's blog. 

Happy Sewing,
Bianca


Saturday, January 3, 2015

Out With The Old in With The New Denim Jeans Refashion.

I am a keeper. I keep things that should be thrown out because the minute I do, I discover I need it. I was recently clearing out my closet and came across a few pair of jeans for the donate pile.


Before giving them away, I remembered that I wanted to make a pieced jacket using Vogue 8483.

This jacket has a lovely angled neckline, interesting seam lines, and offset buttons. I like those elements and was drawn to this pattern because of those features. I rarely make muslins, I know, I know. I am a bit lazy in that regard, but I also use my custom dress form to check fit during construction. For this unusual style garment, I thought a muslin was a good idea.

First, I cut the middle seam open.

Then, after ironing :) I cut the pattern pieces out using Tetris like placement.


Here is the completed jacket and review of the pattern.
Worn with my African  Inspired Maxi Skirt.


Pattern Description: Unlined, above hip or above knee length jacket has front extending to collar, princess seams, raglan sleeves in two lengths and asymmetrical closing with buttons and purchased cord for loops, stitched hems and topstitch trim. I made the short sleeve version.

Pattern Sizing: B5(8-10-12-14-16), GG(18-20-22-24) I made size 10, no adjustments. 

Did it look like the photo/drawing on the pattern envelope once you were done sewing with it? Yes, the shape is the same, but my "fabric" added additional seam lines.

Were the instructions easy to follow? Yes, very easy.

What did you particularly like or dislike about the pattern? I like the different lines on the sleeve and the collar. I like the asymmetry of the front and button placement. I like that you can wear it buttoned up 


for one look and 

open for another.
I thought the collar would be more dramatic than it is. I have a thing for dramatic collars if you remember my Dress shirt refashion.

Fabric Used: Denim jeans repurposed for this jacket.

Pattern Alterations or any design changes you made: I used a contrast menswear fabric for the facing. I did not want to make loops, so I repurposed an elastic hair tie cut in three lengths. It is a densely covered elastic that is strong enough to be secured over my large button.


Would you sew it again? Would you recommend it to others? I made this as a muslin with the plan to remake it.  I did not think I would make it again. I prefer a tapered waist that gives more shape. It may be the weight of the denim, but I think it is boxy at the hip and I do not love that. Additionally, the curve of the sleeve is a bit raised and I do not like that. I think my denim is responsible for my drape issues. 


I thought I was done with it, but then I posted it on Pattern Review and got a renewed perspective on it. The lovely folks on PR were so kind on that review. I worn it to church today and a fan of it bought it right off my back! I guess I will have to make another. Hubby just gave me a pair of black jeans he is done with, so I am set for fabric :)

Conclusion: I thought this was a nice pattern and good test for repurposing jeans. I am pleased with this version. It is a nice twist on a jean jacket and I am sure to get much use from the other one I have to make for myself.